Did you know that blanching green beans can transform their flavor and texture, making them more enjoyable to eat? Not only that, but blanching also helps to preserve the vibrant green color of the beans. Whether you plan to use them in another dish or serve them as a standalone side, blanching is a simple yet effective technique that ensures tender-crisp green beans every time.
- Blanching green beans enhances their flavor and texture.
- It also helps to preserve the vibrant green color of the beans.
- Blanching is a simple technique that ensures tender-crisp green beans.
- You can use blanched green beans in various dishes or serve them as a standalone side.
- By following the blanching process, you can confidently prepare green beans for any culinary creation.
Why Blanch Green Beans?
Blanching green beans is a technique that offers numerous benefits. Not only does it enhance the flavor and texture of the beans, but it also helps preserve their vibrant green color. Whether you plan to freeze or can green beans, blanching is an essential step that maintains their quality and extends their shelf life by preventing the growth of bacteria.
The Benefits of Blanching Green Beans
- Enhanced Flavor: Blanching brings out the natural sweetness of green beans, making them more enjoyable to eat.
- Improved Texture: The blanching process produces tender-crisp green beans that are both satisfying and pleasing to the palate.
- Color Preservation: By blanching green beans, you can ensure that they retain their vibrant green hue, adding visual appeal to your dishes.
- Freezing and Canning: If you’re planning to freeze or can green beans, blanching is crucial for maintaining their quality and keeping them safe from bacterial spoilage.
To fully understand the benefits of blanching green beans, it’s important to explore the specific techniques involved. Let’s dive into the step-by-step process of blanching green beans and discover the best practices to achieve optimal results.
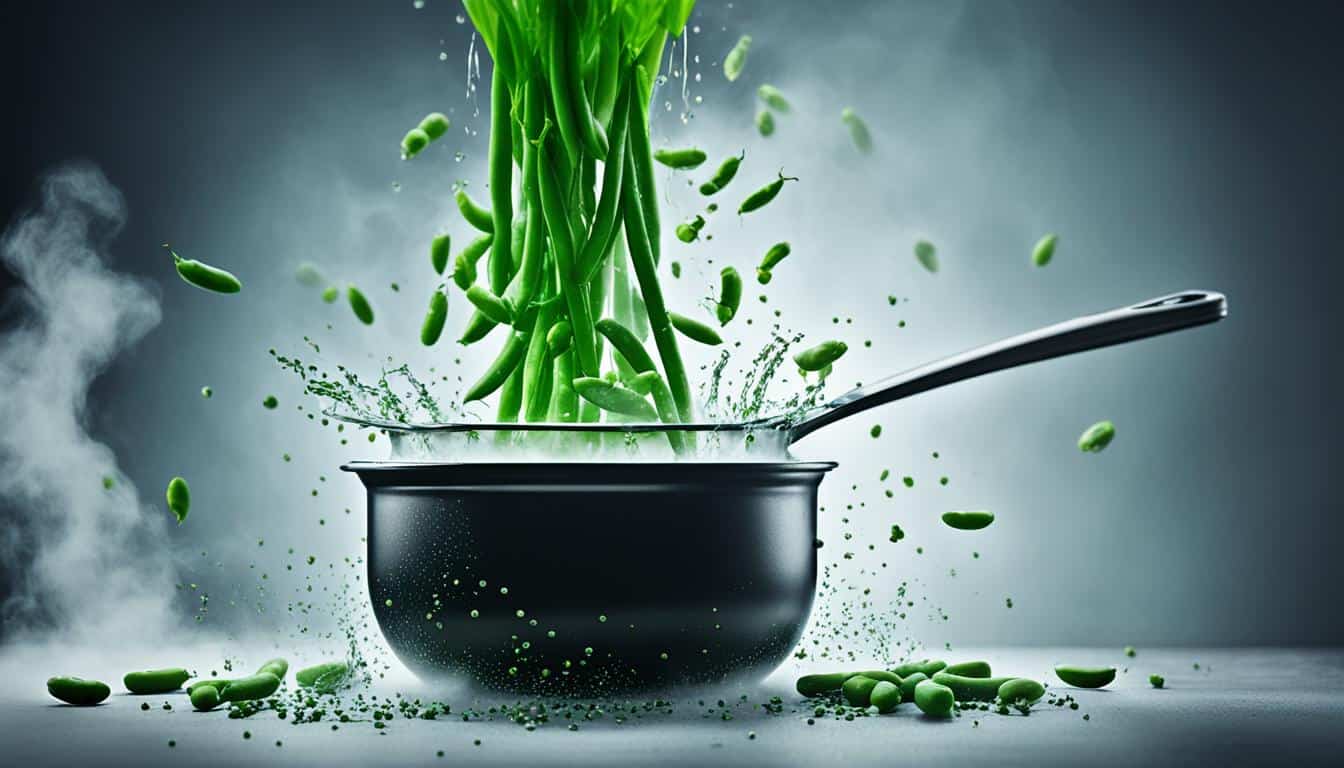
The image above shows the vibrant green color that can be preserved by properly blanching green beans.
How to Blanch Green Beans
To blanch green beans, start by bringing a large pot of salted water to a boil. Meanwhile, prepare a bowl of ice water. Add the green beans to the boiling water and cook them for a few minutes until they are tender-crisp. It is important not to overcook them, as they should retain some firmness. Once the beans are cooked, immediately transfer them to the ice water to cool rapidly and stop the cooking process. Drain the beans and pat them dry before using or storing.
| Ingredients | Instructions |
|---|---|
|
|
Tips for Blanching Green Beans
When it comes to blanching green beans, following a few key tips can make all the difference in achieving perfect results. Here are some expert recommendations for blanching green beans:
Use fresh, high-quality green beans for the best flavor and texture. Look for beans that are vibrant green and free of blemishes.
Before blanching, trim the stems and remove any tough strings from the green beans. This will ensure a more enjoyable eating experience.
When boiling the green beans, cook them just until they are tender-crisp and still bright green. Avoid overcooking, as this can result in mushy beans.
Once the beans are cooked, it’s important to immediately transfer them to a bowl of ice water. This step stops the cooking process and helps the beans retain their vibrant color.
After blanching, make sure to drain the green beans well and pat them dry before using or storing. Excess moisture can negatively affect the texture and quality of the beans.
In addition to using blanched green beans in salads, consider blanching them before cooking in other dishes like stir-fries or casseroles. The blanching process helps the beans cook more evenly and maintain their beautiful color.
Blanching green beans is a versatile technique that enhances their flavor, crispness, and visual appeal. Whether you’re preparing a refreshing salad or adding green beans to a savory main dish, blanching ensures that your green beans are perfectly cooked and bursting with freshness.
Selecting and Storing Green Beans
When it comes to choosing green beans, freshness and quality are key factors. Look for vibrant green beans that are firm and free from any blemishes. Avoid beans that appear limp or have dark spots, as these signs indicate that the beans may not be at their best.
Proper storage is essential to keep green beans fresh for longer. I recommend storing them in an open bag in the refrigerator. This allows for airflow, preventing moisture buildup and extending their shelf life. Unwashed and untrimmed green beans can last up to a week when stored this way.
If your intention is to blanch and freeze the green beans for future use, there is an additional step you should take to maintain their quality. It is recommended to blanch them before freezing. Blanching involves quickly boiling the beans and then transferring them to ice water to halt the cooking process. By blanching the green beans before freezing, you can retain their vibrant color, texture, and flavor, ensuring a delightful experience when you decide to use them.
Blanching green beans before freezing helps maintain their quality and extends their shelf life by preserving their vibrant color and texture.
Now that you know how to select and store green beans, let’s move on to the next section where we’ll explore the differences between blanching and sautéing green beans.
Blanching vs. Sautéing Green Beans
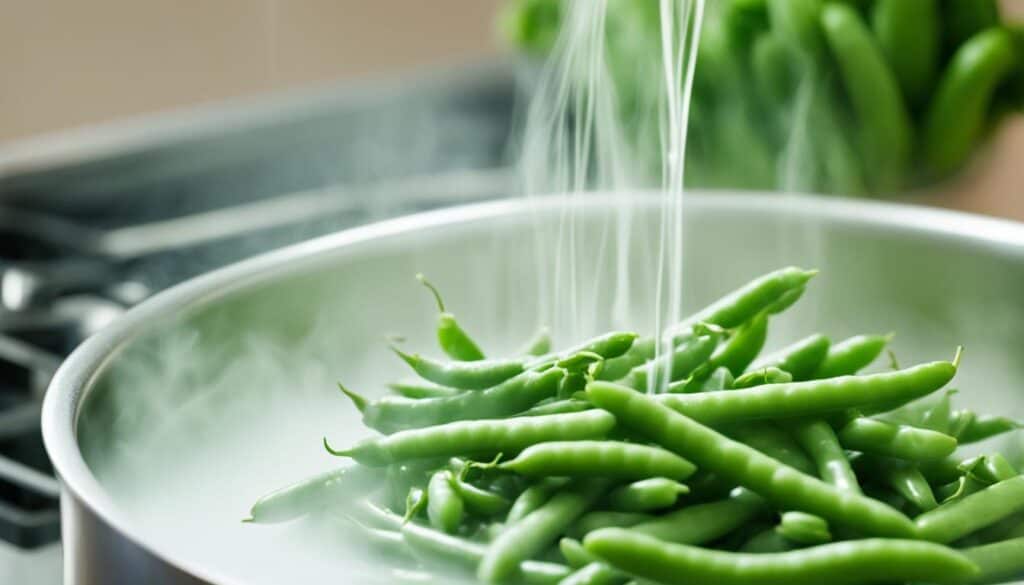
When it comes to cooking green beans, there are different methods that yield distinct results. Blanching and sautéing are two popular techniques that offer unique flavors and textures.
Blanching: Blanching involves boiling the green beans briefly and then cooling them quickly. This method helps to preserve the vibrant color and firmness of the beans, resulting in a tender-crisp texture. Blanched green beans are perfect for retaining their natural freshness and can be used in a variety of dishes.
Sautéing: On the other hand, sautéing green beans involves cooking them in a pan with a little oil or butter until they become fully cooked and slightly caramelized. This technique adds a delicious depth of flavor and creates a beautifully caramelized exterior on the beans. Sautéed green beans are a wonderful option for those who enjoy a more robust and savory taste.
To help you better understand the differences between blanching and sautéing green beans, take a look at the following table:
| Blanching Green Beans | Sautéing Green Beans |
|---|---|
| Preserves color and firmness | Adds flavor and caramelization |
| Tender-crisp texture | Fully cooked and slightly caramelized |
| Ideal for retaining freshness | Offers a more robust and savory taste |
Both blanching and sautéing have their own merits, so it ultimately depends on your personal preference and the desired outcome of your dish. Whether you choose to blanch green beans for a lighter, vibrant side dish or sauté them for a rich, caramelized flavor, you can enjoy the versatility and deliciousness that green beans have to offer.
Now, let’s continue our culinary journey with a closer look at blanching green beans for freezing in Section 7.
Blanching Green Beans for Freezing
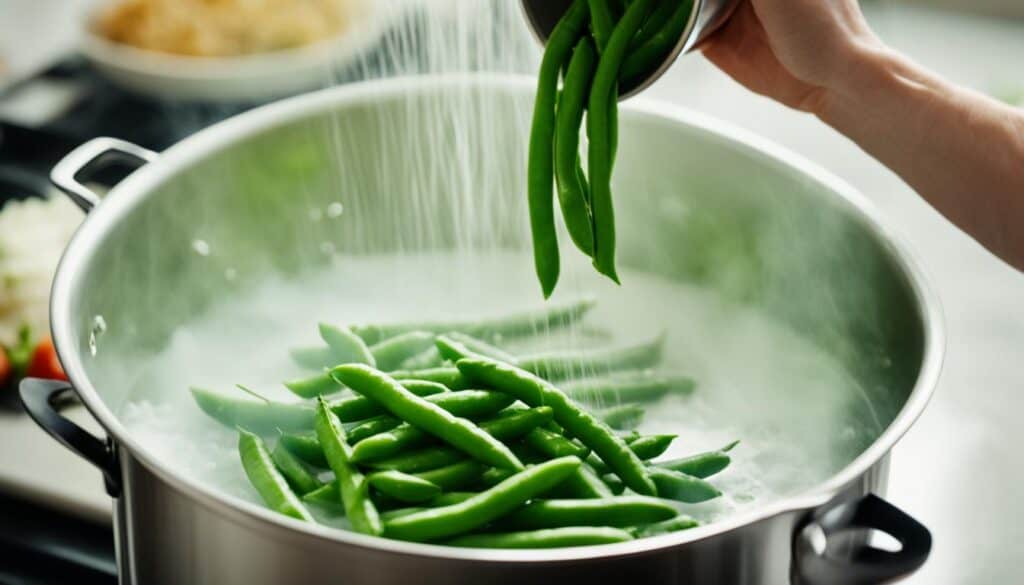
Blanching green beans before freezing is a necessary step to maintain the quality of the beans during storage. To blanch green beans for freezing, follow the blanching process described earlier. After blanching, drain the beans well and place them in airtight freezer bags or containers. Label the bags with the date and store them in the freezer. Blanching helps to preserve the color, texture, and flavor of the green beans, allowing you to enjoy them even after they have been frozen.
Below is a table summarizing the steps to blanch green beans:
| Step | Description |
|---|---|
| 1 | Boil a large pot of salted water |
| 2 | Add green beans to boiling water |
| 3 | Cook for a few minutes until tender-crisp |
| 4 | Transfer beans to ice water to cool rapidly |
| 5 | Drain and dry beans |
| 6 | Place in freezer bags or containers |
| 7 | Label and store in the freezer |
Blanching Green Beans for Canning
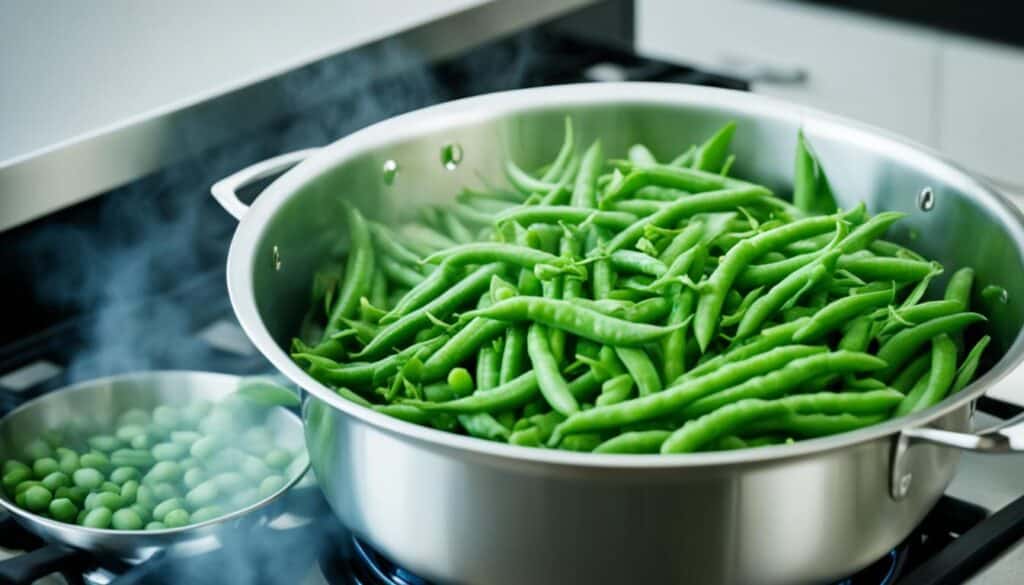
When it comes to preserving the vibrant flavors and textures of green beans, blanching plays a crucial role in the canning process. By partially cooking the beans and preserving their quality, blanching ensures that your canned green beans retain their deliciousness for months to come.
To blanch green beans for canning, follow the same simple blanching method described earlier. Begin by bringing a large pot of salted water to a rolling boil. Then, add your green beans and cook them for a few minutes until they reach a tender-crisp consistency.
Note: For canning purposes, it is important to slightly undercook the green beans during the blanching process to account for further cooking during the canning process.
Once the green beans are blanched, promptly transfer them to a bowl of ice water. This rapid cooling process halts the cooking and preserves the vibrant green color, firmness, and nutrients of the beans.
After the beans have cooled in the ice water bath, drain them well to remove excess moisture. Pack the blanched green beans into sterilized canning jars, leaving the appropriate headspace as indicated in the canning recipe.
Proceed with the canning process according to the specific recipe you are using, which may include covering the beans with a canning liquid, such as water or a brine solution, and sealing the jars. Follow the recommended processing time and method for canning green beans to ensure safe preservation and a delicious end result.
Incorporating blanched green beans into canning not only allows you to enjoy the flavors of peak-season produce all year round but also provides a convenient and versatile ingredient for a variety of dishes.
Now that you know how to blanch green beans for canning, you can confidently stock your pantry with jars of preserved goodness that will add a burst of flavor and color to your favorite recipes, all with the convenience of homemade preservation.
| Benefits of Blanching Green Beans for Canning | Steps for Blanching Green Beans for Canning |
|---|---|
|
|
Blanching Green Beans for Salads
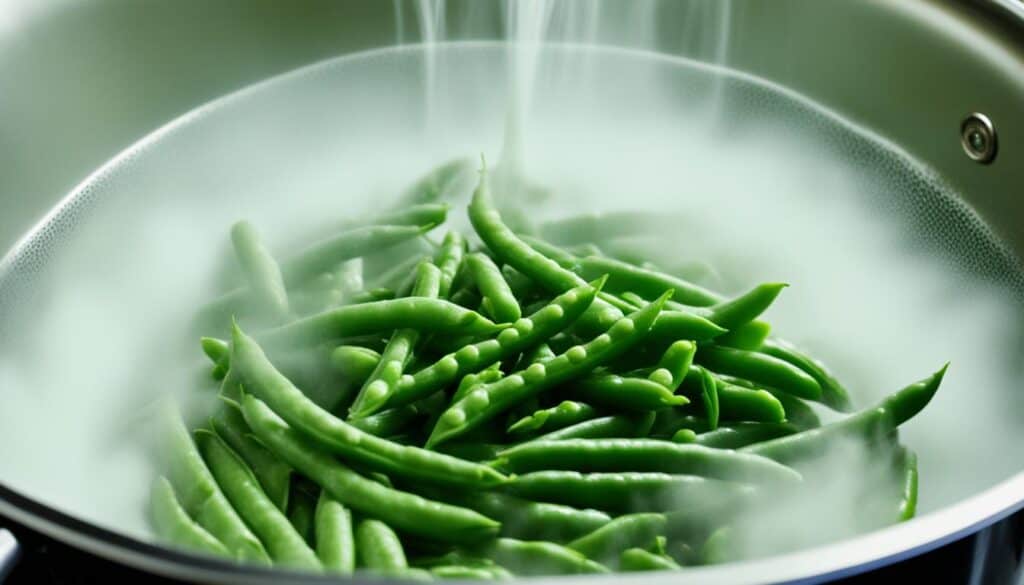
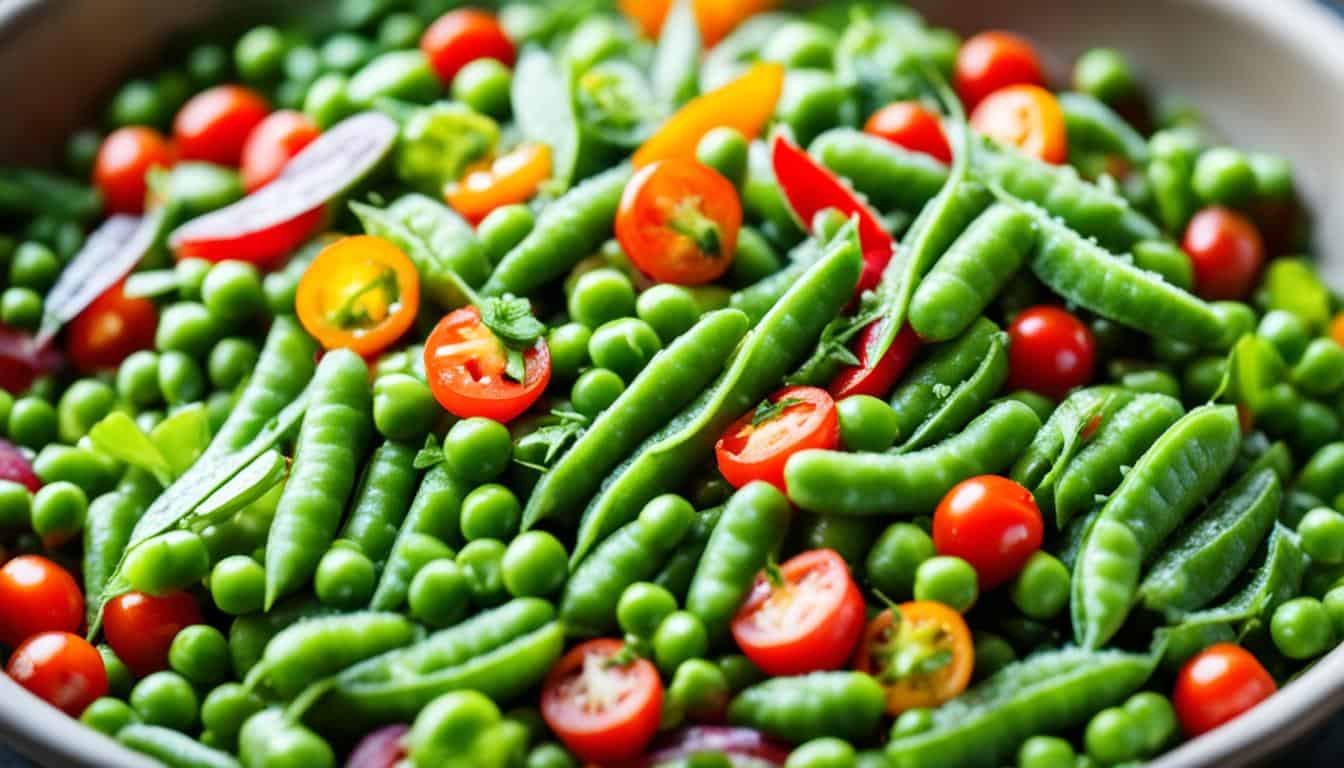
Blanching green beans before using them in salads can elevate their texture and flavor, adding a delightful twist to your favorite dish. The blanching process plays a crucial role in enhancing the beans’ tenderness and bringing out their innate sweetness. By blanching green beans for salads, you ensure that they are crisp, vibrant, and a perfect complement to the other ingredients.
When incorporating blanched green beans into salads, toss them together with the rest of the ingredients for a harmonious medley of flavors and textures. The blanched beans bring a vivid hue and a refreshing crunch that captivates the palate. Their tender-crisp bite adds depth to the salad, making every forkful a burst of freshness. Whether it’s a garden salad, a hearty grain salad, or a vibrant summer salad, blanched green beans enhance the overall experience.
Blanching green beans for salads preserves their vibrant color and ensures they maintain their firmness when mixed with other ingredients. It’s a simple yet effective technique that guarantees a well-balanced salad bursting with flavor. So, the next time you whip up a salad, don’t forget to blanch the green beans for that extra layer of texture and taste.
Blanching Techniques for Green Beans
When it comes to blanching green beans, there are a few techniques you can try. The most common method involves boiling the beans in salted water and then cooling them in ice water. This simple process helps to preserve the beans’ vibrant color and maintain their crisp texture.
To start, bring a large pot of salted water to a rolling boil. Meanwhile, prepare a bowl of ice water. Add the green beans to the boiling water and cook them for a few minutes until they reach a tender-crisp consistency. Be sure to monitor the beans closely to prevent overcooking.
Once the beans are cooked to your desired level of tenderness, immediately transfer them to the ice water bath. This rapidly cools them down and stops the cooking process, ensuring they retain their bright green color.
After a few minutes in the ice water, drain the beans and pat them dry before using them in your favorite recipes.
Experimenting with Blanching Times
Blanching times can vary depending on personal preference and the specific recipe you’re following. Some recipes may call for a shorter blanching time to maintain a firmer texture, while others may suggest a longer blanching time for a more tender result.
Feel free to experiment with different blanching times to find the perfect level of doneness for your green beans. Remember to keep a close eye on the beans as they cook to ensure they don’t become mushy or overcooked.
Experiment with different blanching times to find your preferred level of tenderness.
Conclusion
Blanching green beans is a simple and versatile technique that can elevate your culinary creations. Whether you’re looking to sauté them, add them to salads, freeze them, or can them, blanching is the key to achieving tender-crisp green beans with enhanced flavor and vibrant color.
To get started, select fresh green beans and trim them properly. Then, follow the blanching process by boiling them in salted water until tender-crisp. It’s important not to overcook the beans, as they should retain some firmness. After blanching, cool them rapidly in ice water to stop the cooking process and preserve their texture and color.
With this easy, flavorful guide to blanching green beans, you can confidently incorporate them into a variety of dishes. From adding them to stir-fries and casseroles to using them in salads, blanched green beans bring a delightful crunch and vibrant freshness to your meals. So go ahead, try blanching green beans using different techniques and explore the exciting world of flavors that await!


Leave a Reply