Did you know that tomatoes are the most widely grown fruit in home gardens across the United States? Not only are they delicious and versatile in the kitchen, but they are also a favorite among gardening enthusiasts. Whether you’re a seasoned gardener or a beginner with a green thumb, growing tomatoes can be a rewarding and fruitful experience.
Key Takeaways:
- Choose a sunny location with well-drained soil for your tomato plants.
- Select the right tomato variety based on your preferences and gardening space.
- Start tomato seeds indoors before transplanting them into the garden.
- Transplant seedlings deeper to encourage strong root development.
- Provide support to your tomato plants using stakes, trellises, or cages.
Choose Your Location
When it comes to growing tomatoes, choosing the right location is key to ensuring the success of your plants. Tomatoes thrive in full sun, so it’s important to select an area in your garden that receives at least 6-8 hours of direct sunlight each day. This will help promote healthy growth and vibrant fruit development.
Aside from sun exposure, tomatoes also have specific soil requirements. They prefer well-drained soil that is rich in organic matter. Before planting your tomatoes, it’s a good idea to amend the soil with compost or well-rotted manure to improve its structure and fertility. This will provide your plants with the nutrients they need to thrive.
Another important consideration for growing tomatoes is crop rotation. This practice involves changing the location where you grow tomatoes from year to year. By rotating your crops, you can help prevent the buildup of diseases in the soil and reduce pest problems. It’s best to avoid planting tomatoes in the same spot every year and instead rotate them with unrelated crops like beans, corn, or lettuce.
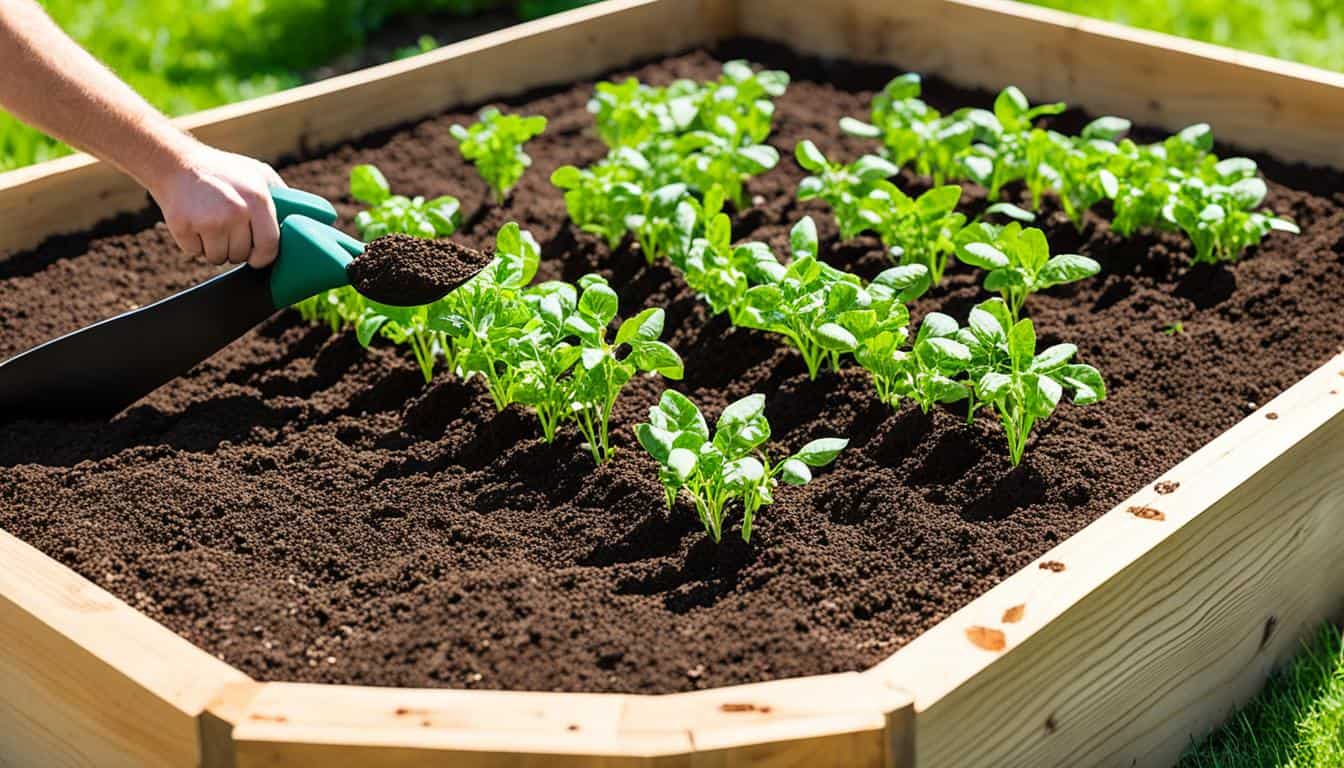
If you’re dealing with wet or soggy soil, building a raised bed can be a great solution. This will provide better drainage for your tomato plants and help prevent waterlogged roots, which can lead to disease and poor growth. Raised beds also make it easier to control the soil quality and create optimal growing conditions for your tomatoes.
I always make sure to choose a sunny spot in my garden for my tomato plants. The more sun they get, the sweeter and juicier the tomatoes become. And by rotating the location each year and building raised beds for better drainage, I’ve been able to keep my plants healthy and productive season after season.
By considering the sun exposure, soil requirements, and crop rotation, you can create the ideal growing conditions for your tomatoes and set them up for success. So, take the time to choose the perfect location in your garden, and get ready to enjoy a bountiful harvest of delicious home-grown tomatoes!
Pick a Variety
When it comes to choosing the perfect tomato variety for your garden, there are several factors to consider. You’ll want to think about the size, color, and flavor profile that best suits your needs and preferences. Luckily, there is a wide range of tomato varieties to choose from, each with its own unique characteristics.
Tomato sizes can vary greatly, from small and bite-sized cherry tomatoes to large and meaty beefsteak tomatoes. The size you choose will depend on how you plan to use the tomatoes in your cooking. Smaller varieties are great for salads or snacking, while larger varieties are perfect for slicing and grilling.
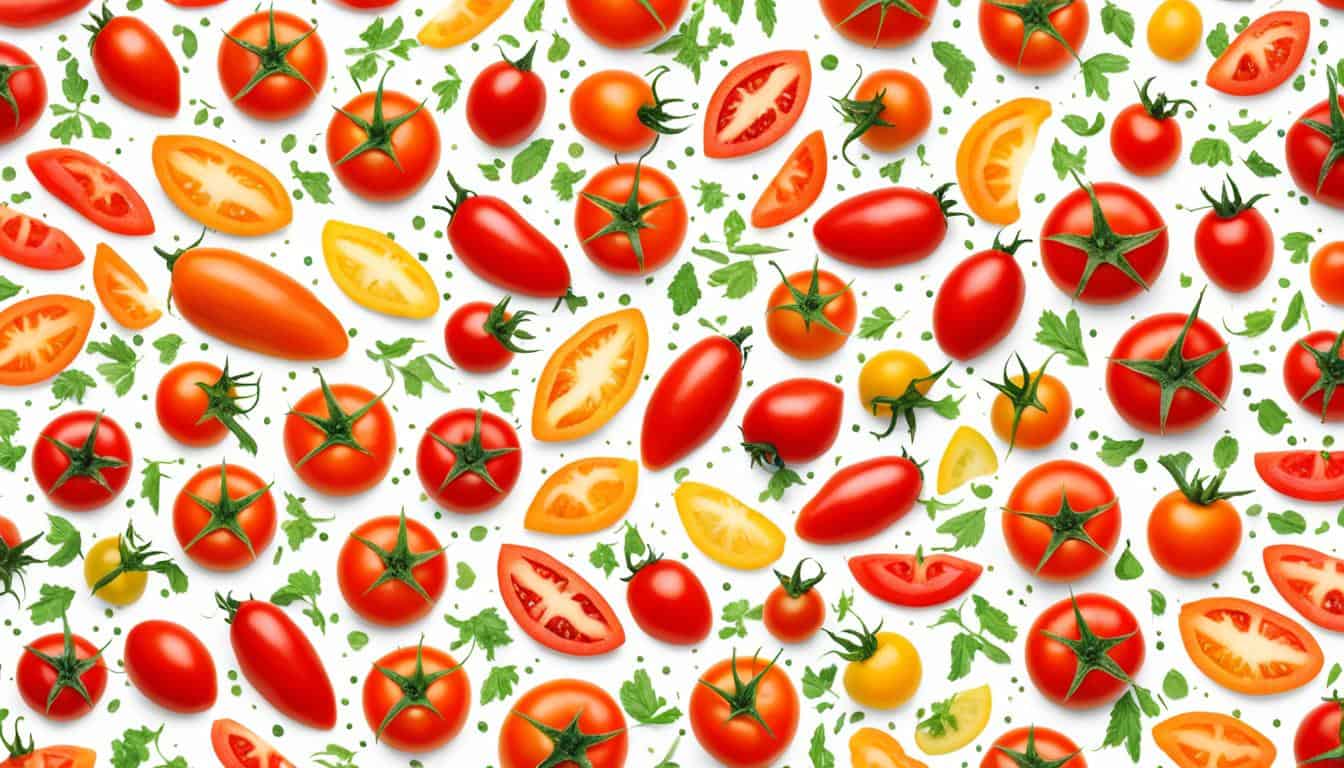
Color is another important consideration. Tomatoes come in a variety of vibrant hues, including red, yellow, orange, green, and even purple. Some gardeners enjoy planting a mix of colors for an attractive and visually appealing harvest.
Flavor is perhaps the most exciting aspect of choosing a tomato variety. The taste of tomatoes can range from sweet and tangy to rich and earthy. If you’re a fan of sweetness, look for varieties known for their sugary flavor. Tanginess is common in heirloom varieties, while some modern hybrids offer a balance of both sweet and tangy flavors.
There are also two main types of tomato plants to consider: determinate and indeterminate. Determinate varieties tend to be smaller and more compact, growing to a certain size and setting their fruit all at once. This can be beneficial if you want a large harvest all at once or have limited space in your garden. Indeterminate varieties, on the other hand, grow continuously and can become quite tall. They produce fruit throughout the season, providing a steady supply of tomatoes.
Here is a table summarizing different tomato varieties, their sizes, colors, flavor profiles, and growth habits:
| Variety | Size | Color | Flavor | Growth Habit |
|---|---|---|---|---|
| Cherry Tomato | Small | Red, yellow | Sweet, tangy | Indeterminate |
| Roma Tomato | Medium | Red | Sweet, less acidic | Determinate |
| Beefsteak Tomato | Large | Red, pink | Rich, meaty | Indeterminate |
| Green Zebra Tomato | Medium | Green with stripes | Tangy, slightly sweet | Indeterminate |
Remember to choose a tomato variety that suits your gardening space and preferences. Whether you’re looking for something small and sweet or large and tangy, there’s a tomato variety out there that’s perfect for you.
Start Your Seeds
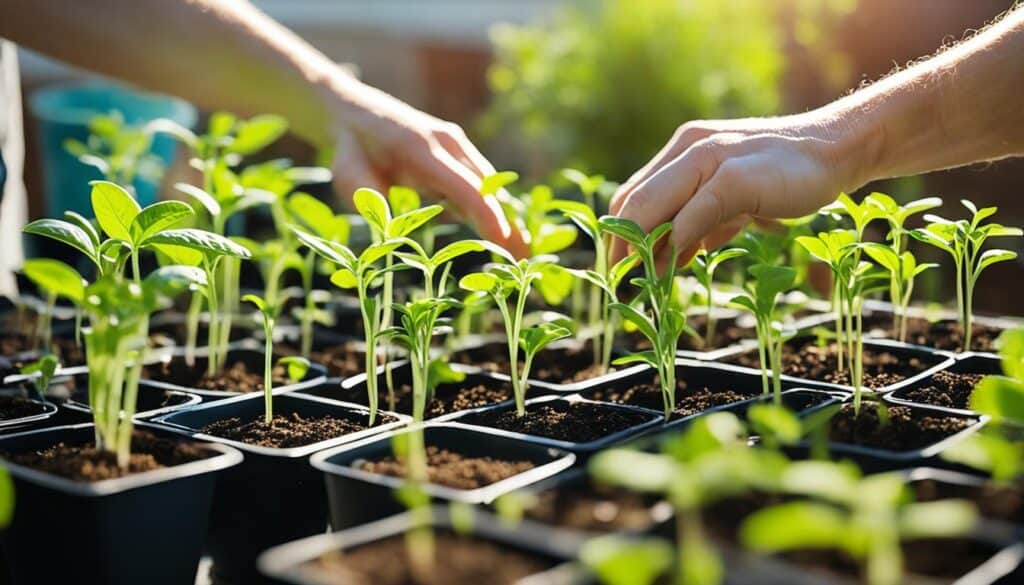
Starting tomato seeds is an exciting way to grow a large number of plants and have control over their development. It’s a great option for gardeners who want to experiment with different varieties or have limited access to mature seedlings. By starting tomato seeds indoors, you can get a head start on the growing season and ensure healthy, robust plants for your garden.
Indoor seed starting provides a controlled environment that allows you to carefully monitor the conditions necessary for successful germination. This method gives you the flexibility to start seeds earlier than the recommended outdoor planting time. To begin, gather your supplies, including a suitable container, quality seed starting mix, and your tomato seeds.
Indoor Seed Starting
1. Choose a container: Select a seed tray, individual pots, or biodegradable peat pots. Ensure adequate drainage holes to prevent waterlogged soil.
2. Prepare the growing medium: Use a sterile seed starting mix that is light, well-draining, and rich in organic matter. Fill the container with the mix, leaving a small gap at the top.
3. Sow the seeds: Follow the seed packet instructions for seed depth and spacing. Generally, tomato seeds are planted at a depth of ¼ inch. Gently press the soil over the seeds and water lightly.
4. Provide warmth and moisture: Place the container in a warm location, preferably around 70-80°F (21-27°C). Use a plastic cover or plastic wrap to create a greenhouse effect and maintain humidity. Check the moisture level regularly and mist if necessary.
5. Provide light: Tomato seedlings require plenty of bright, indirect light to grow strong and healthy. Position the container near a south-facing window or use artificial grow lights for 12-16 hours a day.
6. Thin out seedlings: Once the seedlings have sprouted and developed their first true leaves, thin them out to avoid overcrowding. Choose the strongest, healthiest seedlings and snip off the others at the soil level.
7. Transplant seedlings: When the risk of frost has passed and the seedlings have developed a good root system and several sets of leaves, transplant them into individual pots or larger containers.
Outdoor Seed Starting
If you prefer to start your tomato seeds directly in the garden, outdoor seed starting is a suitable option when the weather is consistently warm. Here’s how you can do it:
1. Prepare the soil: Ensure that the soil is well-prepared and enriched with organic matter. Remove any weeds or debris and loosen the soil to a depth of 6-8 inches.
2. Sow the seeds: Follow the seed packet instructions for seed depth and spacing. Plant the seeds about ¼ to ½ inch deep, cover them with soil, and water gently.
3. Protect the seeds: Use row covers or cloches to protect the emerging seedlings from cool temperatures and pests. Remove the covers once the seedlings have established themselves.
4. Thin out seedlings: When the seedlings have grown a few inches tall and developed their first true leaves, thin them out to the recommended spacing for optimal growth. This ensures adequate airflow and prevents overcrowding.
Seedling Care and Hardening Off
Once your tomato seedlings have developed a strong root system and several sets of leaves, it’s time to provide them with proper care and gradually expose them to outdoor conditions before transplanting them into the garden. This process, known as hardening off, helps the seedlings adapt to the change in environment and temperature fluctuations.
1. Acclimate gradually: Start by placing the seedlings outdoors in a protected, shady spot for a few hours each day. Gradually increase the time and exposure to direct sunlight over several days.
2. Monitor watering needs: Seedlings may require more frequent watering as they adjust to outdoor conditions. Keep the soil consistently moist but not waterlogged, as excessive moisture can lead to fungal diseases.
3. Protect from extreme weather: If cold temperatures or strong winds are forecasted, bring the seedlings indoors or provide temporary protection with cloches or row covers. Remove the covers once the weather improves.
4. Transplant with care: Once the seedlings have hardened off and all risk of frost has passed, transplant them into the garden. Plant them deeper than they were in their containers to encourage root development along the stem. Space them according to the recommended spacing for each variety.
Starting tomato seeds indoors or outdoors gives you the opportunity to grow a variety of tomato plants and ensures a bountiful harvest. Careful seedling care and the gradual hardening off process are vital for successful transplanting and the plant’s overall health. With patience, proper care, and attention to detail, you’ll be rewarded with healthy tomato plants and delicious home-grown tomatoes.
Transplanting Seedlings
Once the danger of frost has passed and the soil has warmed up, it’s time to transplant your tomato seedlings into the garden. Transplanting is a crucial step in the tomato growing process that requires careful timing and proper techniques. Here’s what you need to know:
Timing for Transplanting Tomatoes
Wait until all risk of frost has passed before transplanting tomato seedlings. Tomatoes are sensitive to cold temperatures and can suffer damage or even die if exposed to frost. In most regions, transplanting can be done when the soil temperature consistently stays above 60°F (15°C) and nighttime temperatures are no lower than 50°F (10°C). This usually happens 2-3 weeks after the last frost date.
Preheating Soil for Tomatoes
To give your tomato seedlings the best start in the garden, consider preheating the soil. This technique is particularly helpful in cooler climates. Begin by covering the garden bed with clear plastic mulch or a black plastic sheet. Leave it in place for about two weeks before transplanting. The plastic acts as a mini greenhouse, trapping heat from the sun and warming the soil. This extra warmth promotes healthy root growth and allows the seedlings to establish themselves more quickly.
Burying Tomato Stems
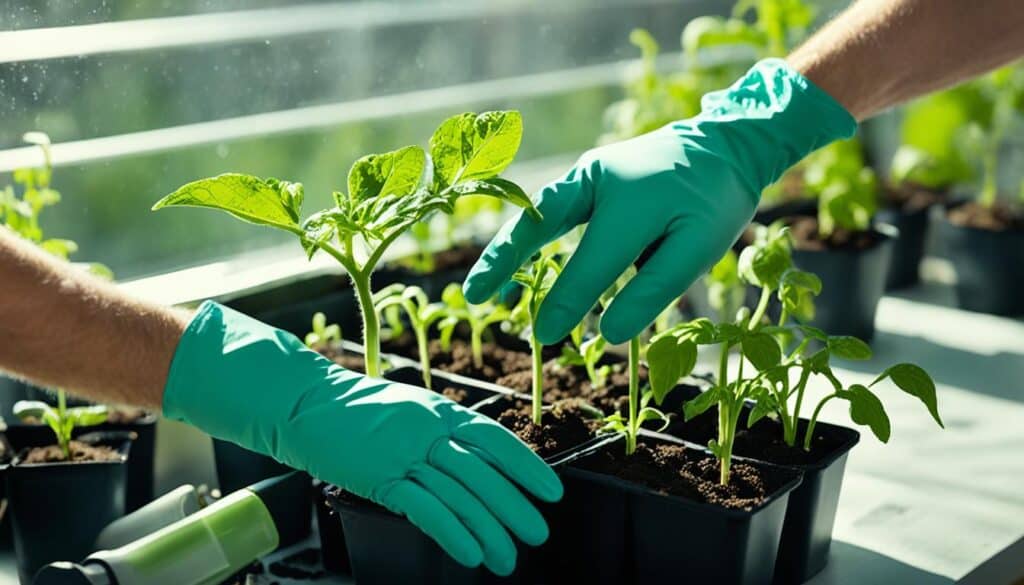
When transplanting tomato seedlings, it’s recommended to bury the stem and lower leaves of the plant. This technique, known as burying, encourages the development of new roots along the buried stem, increasing the overall stability and vigor of the plant. Remove any leaves that will end up below the soil line to prevent them from rotting. By burying a portion of the stem, the plant is better equipped to absorb nutrients and water from the soil. This results in stronger, more resilient plants that can withstand adverse growing conditions.
Watering Transplanted Seedlings
After transplanting, it’s important to ensure that the seedlings receive adequate moisture to reduce root shock. Water the transplanted seedlings well immediately after planting to help them settle into their new environment. Provide enough water to thoroughly saturate the soil around the root zone. This initial watering helps the roots establish contact with the surrounding soil and promotes healthy growth. Monitor the moisture levels in the following days and adjust the watering accordingly.
Stake Early
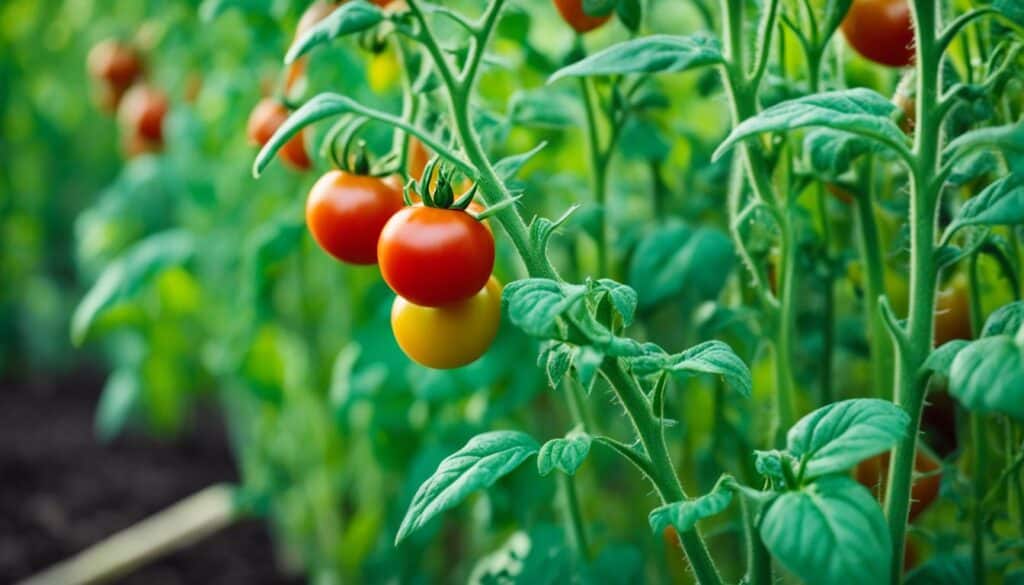
When it comes to growing tomato plants, staking or using tomato cages is a practice that offers numerous benefits. By keeping the plants off the ground, staking helps prevent diseases and pests from infiltrating your precious tomato crop. Additionally, it conserves garden space and creates a tidy and organized appearance.
Staking should be done early in the growth process to avoid damaging the fragile branches and delicate roots of your tomato plants. By providing support right from the start, you ensure that the plants grow upright and strong.
There are various options for staking tomato plants, including the use of stakes, trellises, or tomato cages. Choose the method that suits your gardening style and the space available in your garden. Whichever method you choose, the goal is to support the plants and keep them upright.
By staking your tomato plants, you improve air circulation around the foliage, reducing the risk of diseases caused by moisture buildup. It also makes it easier to harvest ripe tomatoes, as the fruits are lifted off the ground and more visible.
The Benefits of Staking Tomatoes:
- Prevents diseases and pests from damaging the plants
- Conserves garden space
- Improves air circulation around the plants
- Makes harvesting easier
Take the time to stake your tomato plants early in the growing season to reap the rewards of healthier plants and a bountiful tomato harvest.
Water Regularly
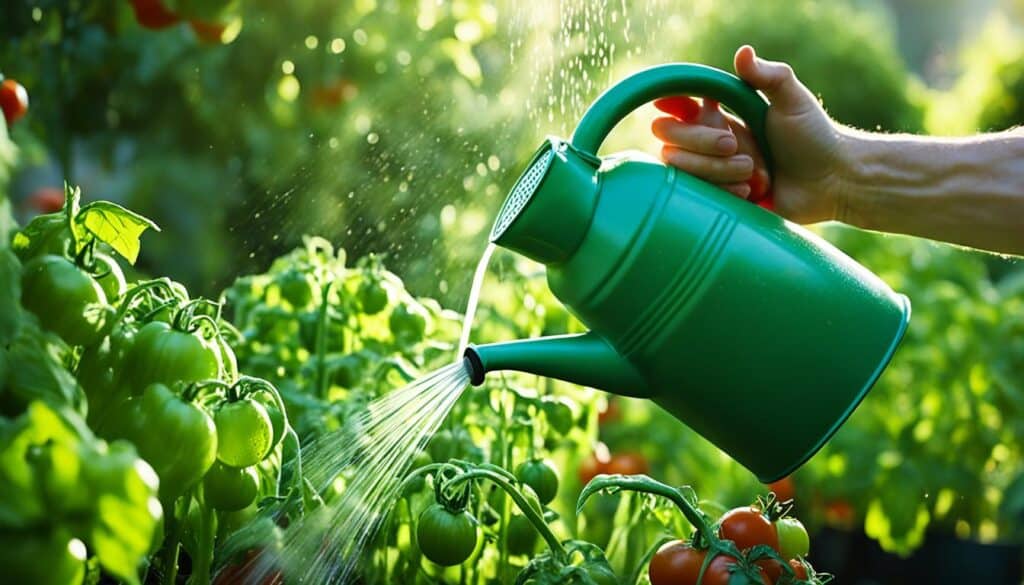
Proper watering is essential for growing healthy tomatoes. Tomato plants need regular and consistent watering to prevent problems like blossom end rot and cracking. Adequate water supply ensures that the plants can absorb essential nutrients from the soil and maintain optimal growth.
When it comes to watering tomatoes, it’s important to avoid overhead watering. Watering from above can wet the foliage, increasing the risk of diseases and fungal infections. Instead, opt for drip irrigation or a soaker hose for more precise and targeted watering.
Drip irrigation is a popular choice for tomato growers as it delivers water directly to the plant’s root zone, minimizing water waste and reducing the risk of foliar diseases. By using a drip system, you can ensure that the plants receive the necessary moisture without wetting the leaves.
Another effective option is a soaker hose, which allows water to seep out slowly along its length, providing a deep and thorough soaking to the soil around the tomato plants. This method helps maintain soil moisture and promotes healthy root development.
It’s important to note that tomatoes require approximately 2.5 cm of water per week. However, this can vary depending on factors such as weather conditions and soil moisture. To determine the optimal watering frequency, regularly check the moisture level of the soil by inserting your finger into the ground. If it feels dry up to the first knuckle, it’s time to water.
Remember, it’s always better to water deeply and less frequently than to water lightly and frequently. Deep watering encourages deep root growth, which helps the plants access nutrients and withstand drought conditions.
Key Points:
- Regular and consistent watering is crucial for healthy tomato plants.
- Avoid overhead watering to minimize the risk of diseases.
- Drip irrigation and soaker hoses are effective methods for watering tomatoes.
- Tomatoes require approximately 2.5 cm of water per week.
- Water deeply and less frequently to encourage deep root growth.
Pros and Cons of Different Watering Techniques
| Watering Technique | Pros | Cons |
|---|---|---|
| Overhead Watering | – Easy and inexpensive – Provides a quick way to water multiple plants |
– Increases the risk of diseases – Can wet foliage and promote fungal infections |
| Drip Irrigation | – Precise and targeted watering – Reduces water waste – Helps prevent foliar diseases |
– Requires installation and maintenance – Initial cost of equipment |
| Soaker Hose | – Provides a deep and thorough soak – Maintains soil moisture levels – Promotes root development |
– Requires proper positioning and layout – May require periodic adjustments |
Minimize Dangers
Tomato plants are susceptible to various pests and diseases. To ensure the health and productivity of your tomatoes, it is important to take steps to minimize the risks. By following these practices, you can prevent the spread of diseases and protect your tomato plants:
- Water your plants evenly: Proper watering techniques are vital to maintaining healthy tomato plants. Ensure that your plants receive sufficient moisture without overwatering, as excessive moisture can lead to disease. Water the soil directly at the base of the plants, avoiding wetting the foliage. This helps prevent the spread of diseases and reduces the risk of fungal infections.
- Rotate your crops: Crop rotation is an effective method to prevent the buildup of tomato diseases in the soil. Avoid planting tomatoes in the same spot every year. Instead, rotate them with unrelated crops like beans, corn, or lettuce. This practice helps break the disease cycle and ensures healthier tomato plants.
- Plant companion plants: Companion planting for tomatoes involves growing other plants alongside your tomatoes to repel pests or attract beneficial insects. Consider planting companion plants like borage, marigolds, chives, and basil. These plants can help deter pests and attract pollinators, creating a more balanced ecosystem in your garden.
- Space your plants apart: Proper spacing between tomato plants is important to promote good air circulation. Adequate airflow helps prevent the spread of diseases and reduces the risk of fungal infections. Ensure that there is enough distance between each tomato plant to allow for optimal growth and airflow.
- Remove diseased plants promptly: If you notice any signs of disease on your tomato plants, such as discoloration, wilting, or unusual spots, it is crucial to remove the affected plants immediately. This prevents the spread of the disease to other plants. Ensure that you also remove any diseased fruits and dispose of them properly. Do not compost diseased plants, as it can lead to the reintroduction of the disease into your garden.
Implementing these practices can help safeguard your tomato plants from pests and diseases, ensuring a successful and bountiful harvest.
Fertilizing Guide
Proper fertilization is crucial for promoting vigorous tomato plant growth and maximizing fruit production. By providing your tomato plants with the right nutrients, you can ensure their health and productivity. Here’s a comprehensive guide on tomato fertilization to help you achieve optimal results.
Choose a Balanced Fertilizer
When planting tomatoes, start with a balanced fertilizer that contains equal amounts of nitrogen (N), phosphorus (P), and potassium (K). This balanced ratio of nutrients promotes overall plant growth and establishes a strong foundation for your tomato plants.
Adjusting the Nitrogen Levels
Once your tomato plants start to fruit, it’s important to switch to a lower nitrogen blend. Excessive nitrogen can lead to lush foliage growth at the expense of fruit production. Look for a fertilizer with a lower nitrogen content and higher phosphorus and potassium levels. This will support healthy fruit development and enhance the flavor of your tomatoes.
The Importance of Calcium
Calcium is an essential nutrient for preventing blossom end rot, a common disorder that affects tomatoes. To ensure an adequate supply of calcium, choose a fertilizer that includes calcium as an added ingredient. Alternatively, you can amend the soil with materials rich in calcium, such as crushed eggshells or gypsum.
Fertilizing Schedule
For optimal growth and productivity, it’s essential to follow a regular fertilizing schedule throughout the growing season. Fertilize your tomato plants every 2-4 weeks, following the package instructions for the specific fertilizer you are using. This consistent supply of nutrients will support continuous plant growth and abundant fruit production.
| Nutrient | Role | Sources |
|---|---|---|
| Nitrogen (N) | Stimulates leaf and stem growth | Organic fertilizers, blood meal, fish emulsion |
| Phosphorus (P) | Promotes root development and fruiting | Bone meal, rock phosphate, fish meal |
| Potassium (K) | Enhances overall plant health and fruit quality | Wood ash, kelp meal, compost |
| Calcium (Ca) | Prevents blossom end rot | Calcium-rich fertilizers, eggshells, gypsum |
By following these fertilization guidelines and providing your tomato plants with the essential nutrients they need, you can promote healthy growth, prevent nutrient deficiencies, and enjoy a bountiful harvest of delicious tomatoes.
Conclusion
Growing tomatoes is a delightful and rewarding experience. By following the tomato growing tips discussed in this article, you can cultivate delicious and luscious tomatoes in your own home garden. Every step, from choosing the right location to providing proper care, is crucial in ensuring a successful tomato cultivation.
Remember to select a sunny spot with well-drained soil for your tomato plants. Consider the size, color, and flavor profile of different tomato varieties to suit your preferences. Start your seeds indoors and transplant the seedlings when the weather is favorable. Stake your plants early to provide support and improve air circulation. Water your tomatoes regularly, avoiding overhead watering, and prevent pests and diseases by implementing companion planting and removing diseased plants promptly.
Additionally, fertilize your tomato plants throughout the growing season to provide them with the essential nutrients they need. With patience, effort, and proper care, you can enjoy a bountiful harvest of home-grown tomatoes that will enhance your culinary creations and delight your taste buds. Happy tomato growing!


Leave a Reply