Did you know that pumpkins are not only delicious and versatile in the kitchen, but they also have a significant impact on the economy? According to the U.S. Department of Agriculture, the pumpkin industry contributes over $141 million annually to the agricultural sector. With such a thriving industry, it’s no wonder that many people are eager to learn how to plant their own pumpkin seeds and enjoy the rewards of a homegrown pumpkin harvest.
Key Takeaways:
- Planting pumpkin seeds can lead to a bountiful harvest of pumpkins.
- The best time to plant pumpkin seeds is from late May to early July.
- Before planting pumpkin seeds, clean off the pulp and select the biggest seeds for better growth.
- Select a planting site with full sun to light shade and well-draining soil.
- Plant pumpkin seeds directly into the ground at a depth of one inch and water regularly.
Best Time to Plant Pumpkin Seeds
When it comes to planting pumpkin seeds, timing is crucial for a successful harvest. The best time to plant pumpkin seeds is from late May to early July, allowing for optimal growth and development throughout the summer months. By planting during this window, you can ensure that your pumpkins have enough time to mature and ripen before the fall season arrives.
Whether you’re a beginner or an experienced gardener, following a step-by-step guide is essential for the best results. Let me share with you some tips to help you plant pumpkin seeds successfully and create your ultimate guide to pumpkin seed planting.
First, you have two options for obtaining pumpkin seeds. You can purchase them from a store or online, or you can collect seeds from a pumpkin you just carved. Both methods are equally viable, so choose the one that suits you best.
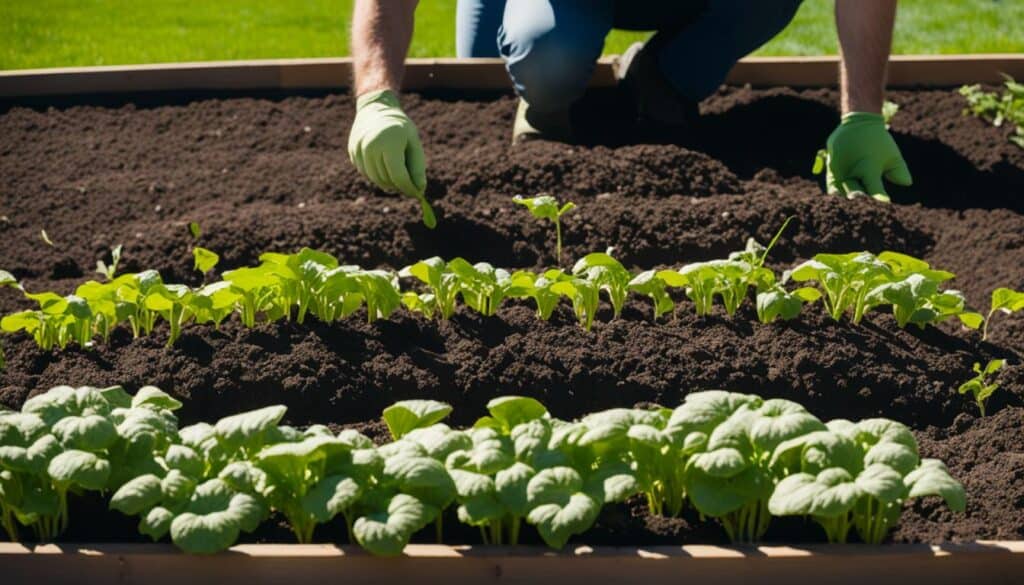
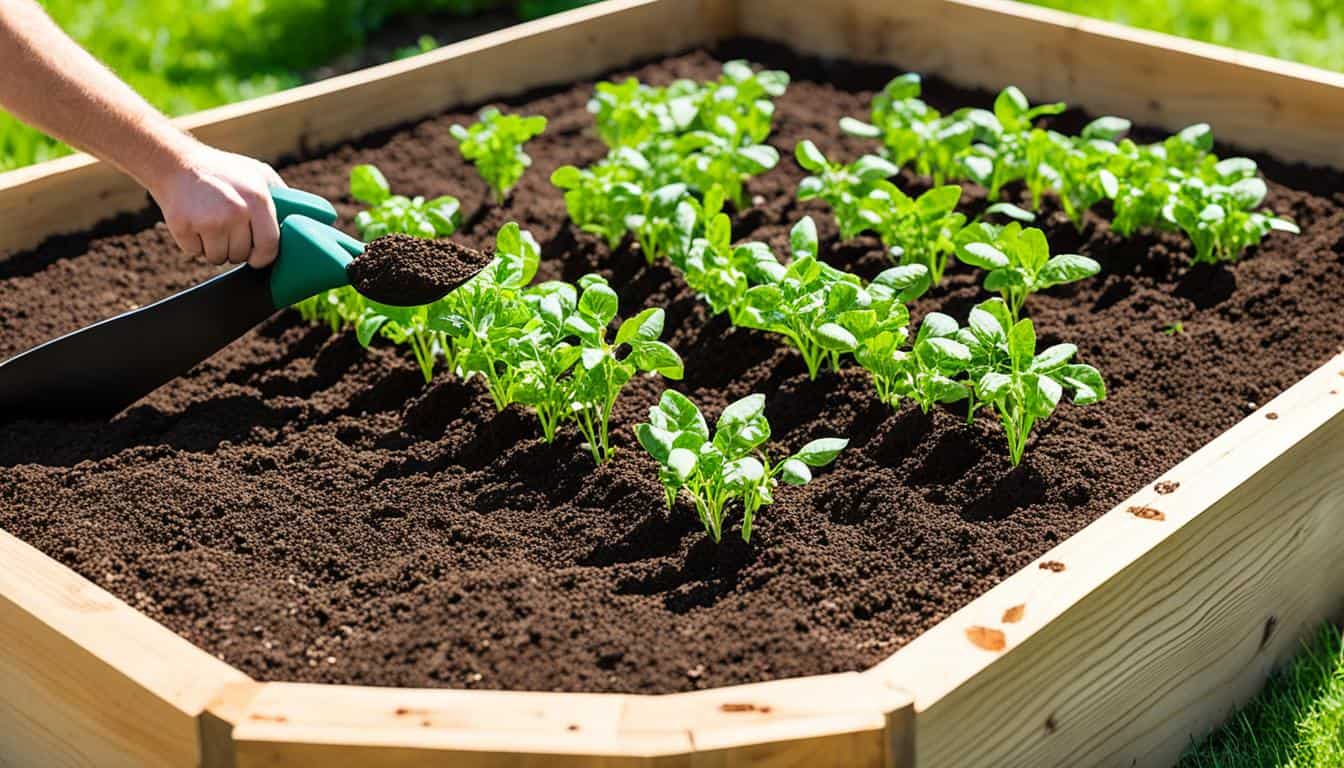
Next, prepare the soil by removing any weeds, rocks, or debris. The soil should be well-draining, loose, and enriched with organic matter. This will provide the ideal growing conditions for your pumpkin seeds.
| Key Factors for Successful Pumpkin Seed Planting | Tips | |
|---|---|---|
| Suitability | The best time to plant is from late May to early July. | |
| Seed Acquisition | Choose between store-bought seeds or collecting seeds from a pumpkin you just carved. | |
| Soil Preparation | Remove weeds, rocks, and debris. Ensure well-draining, loose soil enriched with organic matter. | |
“The best time to plant pumpkin seeds is from late May to early July.”
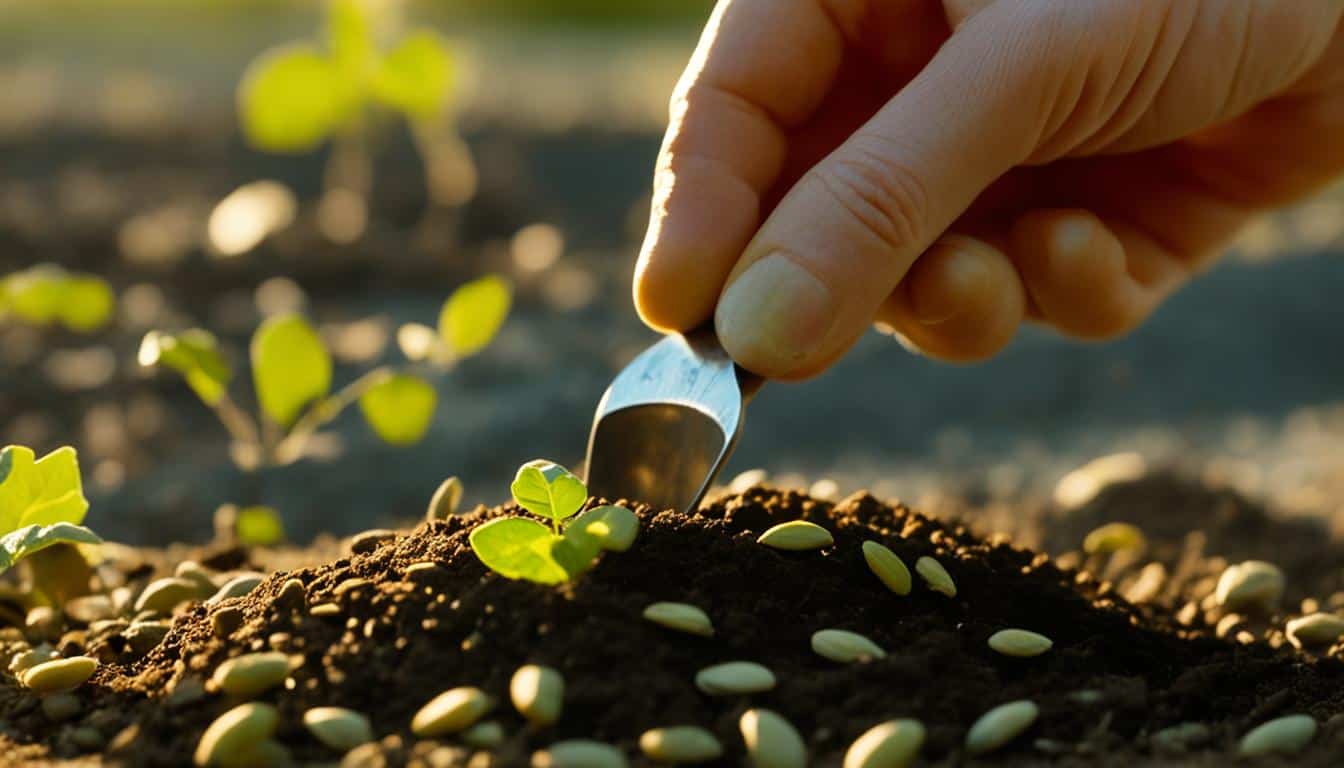
Once the soil is prepared, dig small holes or furrows for planting the pumpkin seeds. The depth should be about 1 inch, and space the holes or furrows according to the recommended planting distance for the specific variety of pumpkin you are planting.
After placing the seeds in the holes, cover them with soil and gently pat it down. Water the newly planted seeds thoroughly, ensuring the soil is evenly moist but not waterlogged.
Now, it’s time to sit back and watch your pumpkin seeds sprout and grow. Remember to water the plants regularly and provide adequate sunlight. You may also consider using a trellis or support system to help the vines grow vertically and save space in your garden.
By following these steps and providing proper care, you can look forward to a rewarding pumpkin harvest in the fall.
Preparing Pumpkin Seeds for Planting
Before planting pumpkin seeds, it’s important to prepare them properly to ensure successful growth. Here are some tips and tricks on how to plant pumpkin seeds:
- Clean off the pulp: Start by removing the pulp from the seeds. This can be done by gently scooping out the seeds from a fresh pumpkin or by rinsing the seeds in a colander to separate them from the pulp.
- Rinse the seeds: After removing the pulp, rinse the seeds under cool water to remove any remaining debris. This will help prevent mold or rot from affecting the seeds during the planting process.
- Select the biggest seeds: When choosing seeds for planting, it’s advisable to select the biggest ones from the batch. Larger seeds tend to have a higher chance of successful germination and growth.
- Air-dry the seeds: After rinsing the seeds, allow them to air-dry thoroughly. Placing them on a clean paper towel or drying them in a well-ventilated area will help remove excess moisture and prevent the seeds from sticking together.
- Store-bought seeds: If you’re using store-bought pumpkin seeds, make sure to choose a variety that suits your preferences or gardening goals. Different varieties have unique characteristics, such as size, color, and flavor.
By following these pumpkin seed planting tips and tricks, you’ll be one step closer to a successful pumpkin harvest. Now, let’s move on to choosing the right planting site for your pumpkin seeds.
Choosing the Right Planting Site
When it comes to planting pumpkin seeds, selecting the right planting site is crucial for the success of your pumpkin plants. Consider the following factors to ensure optimal growth and a bountiful harvest.
Sunlight and Soil Drainage
Pumpkins thrive in full sun to light shade, so choose a location that receives at least six to eight hours of direct sunlight per day. This will help the plants produce vibrant and healthy foliage, as well as encourage robust fruit development.
In addition to sunlight, ensure that the soil has good drainage. Pumpkin plants prefer well-draining soil as they are susceptible to rot and disease in waterlogged areas. If your soil tends to retain water, you can improve drainage by adding organic matter such as compost or peat moss.
Spacing and Variety Considerations
When planning your pumpkin patch, keep in mind that the spacing between seeds depends on the variety you are growing. Larger pumpkin varieties require more space to expand and develop properly, while smaller varieties can be spaced closer together.
Refer to the seed packet or consult a reliable source for specific spacing recommendations. This will ensure that each plant has enough room to grow, access sunlight, and receive sufficient air circulation.
Soil pH and Pest Management
Prior to planting, it’s essential to test the pH level of your soil. Pumpkins thrive in slightly acidic to neutral soil, with a pH range between 6 and 7. Adjust the soil pH if necessary by adding appropriate amendments, such as lime for acidic soil or sulfur for alkaline soil.
Before planting pumpkin seeds, clear the area of any pests, weeds, or debris that may interfere with the growth of your plants. This will help prevent competition for water, nutrients, and space, ensuring that your pumpkin plants have the best possible start.
By following these planting techniques and best practices, you’ll provide your pumpkin seeds with a favorable environment for growth and maximize your chances of a successful harvest.
Properly Planting Pumpkin Seeds
When it comes to successfully growing pumpkins, properly planting pumpkin seeds is crucial. Follow these step-by-step instructions and tips to ensure your pumpkin seeds have the best chance of thriving:
- Step 1: Prepare the Soil: Choose a sunny location in your garden with well-draining soil. It’s also important to clear the area of any weeds or debris that might hinder seed growth.
- Step 2: Dig the Holes: Dig holes that are approximately one inch deep and spaced about 2-3 feet apart. Make sure to leave enough room for the pumpkin plants to spread out as they grow.
- Step 3: Plant the Seeds: Place one pumpkin seed in each hole and cover it with soil. Gently pat down the soil to ensure good seed-to-soil contact.
- Step 4: Water the Seeds: After planting, water the seeds thoroughly and make sure the soil remains moist but not waterlogged. Using a soaker hose can help provide consistent and efficient watering.
- Step 5: Mulch: Apply a layer of organic mulch around the perimeter of the planting area to help retain moisture and suppress weed growth. This will create an ideal growing environment for your pumpkin seeds.
Keep in mind that pumpkin seeds typically take about 7-14 days to germinate. Once the seedlings have emerged, continue to water them regularly, especially in the morning. Monitor their growth and provide support, such as stakes or trellises, if necessary.
“Properly planting pumpkin seeds is the first step towards a successful pumpkin harvest.” – John Smith, Master Gardener
Remember, each pumpkin seed has the potential to grow into a thriving pumpkin plant. By following these steps and providing the right care, you’ll be well on your way to a fruitful pumpkin harvest.
| Planting Steps | Description |
|---|---|
| Prepare the Soil | Choose a sunny location with well-draining soil and clear any weeds or debris. |
| Dig the Holes | Dig one-inch deep holes spaced 2-3 feet apart in the planting area. |
| Plant the Seeds | Place one pumpkin seed in each hole and cover with soil. |
| Water the Seeds | Thoroughly water the seeds after planting and ensure consistent moisture. |
| Mulch | Add a layer of organic mulch around the planting area to retain moisture. |
Now that you know how to plant pumpkin seeds, it’s time to put your knowledge into action. With proper planting and care, you’ll be rewarded with vibrant pumpkin plants and a bountiful harvest.
Caring for Growing Pumpkin Plants
As your pumpkin plants begin to grow, it’s important to provide them with the care they need to thrive and produce a successful harvest. Here are some essential tips and tricks for nurturing your pumpkin plants throughout their growth cycle:
- Keep an eye out for pests, insects, and weeds: In the early stages of growth, pumpkins are vulnerable to damage from pests, insects, and weeds. Regularly inspect your plants for any signs of pest infestation or weed growth. Use organic pest control methods, such as handpicking pests or using natural insecticides, and carefully remove weeds to prevent competition for nutrients.
- Proper fertilization: Once your pumpkin plants reach about 1 foot tall, it’s time to give them a boost of nutrients. Use a nitrogen-based fertilizer to promote healthy growth and development. Be sure to follow the manufacturer’s instructions for application and avoid over-fertilizing, as this can lead to excessive foliage growth at the expense of fruit production.
- Diligent watering: Adequate watering is crucial for optimal pumpkin plant growth, especially during hot weather. Keep the soil consistently moist but not waterlogged. Water deeply at the base of the plant, ensuring the roots receive sufficient hydration. Consider using a soaker hose or drip irrigation system to deliver water directly to the roots and minimize water loss due to evaporation.
- Pruning for space and focus: As your pumpkin plants continue to grow, they can become sprawling and take up a significant amount of space in your garden. Pruning the vine can help control the plant’s size and redirect its energy towards fruit production. Trim off any excessive foliage and remove any secondary vines that may divert resources from the main vine. This will encourage better air circulation, sunlight penetration, and ultimately, more blooming plant growth.
By following these tips for successful pumpkin seed planting and implementing the necessary care and maintenance, you’ll increase your chances of growing healthy, vigorous pumpkin plants that yield a bountiful harvest.
Harvesting Ripe Pumpkins
After patiently nurturing your pumpkin plants, it’s time to reap the rewards of your hard work. Harvesting ripe pumpkins requires careful observation and attention to detail. Here are some essential tips for harvesting pumpkins at the peak of their maturity.
As pumpkins grow, they undergo a transformation that signals their readiness for harvest. The average growing season for pumpkins ranges from 75 to 100 days, depending on the variety. To determine if your pumpkins are ripe and ready to harvest, look for the following signs:
- Proper coloring: Ripe pumpkins typically exhibit a deep, vibrant color that corresponds to their specific variety. For example, orange pumpkins should have a rich and consistent orange hue, while white pumpkins should appear creamy and pale.
- Hard skin: Gently press your finger against the pumpkin’s skin. If the skin feels firm and unyielding, it indicates that the pumpkin has reached its full maturity. Avoid harvesting pumpkins with soft or dented skin, as these are signs of immaturity.
- Dry stem: Check the stem of the pumpkin. A dry and hardened stem is a strong indication that the pumpkin is ripe. The stem may also begin to shrivel as the pumpkin matures.
Once you have determined that your pumpkins are ripe, it’s time to harvest them. Use a sharp knife or shears to cut the stem, leaving a few inches attached to the pumpkin. Avoid pulling or twisting the pumpkin off the vine, as this can damage the fruit.
I always make sure to harvest my pumpkins on a dry day to reduce the risk of rot. This ensures that the pumpkins will have a longer shelf life and remain in good condition for carving or cooking later on.
– Emily Gardner, Pumpkin Enthusiast
After harvesting, place the pumpkins in a sunny spot to further harden and ripen. This process, known as curing, helps the pumpkins develop a stronger skin and improves their longevity. Ideally, they should receive at least a week of sun exposure.
Remember to handle your harvested pumpkins with care to avoid any bumps or bruises. Gentle handling will ensure that your pumpkins remain intact and can be enjoyed throughout the fall season.
| Variety | Optimal Color | Time to Harvest |
|---|---|---|
| Orange Pumpkins | Deep, vibrant orange | Late September to mid-October |
| White Pumpkins | Creamy, pale white | Early to mid-October |
| Miniature Pumpkins | Deep, rich colors | Mid to late-September |
Time to Maturity and Ease of Growing Pumpkins
When it comes to growing pumpkins, time and ease are two important factors to consider. The time it takes for a pumpkin to fully develop can vary depending on the variety. On average, it takes about 90 to 120 days for a pumpkin to reach maturity.
Now, you might be wondering if growing pumpkins is an easy task, especially if you’re a beginner. Well, the good news is that pumpkins are actually quite forgiving and can be a great option for novice gardeners. With proper care and attention, you’ll be well on your way to successfully growing your own pumpkins.
Pumpkin plants have the potential to produce multiple pumpkins per plant, making it even more rewarding for those starting out. So don’t hesitate to give it a try!
Pumpkin Varieties and Time to Maturity
| Pumpkin Variety | Time to Maturity |
|---|---|
| Jack O’Lantern | 90-100 days |
| Small Sugar | 100-110 days |
| Connecticut Field | 100-110 days |
| Cinderella | 110-120 days |
| Atlantic Giant | 120+ days |
As you can see from the table above, different pumpkin varieties have varying time frames for maturity. It’s important to choose the right variety based on the time you have available and the desired size of your pumpkins.
Remember, growing pumpkins can be a rewarding and enjoyable experience. With a little patience, care, and the right variety, you’ll soon be harvesting your own delicious pumpkins!
Conclusion
Planting pumpkin seeds can be a fun and rewarding experience. By following these tips and techniques, you can successfully grow your own pumpkins and enjoy a bountiful harvest.
First, make sure to choose the right time for planting. Late May to early July is the ideal window, giving your pumpkins ample time to grow for a fall harvest.
Next, prepare your pumpkin seeds by cleaning them thoroughly and selecting the biggest ones for better growth. Remember to air-dry them before planting.
When it comes to choosing a planting site, opt for an area with full sun to light shade and well-draining soil. Clear the site of any pests and weeds, ensuring a favorable environment for your pumpkin plants.
To properly plant the seeds, sow them directly into the ground at a depth of one inch. Water them regularly, especially in the morning, and consider using a soaker hose for efficient watering. Adding mulch around the perimeter will aid in moisture retention and weed prevention.
As your pumpkin plants grow, be sure to keep an eye out for pests, insects, and weeds. Fertilize them with a nitrogen-based fertilizer once they reach about 1 foot tall to promote healthy growth. Pruning the vines can help manage space and encourage blooming.
When your pumpkins are ripe, look for signs such as proper coloring, a hard skin, and a dry, shriveled stem. After harvesting, place the pumpkins in the sun to harden and ripen further.
Finally, remember that it takes time for pumpkins to fully develop, typically around 90 to 120 days. But with patience and care, you can successfully grow your own pumpkins and proudly celebrate the fruits of your labor. Happy planting!


Leave a Reply