Did you know that callaloo, a delicious leafy vegetable commonly used in Caribbean cuisine, is not only packed with vitamins and minerals, but also incredibly easy to grow? Whether you’re a seasoned gardener or a beginner, cultivating callaloo plants in your backyard will not only provide you with a fresh and nutritious addition to your meals, but also offer a rewarding and fulfilling experience.
So, if you’re ready to dive into the world of callaloo cultivation, join me as I share expert tips and techniques that will ensure your callaloo plants thrive and flourish.
Key Takeaways:
- Callaloo plants are rich in nutrients and easy to grow.
- By following proper cultivation techniques, you can ensure your callaloo plants thrive.
- Learning about the best planting time, sunlight requirements, and soil preparation are essential for successful growth.
- Regular care and maintenance, including watering, pest control, and proper harvesting, are crucial for healthy callaloo plants.
- Whether you choose to grow from cuttings or seeds, callaloo plants are versatile and resilient.
When to Plant Callaloo
The ideal time to plant callaloo is in the early spring after the last frost. In the northern hemisphere, this is usually in April or May, while in the southern hemisphere, it is in October or November. If you live in a hot climate without cold winters, you can plant callaloo throughout the year.
Callaloo plants thrive in warm weather and require a frost-free growing season. Planting during the recommended time ensures that the plants have sufficient time to establish themselves before the extreme temperatures of summer or winter.
By planting callaloo at the right time, you give the plants the best chance to grow strong and healthy, maximizing their yield when it comes time to harvest.
If you are unsure about the specific timing for your location, consult your local agricultural extension service or gardening resources for guidance. They can provide valuable insights tailored to your region’s climate and growing conditions.
Sunlight Requirements for Callaloo Plants
Callaloo plants require at least 6 hours of sunlight per day to thrive. Adequate sunlight is crucial for their growth and development. When selecting a garden bed for your callaloo plants, it is important to choose a location that receives full sun exposure. This means finding a spot in your garden where the plants will receive direct sunlight for most of the day.
If your garden beds are partially sheltered and don’t receive full sun exposure, consider opting for a south-facing or west-facing bed. These orientations tend to receive the most sunlight throughout the day, ensuring that your callaloo plants get the sunlight they need to flourish.
Remember that callaloo plants are tropical in nature and thrive in warm and sunny conditions. Providing them with ample sunlight will result in lush and healthy growth, leading to a bountiful harvest of nutritious callaloo leaves.
With the proper sunlight requirements met, your callaloo plants will be well-positioned to reach their full potential.
The Benefits of Sunlight for Callaloo Plants
Sunlight plays a vital role in the growth and overall health of callaloo plants. Here are some of the benefits that proper sunlight exposure provides:
- Photosynthesis: Sunlight is essential for the process of photosynthesis, where plants convert light energy into chemical energy to fuel their growth and development. Adequate sunlight ensures that callaloo plants can produce sufficient energy to support their physiological processes.
- Nutrient Absorption: Sunlight helps plants absorb essential nutrients from the soil, ensuring that callaloo plants have access to the necessary minerals for robust growth.
- Strengthening Stems: Sunlight exposure promotes the production of plant hormones that help strengthen the stems of callaloo plants, making them less susceptible to damage from wind or other environmental factors.
- Enhanced Flavor and Nutritional Value: The sunlight that callaloo plants receive influences the flavor profile and nutritional content of the leaves. Ample sunlight exposure can result in more flavorful and nutrient-rich callaloo leaves for your culinary delight.
By meeting the sunlight requirements of your callaloo plants, you are providing them with the optimal conditions for growth and productivity. Remember to regularly monitor the sunlight levels in your garden beds and make any necessary adjustments to ensure that your callaloo plants thrive.
Soil Preparation for Callaloo Plants
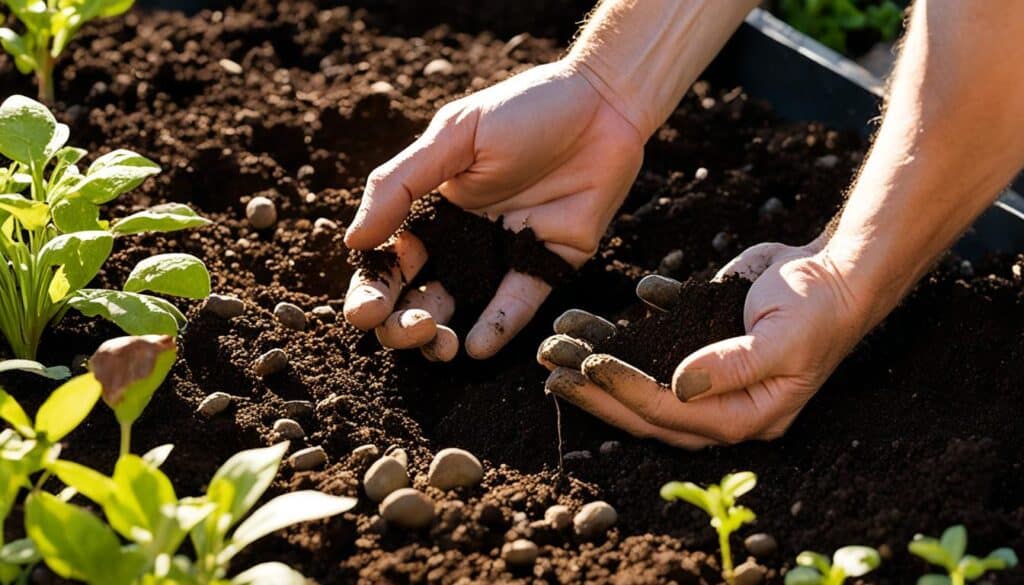
When it comes to growing callaloo plants, proper soil preparation is crucial for their healthy development. While callaloo can tolerate a variety of soil types, including dry and clay-rich soils, adding well-draining compost to the garden bed is essential to provide the necessary nutrients for the plants to thrive.
Callaloo plants prefer a soil pH ranging from 6.0 to 7.0. However, they can tolerate a pH range of 4.0 to 8.0, providing some flexibility in soil conditions. Whether you have acidic or alkaline soil, callaloo can adapt and grow in your garden with proper care and soil preparation.
Here are the key steps to prepare your soil for callaloo plants:
- Choose a sunny location in your garden for planting callaloo. Full sun exposure is important to ensure the plants receive at least 6 hours of sunlight per day.
- Clear the area of any weeds or debris. This will help prevent competition for nutrients and allow the callaloo plants to flourish.
- Loosen the soil using a garden fork or tiller. This will improve drainage and create a favorable environment for the callaloo plants’ root development.
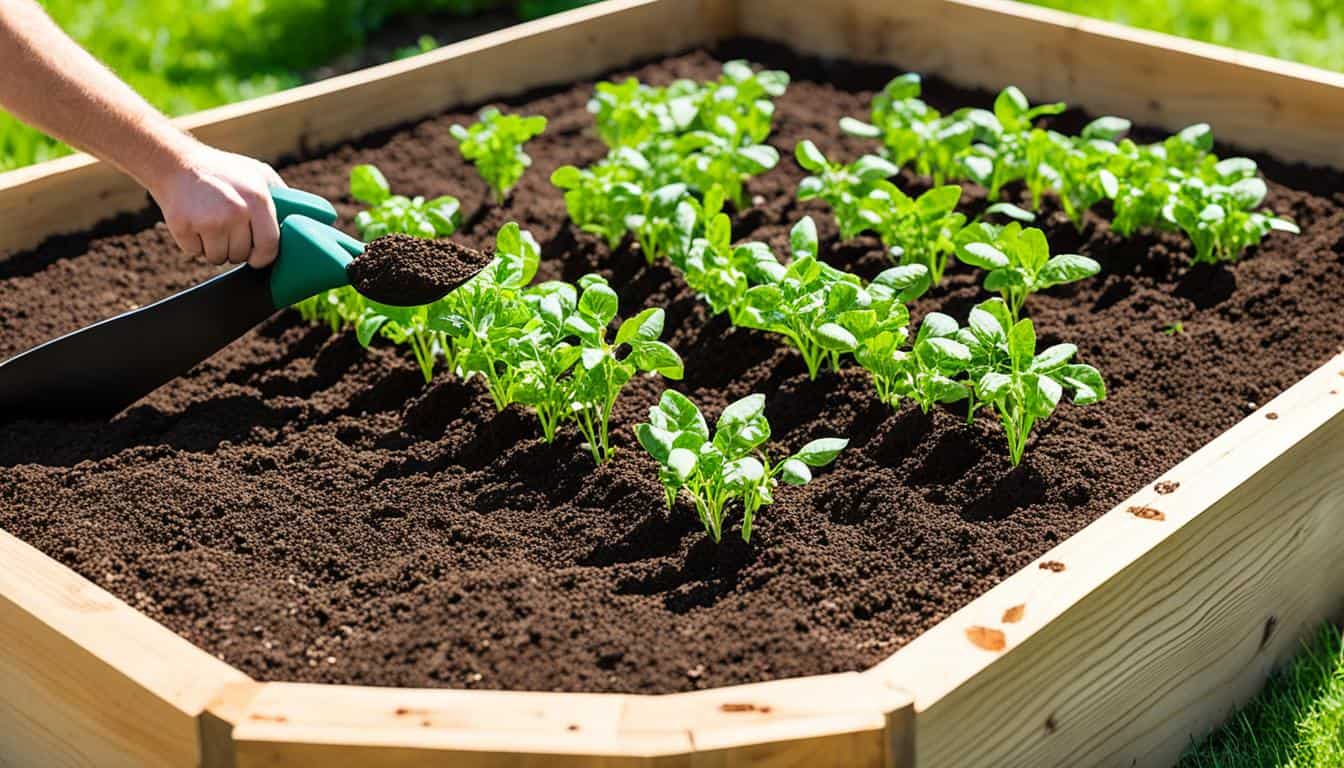
- Add well-rotted compost to the soil. Work the compost into the top 6-8 inches of soil to provide the plants with essential nutrients.
Pro Tip: If you don’t have access to well-rotted compost, you can also use organic fertilizers specifically formulated for vegetables. Follow the package instructions for application rates and timings.
Incorporating organic matter into the soil not only enriches the nutrient content but also improves moisture retention and enhances soil structure. This encourages healthy growth and ensures your callaloo plants have the best possible foundation for success.
Planting Callaloo Seeds
Planting callaloo seeds is a simple and enjoyable process that will set the foundation for your thriving callaloo plants. Follow these steps to ensure successful growth:
Create Rows in the Soil
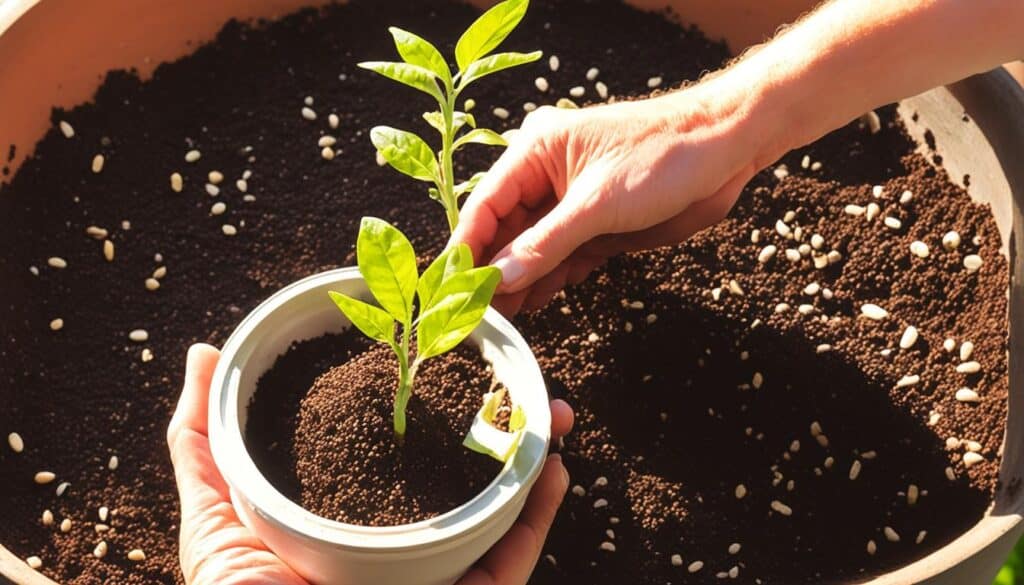
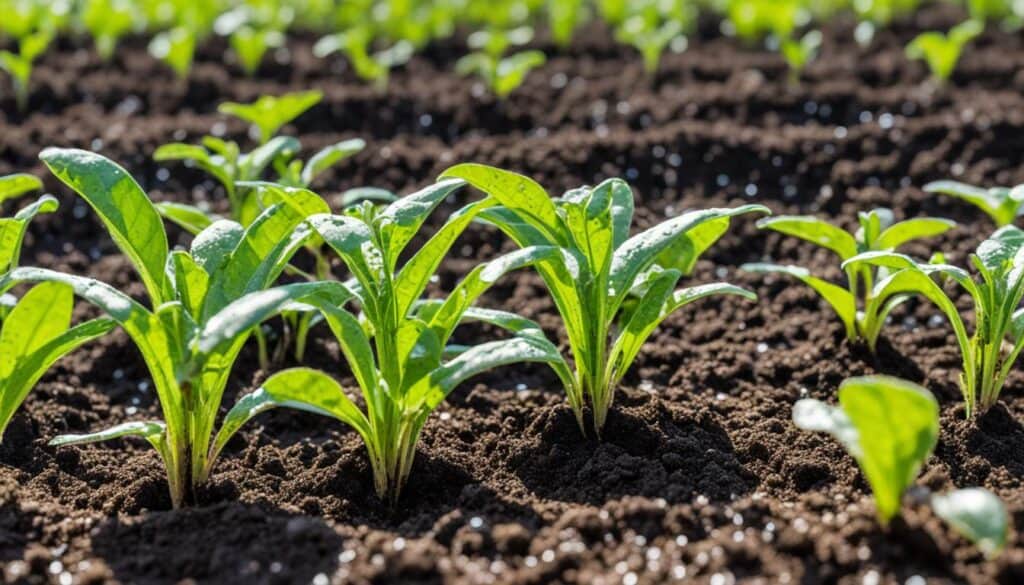
Start by preparing your garden bed. Make rows in the soil, keeping them about 2 feet apart. Each row should be approximately 1/4 inch deep to provide the callaloo seeds with the right environment to germinate and grow.
Space and Plant the Seeds
When planting callaloo seeds, allow ample room for each plant to establish itself. Take care to space the seeds 7-10 inches apart within the rows. This spacing ensures that the plants have enough space to grow without overcrowding.
Cover and Water
After placing the callaloo seeds in their respective positions, gently cover them with about 1/4 inch of soil. This layer will protect the seeds and provide the optimal conditions for germination. Water the seeds gently to moisten the soil, ensuring that it is evenly damp. This step promotes healthy growth.
Flexible Spacing for Callaloo Plants
Callaloo plants are resilient and can handle slight crowding. While it’s important to space the seeds according to the recommended distance, don’t obsess over exact measurements. Callaloo plants have a natural tolerance for proximity, allowing them to grow and thrive even in slightly crowded conditions.
Incorporating these steps into your planting routine will set you on the path to growing robust callaloo plants. Now that you’ve successfully planted your callaloo seeds, let’s move on to the next section to learn about caring for and maintaining your callaloo plants.
Care and Maintenance of Callaloo Plants
Proper care and maintenance are crucial for ensuring the health and vitality of your callaloo plants. By following these guidelines, you can nurture your plants and enjoy a bountiful harvest.
Watering
Water your callaloo plants 1-2 times a week, especially during dry periods. However, it is important to only water when the soil is dry, as over-watering can lead to root rot and other issues. Monitor the moisture level of the soil and adjust your watering schedule accordingly.
Weed Control
Keeping weeds under control is essential to prevent them from competing with callaloo plants for nutrients and resources. Regularly inspect your garden bed and remove any weeds by hand or with a hoe. This will ensure that your callaloo plants have sufficient space and access to the nutrients they need to thrive.
Pest Management
Monitor your callaloo plants for common pests such as beetles, aphids, and mites. These pests can cause damage to the leaves and hinder the growth of your plants. If needed, apply organic pest control spray to keep these pests at bay and protect the health of your callaloo plants.
Harvesting
When it comes to harvesting callaloo leaves, it’s important to strike a balance between regular harvesting and allowing the plants to continue growing. To maintain a healthy plant, you can cut off up to one-third of the total foliage. This will provide you with a steady supply of fresh callaloo leaves while allowing the plant to regrow and produce new foliage.
Common Pests of Callaloo Plants
| Pest | Description | Control Measures |
|---|---|---|
| Beetles | Small insects that chew on the leaves, causing damage | Apply organic pest control spray or handpick and remove beetles |
| Aphids | Tiny insects that feed on plant sap and can cause wilting | Apply insecticidal soap or use a strong jet of water to dislodge aphids |
| Mites | Microscopic pests that suck plant juices and cause yellowing of leaves | Apply neem oil or use a strong jet of water to dislodge mites |
Harvesting Callaloo Leaves
Once your callaloo plants have grown to a size that can be handled, typically within the first couple of months after planting, it’s time to harvest the nutritious and delicious callaloo leaves. Harvesting the leaves not only provides you with a fresh and tasty ingredient for your meals but also encourages continuous growth of the plant.
To harvest callaloo leaves, follow these simple steps:
- Identify the oldest and bottommost leaves of the callaloo plant.
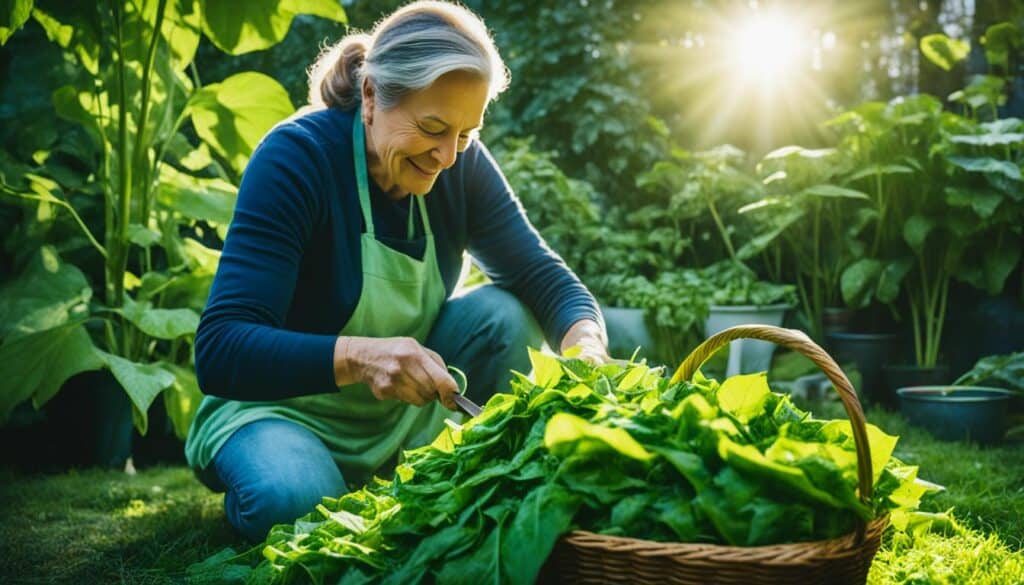
- Using a sharp pair of garden shears or scissors, cut off the leaves at the base of their stems. Be careful not to damage the surrounding foliage.
- Leave about 2/3 of the total foliage on the plant to allow for continuous growth and further leaf production.
- Collect the harvested leaves in a basket or container.
For a continuous supply of callaloo leaves throughout the growing season, it’s best to harvest the leaves every 2 weeks. Regular harvesting not only provides you with fresh greens but also stimulates the plant to produce more leaves.
Remember to handle callaloo leaves with care as they are delicate and can bruise easily.
“Harvesting callaloo leaves at the right time and in the right way ensures a bountiful yield throughout the season. By leaving a portion of the foliage on the plant, you’re promoting continuous growth and ensuring a sustainable source of nutritious greens for your meals. Get ready to enjoy the fruits of your labor!”
Growing Callaloo from Cuttings
Growing callaloo plants from cuttings is a simple and rewarding method that allows for continuous harvesting as the plant becomes bushier. Here’s a step-by-step guide on how to grow callaloo from cuttings.
Gather Healthy Callaloo Cuttings
Start by selecting healthy callaloo cuttings from an established plant. Choose stems that are about 6-8 inches long and have several sets of leaves. Using clean and sharp garden shears, make a clean cut just below a leaf node.
Create a Water Propagation Setup
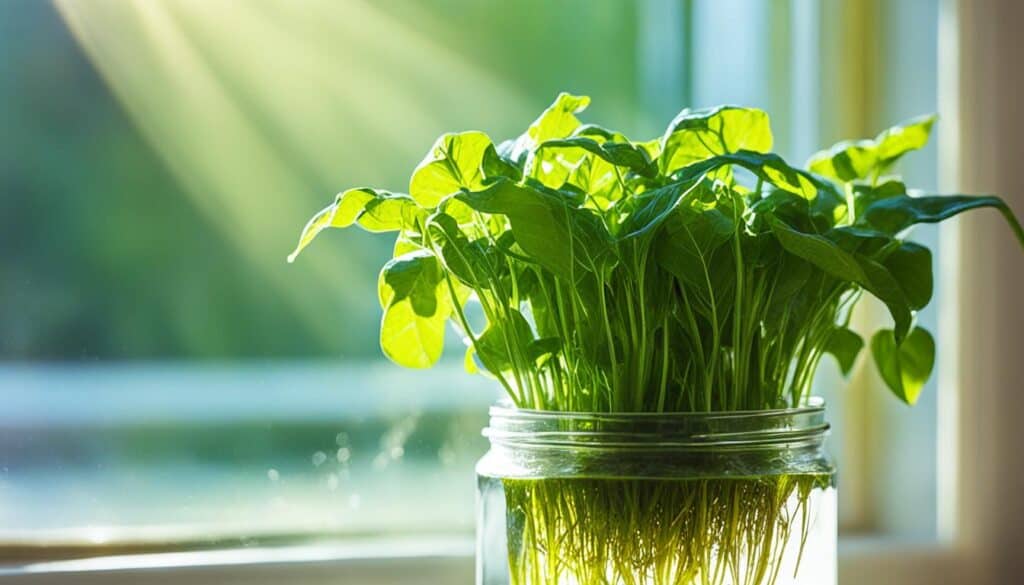
Fill a glass or jar with clean water and place the callaloo cuttings inside, ensuring the leaf nodes are submerged. Position the glass in a well-lit area, but away from direct sunlight. Change the water every few days to prevent stagnation.
Root Development
After about 1-2 weeks, you’ll notice roots starting to develop from the cuttings. This is a sign that the callaloo is ready to be transplanted into a container or the ground. Ensure that the roots are at least 1-2 inches long before proceeding.
Transplanting the Callaloo Cuttings
Prepare a container or choose a suitable location in your garden with well-drained soil. Dig a hole slightly larger than the root ball of the cutting and gently place it in the hole. Backfill with soil, firming it gently around the base of the plant. Water thoroughly to settle the soil.
It’s important to provide adequate support for the callaloo plant as it grows. Consider using stakes or trellises to prevent the plant from toppling over or bending under its weight.
“Growing callaloo from cuttings is an efficient way to propagate this versatile plant. It allows you to enjoy a continuous harvest as the plant becomes established and produces new leaves.” – Gardening Expert
With proper care and maintenance, your callaloo cuttings will grow into thriving plants that provide you with fresh, nutritious leaves throughout the growing season.
Growing Callaloo from Seeds
If you prefer starting your callaloo plants from scratch, growing them from seeds is an excellent option. Not only is it a cost-effective method, but it also allows you to have control over the entire growth process. Here are some steps to guide you on how to grow callaloo from seeds.
Sow Fresh Seeds: Begin by selecting fresh callaloo seeds from a reputable source. It’s crucial to choose high-quality seeds to ensure optimal germination and healthy plant growth. Sow the seeds directly into well-prepared soil or seed trays filled with potting mix.
Succession Planting: For a continuous harvest throughout the growing season, consider practicing succession planting. This involves sowing new batches of callaloo seeds every 4 to 6 weeks. By staggering the planting time, you ensure a steady supply of fresh callaloo leaves.
Choose Different Strains: To add diversity and abundance to your callaloo harvest, experiment with different strains of callaloo plants. This allows you to enjoy variations in flavor, texture, and growth habits. Explore various options and discover your favorite callaloo varieties to cultivate in your garden.
Resilient Plants: Callaloo plants are known for their resilience and adaptability to different environmental conditions. They can thrive even in drought-prone areas and low-fertility soils. With proper care and suitable growing conditions, you can enjoy a successful callaloo harvest regardless of your gardening challenges.
By following these steps, you can successfully grow callaloo plants from seeds and enjoy a bountiful harvest of this nutritious green leafy vegetable.
Benefits of Growing Callaloo from Seeds
- Cost-effective method
- Control over the entire growth process
- Ability to choose high-quality seeds
- Continuous harvest through succession planting
- Variety and diversity with different callaloo strains
- Resilient plants that thrive in different conditions
Conclusion
Growing callaloo plants can be a rewarding experience. By following these tips and techniques, you can cultivate healthy callaloo plants and enjoy a bountiful harvest. Whether you choose to grow from cuttings or seeds, callaloo is a versatile and resilient plant that can enhance your garden and meals.



Leave a Reply