Welcome to your ultimate guide on how to master the use of dough hooks for better baking results. Whether you’re an aspiring baker or a seasoned pro, understanding the importance of dough hook use can take your baking creations to new heights. In this comprehensive guide, I will walk you through the ins and outs of using dough hooks with a stand mixer, so you can achieve the perfect dough consistency every time.
- Kneading is crucial for creating a smooth ball of dough and developing gluten.
- A dough hook can save you time and effort by doing the hard work for you.
- Proper measurements and gradual addition of liquid are essential for achieving the right dough consistency.
- Understanding yeast and the proofing process are key to successful bread making.
- Troubleshooting common dough issues will help you overcome baking challenges.
What is a Dough Hook and How Does it Work?
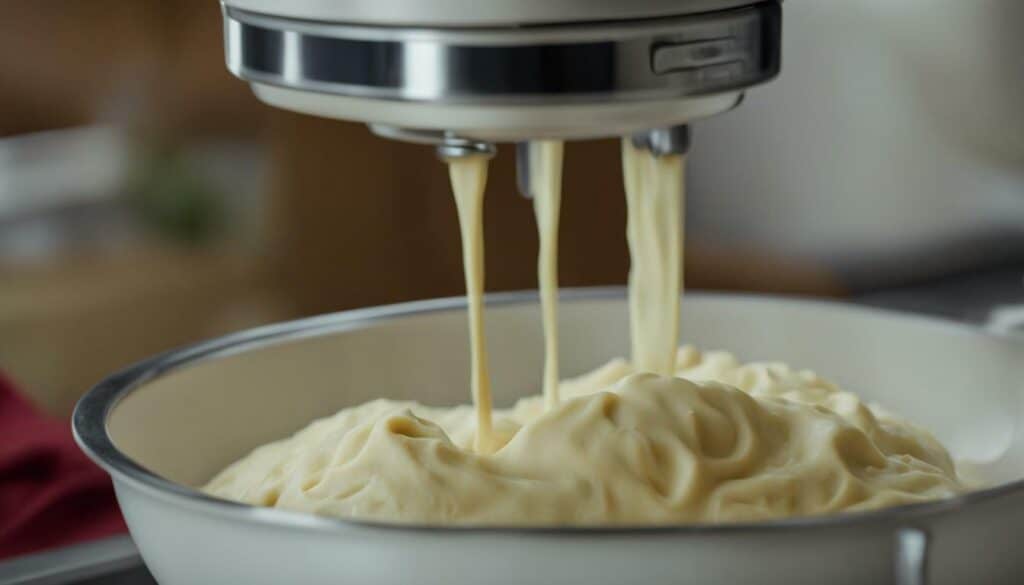
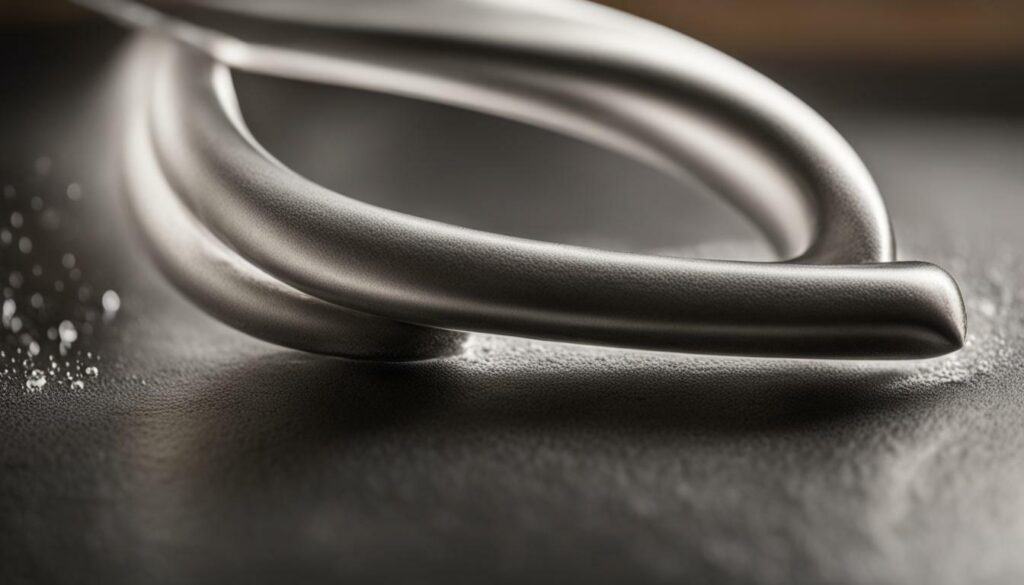
Before we dive into the details, let’s first understand what a dough hook is and how it works its magic in kneading dough to perfection. A dough hook is a specialized attachment for a stand mixer that is designed specifically for kneading dough. It is typically made of metal and features a spiral shape, allowing it to effectively mix and knead dough.
When using a dough hook, the mixer’s motor rotates the hook, which gradually incorporates the ingredients and kneads the dough. The spiral shape of the hook helps to stretch and fold the dough, developing the gluten strands that give bread its structure and texture. This process is crucial in creating a smooth ball of dough and ensuring proper rise during baking.
Using a dough hook with a stand mixer offers several advantages. It saves time and effort compared to kneading by hand, especially when working with larger batches of dough. The dough hook’s powerful mixing action ensures consistent and thorough kneading, resulting in a more even texture and better overall quality of baked goods.
Now that we have a basic understanding of what a dough hook is and how it works, we can explore the art of kneading dough in more detail. In the next section, we will discuss different techniques for achieving the perfect dough consistency and how to troubleshoot common issues that may arise during the kneading process.
The Art of Kneading Dough
Kneading dough is a crucial step in bread making, and the dough hook can be your best ally in achieving that perfect texture and flavor. Whether you are a seasoned baker or just starting out, understanding the techniques and benefits of using a dough hook can elevate your baking experience.
When kneading dough, the goal is to create a smooth ball of dough and develop gluten. This is where the dough hook attachment for a stand mixer comes in handy. It helps to automate the process and save you time and effort. The dough hook mimics the motion of hand kneading, ensuring consistent results every time.
To achieve the right dough consistency, it’s important to follow the recipe’s instructions and pay attention to factors like flour type, environment, and kneading technique. Proper measurements, gradual addition of liquid, and adjusting ingredients as necessary are key. Avoid overmixing, adding too much flour, or kneading too aggressively, as this can result in a dense and tough loaf of bread.
The Window Pane Test
A useful technique to determine if the dough is ready for rising is the window pane test. Take a small piece of dough and gently stretch it with your fingers. If it stretches without tearing and becomes translucent, like a window pane, then the gluten has been sufficiently developed, and the dough is ready for its first rise.
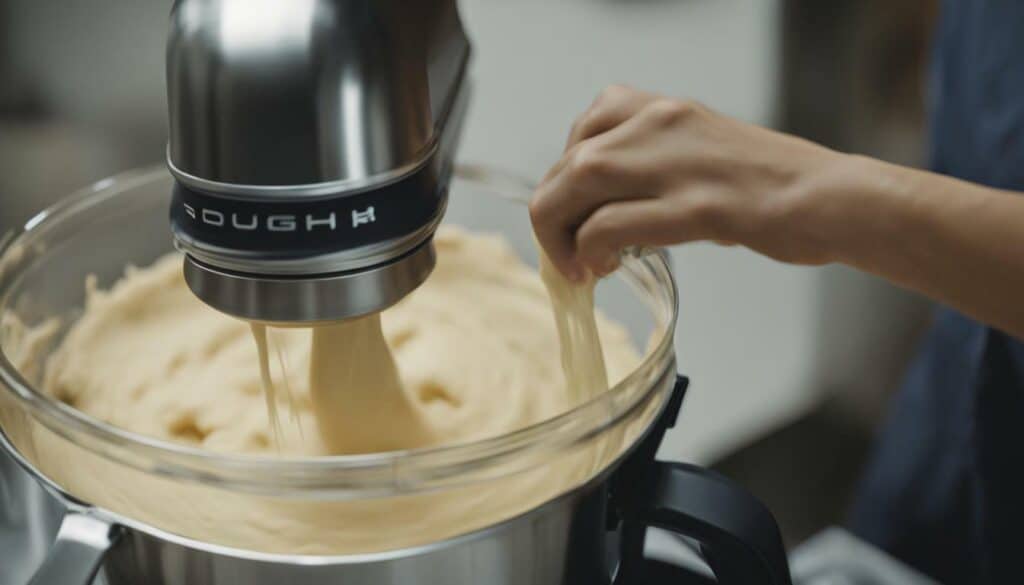
Using a dough hook with a stand mixer provides convenience and consistent results. It allows you to multitask while the machine does the hard work of kneading the dough. This is especially beneficial when dealing with high hydration dough or working on multiple batches.
So, embrace the art of kneading dough with a dough hook, experiment with different techniques, and enjoy the pleasure of creating delicious homemade bread.
Achieving the Perfect Dough Consistency
To achieve the perfect dough consistency, it’s essential to master the art of using a dough hook attachment with your mixer while keeping a keen eye on measurements and ingredient ratios. The dough hook is a versatile tool that helps in kneading dough efficiently, saving both time and effort. But how do you ensure that your dough turns out just right every time?
First, start by properly measuring your ingredients. Accurate measurements are crucial to achieving the desired dough consistency. Too much flour can result in a dry and dense dough, while too little can lead to a sticky and unmanageable mess. Use a kitchen scale for precise measurements, especially when working with bread recipes that require specific ratios of flour to liquid.
Next, consider the gradual addition of liquid. When using a dough hook, it’s crucial to add liquid ingredients slowly to the dry ingredients. This allows the dough hook to incorporate the liquid evenly, ensuring proper hydration and gluten development. Gradually adding liquid also helps you maintain better control over the dough’s consistency, making it easier to adjust if needed.
| Dough Hook Benefits |
|---|
| Efficiently kneads dough, saving time and effort |
| Ensures even mixing and gluten development |
| Allows for better control over dough consistency |
| Reduces the need for manual kneading |
Lastly, adjust the ingredients as necessary. Different factors such as flour type, humidity, and even the size of your eggs can affect the dough’s consistency. If your dough is too dry, add a teaspoon of liquid at a time until it reaches the desired texture. If it’s too sticky, sprinkle in a tablespoon of flour until it becomes more manageable. The key is to make small adjustments gradually to avoid overcompensating.
When using a dough hook, it’s important to avoid some common mistakes that can affect your dough’s consistency. Overmixing can lead to tough bread, so be mindful of the mixing time suggested in your recipe. Additionally, resist the temptation to add too much flour while kneading. Too much flour can result in a dense and dry dough, so use caution when adjusting the consistency.
Remember, achieving the perfect dough consistency takes practice and experimentation. With time, you’ll develop a feel for the dough, knowing exactly when it’s ready for rising. So don’t be discouraged if your first few attempts aren’t perfect. Keep experimenting, and soon enough, you’ll be creating beautifully risen loaves and delectable baked treats with ease.
Understanding the Role of Yeast in Bread Dough
Yeast is a magical ingredient in bread making, and the dough hook can assist in ensuring it’s well-distributed and activated, resulting in a delightful rise and flavor. Yeast is responsible for the fermentation process, converting sugars into carbon dioxide and alcohol, which leads to the dough’s rise. It also contributes to the flavor and texture of the final baked product.
In bread making, there are three main types of yeast: active dry yeast, instant yeast, and fresh yeast. Active dry yeast needs to be dissolved in warm water before adding it to the dough. Instant yeast, on the other hand, can be mixed directly into the dry ingredients. Fresh yeast is sold in blocks and should be crumbled and dissolved in water before using.
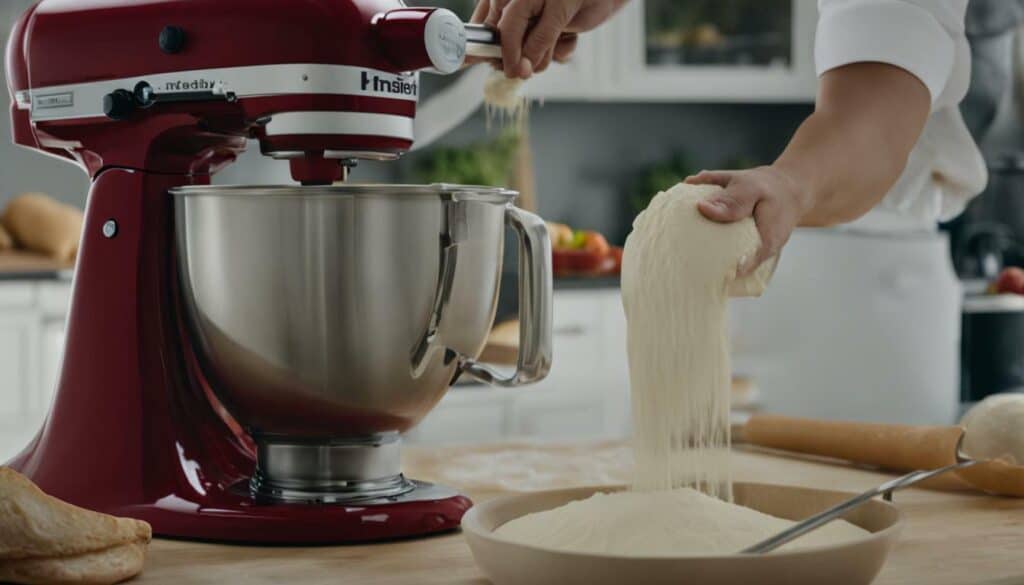
When using a dough hook, the yeast is evenly distributed throughout the dough, ensuring that fermentation occurs uniformly. The dough hook aids in activating the yeast by providing the necessary kneading action, mixing the ingredients thoroughly while developing gluten. This leads to a better rise and a more consistent texture in the final baked product.
To achieve optimal results, it’s important to follow the recipe’s instructions regarding yeast quantity and activation. The dough should be properly proofed, allowing the yeast to work its magic and create air bubbles that give the bread its light and fluffy texture. A warm and draft-free environment is essential for the yeast to thrive during the proofing process.
Understanding the role of yeast in bread dough and how the dough hook can enhance its action is crucial for successful baking. With the aid of a dough hook, you can achieve a well-risen, flavorful loaf every time. So, next time you embark on a bread-making adventure, remember the power of yeast and the assistance the dough hook provides in creating a delightful baking experience.
The Proof is in the Rising
Proper proofing is key to achieving that desired rise and fluffy texture, and the dough hook can aid in creating the perfect environment for yeast to work its magic. When using a dough hook, it’s important to follow the recommended proofing time and create a warm, draft-free environment.
During the proofing stage, the dough undergoes a secondary rise, allowing the yeast to ferment and produce carbon dioxide. This gas gets trapped within the gluten structure, causing the dough to expand and rise. It’s essential to give the dough enough time to proof, as this ensures good flavor development and a light, airy texture in the final baked goods.
One useful technique to check if the dough is properly proofed is the “poke test.” Gently press your finger into the dough, and if the indentation slowly springs back, the dough is ready to bake. If the indentation quickly recovers, the dough needs more time to rise. Conversely, if the dough doesn’t spring back at all, it may have overproofed, resulting in a dense and overly yeasty final product.
To create the ideal environment for proofing, place the dough in a warm spot, such as a turned-off oven with the light on, or cover it with a damp cloth and let it rest in a draft-free area. The dough hook in a stand mixer can help facilitate the proofing process by gently kneading the dough while it rises, aiding in gluten development and even distribution of yeast.
Remember, proper proofing is just as important as kneading when it comes to achieving bakery-quality results in your homemade bread. So, take your time, let the dough rise to perfection, and enjoy the mouthwatering rewards of your patience and attention to detail.
Troubleshooting Dough Issues
Even with the best techniques, occasional hiccups may occur. In this section, we will troubleshoot common dough issues and tackle them head-on.
Problem: Dry or Crumbly Dough
- Possible Causes: Insufficient liquid or overmixing.
- Solution: Add small amounts of liquid gradually until the dough reaches the desired consistency. Avoid overmixing, as it can lead to gluten development and a dry texture. Adjust the recipe if needed.
Problem: Sticky or Wet Dough
- Possible Causes: Too much liquid or undermixing.
- Solution: Gradually add flour to the dough until it becomes less sticky. Be careful not to add too much flour, as it can lead to a dense texture. Mix for a longer time to develop gluten and achieve the desired consistency.
Problem: Dough Not Rising
- Possible Causes: Inactive yeast, incorrect proofing conditions, or insufficient kneading.
- Solution: Make sure the yeast is fresh and activated by proofing it in warm water with a pinch of sugar. Provide a warm and draft-free environment for proofing. Knead the dough adequately to develop gluten, allowing it to rise properly.
By addressing these common dough issues, you can improve your baking results and create delightful treats every time. Remember to experiment, make adjustments, and enjoy the process of mastering dough hook techniques.
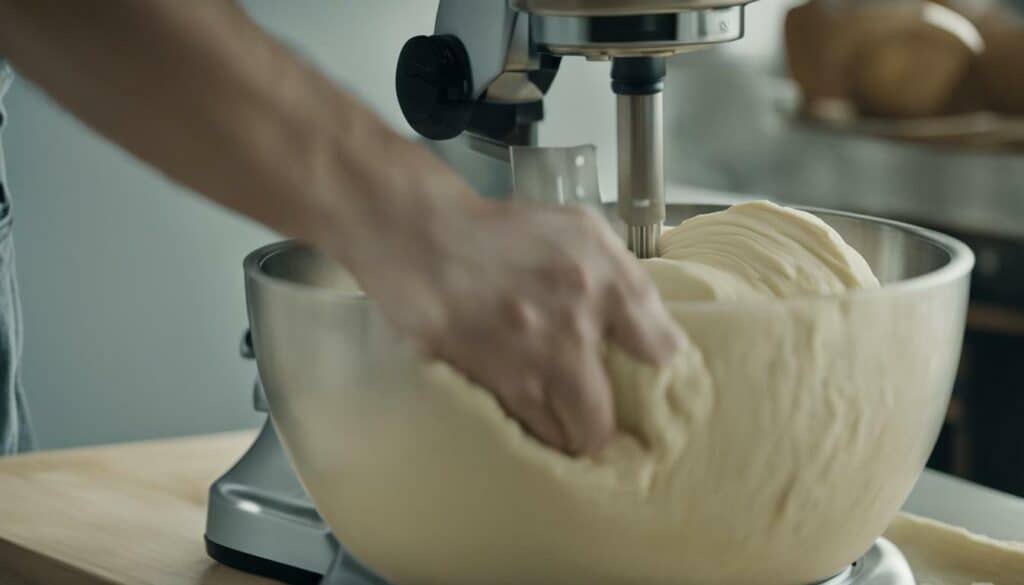
With a few tips and tricks up your sleeve, you’ll be kneading dough like a pro in no time. Let’s explore some expert advice to elevate your baking skills!
1. Choose the right kneading technique: When using a dough hook, it’s important to understand the different kneading techniques. For softer doughs, such as brioche or cinnamon rolls, use the low-speed setting and let the dough hook do most of the work. For stiffer doughs, like bagels or pizza dough, start with a medium-speed setting to incorporate the ingredients, then increase to high-speed for thorough kneading.
2. Monitor the dough consistency: As you knead the dough with a dough hook, pay attention to its consistency. The dough should be tacky but not overly sticky. If it feels too sticky, gradually add a small amount of flour. On the other hand, if the dough appears too dry, add a little bit of water or other liquid called for in the recipe. Adjustments should be made gradually to ensure the right consistency.
3. Avoid overmixing: While it’s important to knead the dough thoroughly, be careful not to overmix it. Overmixing can result in a tough texture and may affect the final product. As a general rule, once the dough looks smooth and elastic, it’s ready for rising. You can also perform the window pane test by gently stretching a small piece of dough. If it becomes thin and translucent without tearing, the gluten has developed properly.
4. Use the dough hook attachment properly: The dough hook is designed to efficiently knead dough, but it’s essential to use it correctly. Attach the dough hook to your stand mixer and adjust the speed settings accordingly. Allow the mixer to do the work, but keep an eye on the dough’s progress. Stop the mixer occasionally to scrape down the sides of the bowl to ensure a thorough mix.
Remember, practice makes perfect when it comes to kneading dough. By following these tips and techniques, you’ll be well on your way to achieving the perfect dough consistency every time. So roll up your sleeves, turn on your stand mixer, and let the dough hook do its magic!
The Advantages of Using a Dough Hook
Using a dough hook not only simplifies the kneading process but also offers numerous advantages that make it an invaluable tool for all baking enthusiasts. Whether you’re a beginner or an experienced baker, a dough hook can elevate your baking experience and help you achieve perfect dough consistency with less effort.
One of the main benefits of using a dough hook is time-saving. Kneading dough by hand can be a lengthy and tiring process, especially when dealing with sticky dough or large batches. With a stand mixer and a dough hook attachment, the machine does the hard work for you, allowing you to multitask or prepare other ingredients while the dough is being kneaded.
Another advantage of using a dough hook is its ability to achieve consistent results. When kneading by hand, it can be challenging to maintain the same level of pressure and motion throughout the process. This can result in unevenly kneaded dough, leading to inconsistencies in texture and rise. However, with a dough hook, the mixer’s consistent speed and motion ensure that the dough is kneaded evenly every time, resulting in a uniform and smooth texture.
| Dough Hook Benefits |
|---|
| Time-saving |
| Consistent results |
| Effortless kneading |
| Versatility with different dough types |
| Reduced mess and cleanup |
“Using a dough hook not only simplifies the kneading process but also offers numerous advantages that make it an invaluable tool for all baking enthusiasts.” – Professional Baker
Effortless kneading is also a significant benefit of using a dough hook. The powerful mixing action of the hook effectively works the dough, stretching and developing the gluten strands that give baked goods their structure. This means less physical effort for you, allowing you to enjoy the process of baking without the strain of kneading by hand.
A dough hook is also a versatile tool that can handle different types of dough. From soft, sticky dough for pastries to dense, stiff dough for bread, the dough hook attachment can handle it all. Its design allows for efficient kneading, regardless of the consistency or hydration level of the dough. It’s a valuable addition to your baking arsenal that can tackle a wide range of recipes with ease.
Lastly, using a dough hook reduces the mess and cleanup involved in traditional hand kneading. With the dough contained within the mixing bowl, there’s less chance of flour and dough flying everywhere. This means less time spent cleaning up and more time enjoying the fruits of your labor.
Summary
In summary, using a dough hook offers numerous advantages that simplify the kneading process and enhance your overall baking experience. It saves you time, ensures consistent results, and makes kneading effortless. The versatility of a dough hook allows you to tackle different dough types with ease, while reducing mess and cleanup. So, why not take advantage of this invaluable tool and take your baking to new heights?
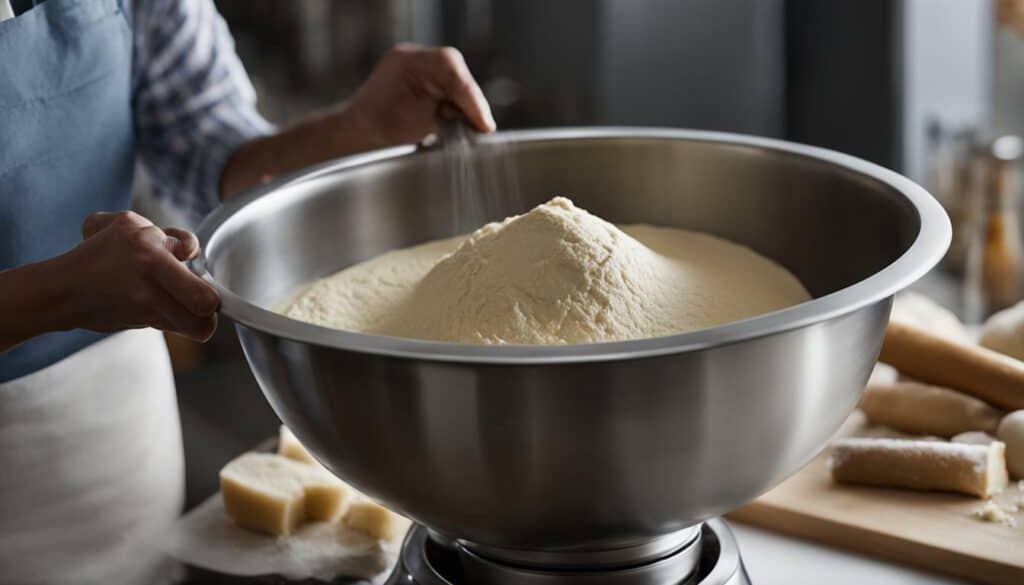
Ah, the joy of perfectly kneaded dough! Join me in exploring the pleasures it brings to your baking world and the delightful treats you can create. Kneading dough is an essential step in the baking process as it helps create a smooth ball of dough and develop gluten, resulting in a light and airy texture.
When it comes to kneading, you have the option to do it by hand or with a stand mixer equipped with a dough hook. Using a dough hook can save you time and effort, allowing you to achieve the desired consistency more efficiently. It’s a game-changer, especially when you’re working with larger batches of dough.
Proper technique and timing are crucial when kneading dough. The dough should be kneaded until it looks and feels the way it’s described in the recipe. To determine if the dough is ready for rising, you can perform the window pane test. This involves gently stretching a small piece of dough to see if it forms a thin, translucent membrane without tearing.
As with any baking process, various factors can affect the dough, including the type of flour used, the environment, and your kneading technique. It’s important to pay attention to these variables and make adjustments accordingly to achieve the best results. With practice, you’ll become more attuned to the dough’s behavior and know how to adapt accordingly.
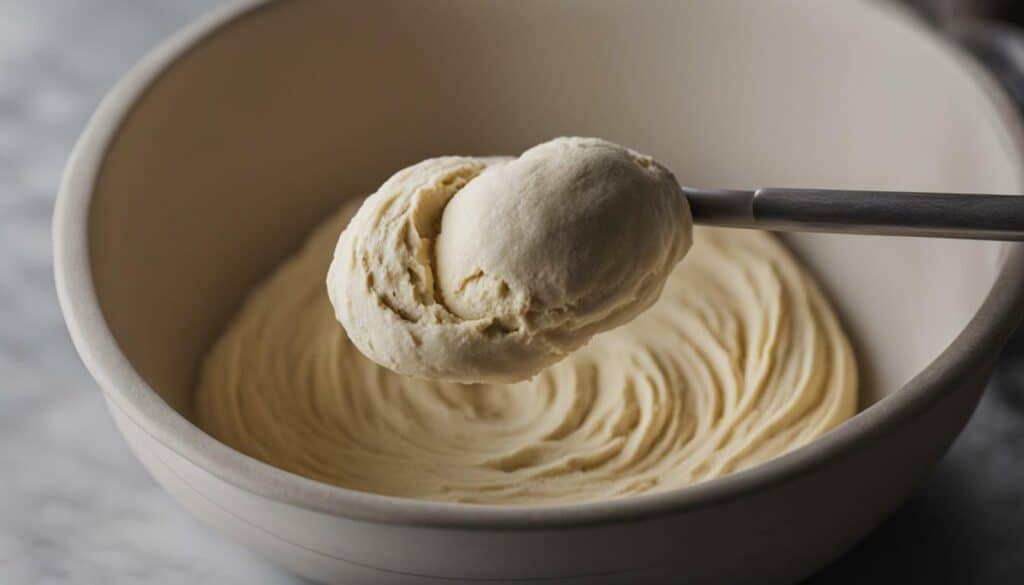
Using a dough hook with your stand mixer not only saves time and effort but also enhances your overall baking experience. By letting the machine do the hard work of kneading, you can focus on other preparations or simply take a moment to relax and enjoy the process. The dough hook allows for consistent and thorough kneading, resulting in a more uniform texture and better rise.
Whether you’re making bread, pizza dough, or pastries, a perfectly kneaded dough sets the stage for delicious creations. From fluffy rolls and crusty baguettes to flaky croissants and tender cakes, the possibilities are endless. So why not embrace the pleasures of working with perfectly kneaded dough and elevate your baking repertoire?
| Benefits of Using a Dough Hook | |
|---|---|
| 1. | Time-saving: Kneading by hand can be a labor-intensive and time-consuming process. With a dough hook, you can significantly reduce the time and effort required. |
| 2. | Consistency: The dough hook ensures even mixing and kneading, resulting in a consistent texture throughout the dough. |
| 3. | Effortless mixing: The powerful rotation of the stand mixer’s dough hook effortlessly combines ingredients, allowing for better incorporation and distribution. |
| 4. | Controlled kneading: With adjustable speed settings, you have full control over the kneading process, allowing you to achieve the perfect dough consistency for different recipes. |
So, grab your dough hook, fire up your stand mixer, and embark on a baking adventure that celebrates the pleasures of perfect dough. From the kneading process to the final product, you’ll find satisfaction in every step and enjoy the tantalizing aromas and flavors that come with it. Happy baking!
Conclusion
Congratulations on completing your guide to mastering dough hook use! Armed with this knowledge, you’re now equipped to elevate your baking skills and create delicious bread and pastries with ease.
Kneading is an essential step in the baking process, allowing you to create a smooth ball of dough and develop gluten. Whether you choose to knead by hand or use a stand mixer with a dough hook, the goal is to achieve the desired texture and consistency as described in the recipe.
Remember, factors such as the type of flour, the environment, and your kneading technique can affect the dough. Pay close attention to the dough’s appearance and feel, and use the window pane test to determine if it’s ready for rising.
By utilizing a dough hook with your stand mixer, you can save time and effort in the kneading process. Proper measurements, gradual addition of liquid, and adjusting ingredients as necessary are key to achieving the perfect dough consistency.
Keep in mind that overmixing, adding too much flour, and kneading too aggressively can negatively impact the final result. Practice troubleshooting common dough issues and be patient with the proofing process to ensure successful baking.
With your newfound understanding of dough hook use and its benefits, you’re now ready to embark on your baking adventures with confidence. Enjoy the pleasures of working with perfectly kneaded dough and let it elevate your creations to a new level of deliciousness.
FAQ
Q: Why is kneading important in baking?
A: Kneading helps create a smooth ball of dough and develops gluten, which gives bread its structure.
Q: Can I knead dough by hand?
A: Yes, you can knead dough by hand, but it can be time-consuming and requires more effort compared to using a stand mixer with a dough hook.
Q: How do I know when the dough is ready?
A: The dough should look and feel the way it’s described in the recipe. You can also perform the window pane test to check if the gluten has developed properly.
Q: What factors can affect the dough?
A: Different factors such as flour type, environment, and kneading technique can affect the dough consistency and texture.
Q: How can using a dough hook save time and effort?
A: Using a dough hook with a stand mixer allows for faster and more efficient kneading compared to doing it by hand.
Q: What should I consider for achieving the right dough consistency?
A: Proper measurements, gradual addition of liquid, and adjusting ingredients as necessary are important for achieving the desired dough consistency.
Q: What should I avoid when using a dough hook?
A: Avoid overmixing, adding too much flour, and kneading too aggressively as these can negatively impact the dough’s texture and rise.
Q: What role does yeast play in bread dough?
A: Yeast is a key ingredient that contributes to the flavor, texture, and rise of bread dough.
Q: What are the different types of yeast?
A: There are different types of yeast, including active dry yeast, instant yeast, and fresh yeast.
Q: What is proofing?
A: Proofing is the process of allowing the dough to rise before baking, allowing the yeast to ferment and create a light and airy texture.
Q: What is the importance of proper proofing time and environment?
A: Proper proofing time and a warm, draft-free environment are important for successful baking and achieving the desired rise in the dough.
Q: How can I troubleshoot common dough issues?
A: Troubleshooting common dough issues involves identifying the problem, such as over- or under-proofing, and making adjustments in terms of time, temperature, or technique.
How Can Using a Dough Hook Improve My Baking Skills?
Unraveling the mystery of dough hooks is the key to enhancing your baking skills. By using a dough hook attachment, you can effortlessly knead dough, eliminating exhausting manual effort. It ensures proper gluten development, resulting in light and airy bread. Experiment with various recipes, and let the dough hook work its magic, making baking a delightful experience.




Leave a Reply