Canning fruit is a popular method of preserving fresh fruit to enjoy year-round. Whether you’re interested in canning fruit at home or curious about the commercial fruit canning industry, this comprehensive guide will walk you through the step-by-step process of how fruit is canned. From the tools and equipment needed to the proper packing and processing techniques, you’ll learn everything you need to know about fruit canning. Discover the advantages of canning fruit, the benefits of homemade canned fruit, and explore the various preservation techniques used in the fruit canning industry.
- Understanding the step-by-step process of canning fruit
- Exploring the benefits and advantages of homemade canned fruit
- Discovering the various preservation techniques used in the fruit canning industry
- Gaining insights into the commercial fruit canning industry
- Learning proper techniques for successful fruit canning
The Importance of Safe Home Canning
Safe home canning is crucial for preserving fruit while ensuring the safety of your canned goods. By following proper canning guidelines, you can prevent the growth of harmful bacteria and enjoy your canned fruit with peace of mind. Let me guide you through the importance of safe home canning, the essential tools and equipment you’ll need, and the process of sterilizing jars to maintain a hygienic canning environment.
The significance of home canning safety
When it comes to home canning, safety should always be the top priority. Inadequate canning practices can lead to spoilage, contamination, and even serious health risks. By adhering to safe canning methods, you can protect yourself and your loved ones from foodborne illnesses and ensure the longevity of your canned fruit.
Essential canning tools and equipment
Proper canning tools and equipment are essential for successful home canning. Here are some of the must-have items:
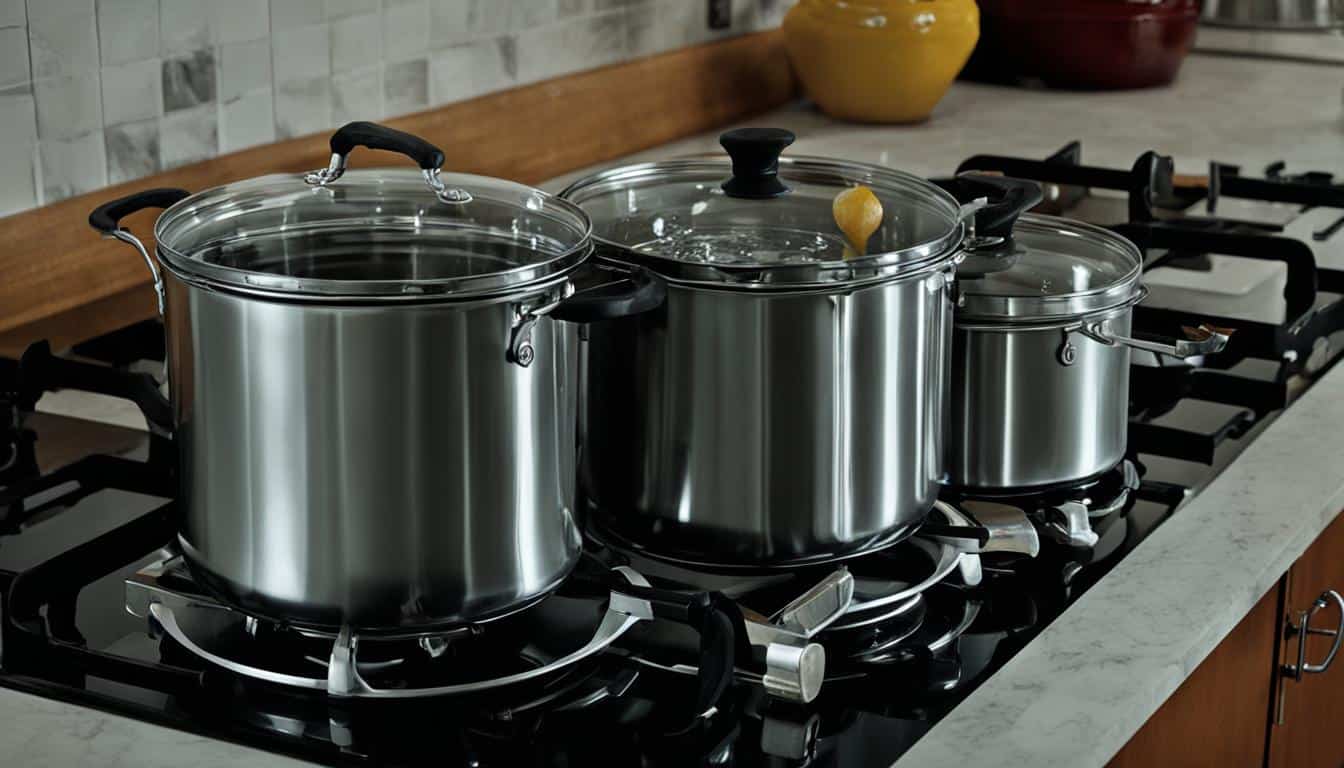
- A large, non-reactive pot: Choose a pot made of stainless steel or enamel-coated steel to prevent acidic fruit from reacting with the metal.
- Jars: Use jars specifically designed for canning, such as Mason jars, with proper seals and lids.
- A canning rack: This helps keep the jars off the bottom of the pot to prevent direct heat contact and ensure even cooking.
- A jar lifter: This tool allows you to safely handle hot jars without risking burns.
- A funnel: A funnel with a wide opening helps you fill jars neatly and efficiently.
Sterilizing jars for a hygienic canning environment
Sterilizing jars is an essential step to create a clean and hygienic canning environment. Here’s how you can sterilize your jars:
- Wash the jars, lids, and rings in hot soapy water.
- Rinse the jars thoroughly to remove any soap residue.
- Place the jars in a large pot and fill it with enough water to fully cover the jars.
- Bring the water to a boil and let the jars boil for 10 minutes.
- Carefully remove the jars from the boiling water using a jar lifter and let them air dry.
- Alternatively, you can sterilize the jars by placing them in a preheated oven at 225°F (107°C) for 10 minutes.
Following safe home canning practices, using the right tools and equipment, and sterilizing your jars properly will ensure that your canned fruit is safe to consume and maintains its quality for an extended period.
Choosing and Preparing the Fruit
When it comes to fruit canning, selecting the right fruit and preparing it properly are essential for achieving the best results. From determining the ideal amount of fruit per jar to peeling and slicing techniques, every step plays a significant role in ensuring the quality and taste of the final product.
Determining the Appropriate Amount of Fruit per Jar
Before embarking on your fruit canning journey, it’s important to determine the right amount of fruit to pack into each jar. This can be done by considering the type of fruit, its size, and personal preference. As a general rule of thumb, a standard quart-sized jar typically holds about 2 to 3 pounds of fruit. However, it’s always a good idea to consult specific recipes or guidelines for accurate measurements.
Properly Preparing the Fruit
Properly preparing the fruit is crucial for maintaining its quality and flavor during the canning process. Here are some tips to ensure you get it right:
- Peeling the Fruit: Depending on the type of fruit, you may need to peel it before canning. Some fruits, like peaches and tomatoes, have easily removable skins when blanched in boiling water for a brief period. Alternatively, you can use a peeler or knife to remove the skin manually.
- Slicing the Fruit: Once the fruit is peeled, it’s time to slice it into appropriate sizes for canning. Consider the desired texture and appearance of the final product when deciding on the thickness or shape of the slices. For example, thin slices are ideal for delicate fruits like strawberries, while larger chunks work well for fruits like peaches.
- Preventing Fruit Browning: Browning is a natural enzymatic reaction that occurs when certain fruits are exposed to air. To prevent this, you can treat the fruit with a solution of lemon juice, ascorbic acid, or vitamin C to preserve its color. Follow the recommended guidelines for the specific fruit you’re canning to ensure the best results.
Remember, the freshness and quality of the fruit you choose are just as important as the canning process itself. Select ripe, unblemished fruit for optimal results.
Now that you know how to choose and prepare the fruit for canning, you’re one step closer to enjoying the flavorful goodness of homemade canned fruit. In the next section, we’ll dive into the details of the boiling water bath canning method, where you’ll learn how to pack your prepared fruit into jars and ensure the perfect seal.
Canning Using a Boiling Water Bath
The boiling water bath canning process is a popular method for preserving fruit at home. It is a simple and effective way to ensure the safety and longevity of your canned fruit. In this section, I will guide you through the step-by-step process of canning using a boiling water bath, providing you with all the necessary instructions and techniques for successful fruit preservation.
Jar Filling Instructions
Proper jar filling is crucial to maintain the quality and integrity of the canned fruit. Follow these instructions to ensure the best results:
- Clean and sterilize your canning jars and lids before use.
- Prepare your fruit by washing, peeling, and slicing it according to your preference.
- Fill each jar with the prepared fruit, leaving a suitable headspace as recommended for the specific fruit you are canning.
- Remove any air bubbles by gently tapping the jars on a hard surface or by using a plastic utensil to release trapped air pockets.
- Wipe the jar rim with a clean, damp cloth to ensure a proper seal.
- Place the lid on the jar, ensuring it is centered and securely fastened.
Proper Sealing and Lids
A proper seal is essential to maintain the freshness and safety of your canned fruit. Follow these tips to achieve a secure seal:
- Use new, unused canning lids for each batch of fruit.
- Place the lids on the jar, ensuring they are free from any defects or damage.
- Tightly screw on the jar bands, but do not overtighten.
Processing Time
The processing time for boiling water bath canning varies depending on the type of fruit you are canning. It is crucial to follow the recommended processing time to ensure the proper temperature is reached to kill any potential bacteria and create a safe seal. Refer to the table below for general processing time guidelines:
| Fruit Type | Processing Time |
|---|---|
| Apples | 20 minutes |
| Berries | 10 minutes |
| Peaches | 25 minutes |
| Pears | 30 minutes |
These are general guidelines, so it is important to refer to reliable sources and adjust the processing time based on altitude and specific fruit requirements.
By following these instructions for canning using a boiling water bath, you can confidently preserve your favorite fruits and enjoy their flavors throughout the year.
How to Hot Pack Fruit for Canning
When it comes to preserving fruit, one method that stands out is the hot pack canning method. This technique involves simmering the fruit before packing it into jars, allowing you to achieve a unique texture and flavor in your canned fruit.
To hot pack fruit for canning, follow these simple steps:
Begin by selecting ripe, high-quality fruit. It’s important to choose fruit that is in its prime to ensure the best flavor and texture.
Thoroughly wash and peel the fruit as needed. For larger fruits like peaches or pears, you may need to slice them into smaller pieces for easier packing.
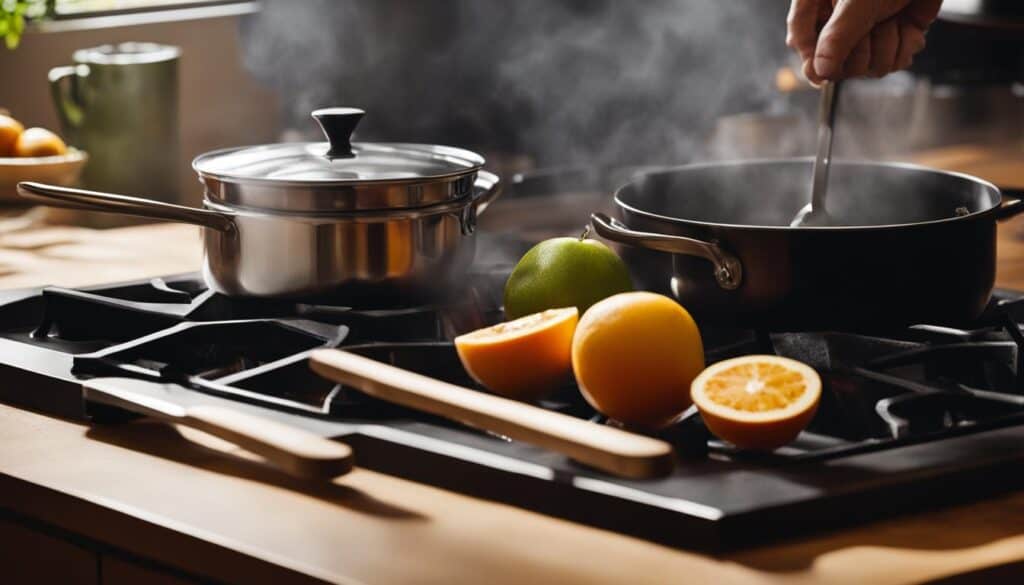
In a large pot, bring water to a simmer. Add the prepared fruit and let it simmer for a few minutes until it becomes soft and slightly tender.
Using a slotted spoon or tongs, carefully transfer the simmered fruit into clean, sterilized jars. Ensure that the fruit is packed firmly but not too tightly to allow for proper heat distribution during processing.
Next, carefully pour the simmering liquid over the fruit in the jars, leaving a headspace of about ½ inch (1.27 cm) at the top.
Gently tap the jars on the countertop to remove any air bubbles. You can also use a non-metallic utensil, such as a chopstick, to remove any stubborn air bubbles.
Wipe the rim of each jar with a clean, damp cloth to ensure a proper seal. Place a lid on each jar, followed by a screw band. Tighten the screw band until it is finger-tight.
Now it’s time to process the jars. Place them in a canning pot or a large stockpot fitted with a rack. Add enough water to cover the jars by about 1 inch (2.54 cm). Bring the water to a gentle boil, and process the jars for the recommended time based on the type of fruit and your altitude.
Once the processing time is complete, carefully remove the jars from the pot using canning tongs or a jar lifter. Place them on a towel or cooling rack to cool completely.
As the jars cool, you may hear a popping sound, which indicates that the jars are properly sealed. Allow the jars to cool undisturbed for 12 to 24 hours.
After the cooling period, check the seals by pressing the center of each lid. If the lid is firm and does not move, the jar is properly sealed. If any jars have not sealed, refrigerate them and consume the contents within a few days.
Label and date your jars before storing them in a cool, dark place away from direct sunlight. Properly canned fruit can stay fresh for up to a year.
Tips for Hot Pack Canning:
- Choose fruits that are firm and at the peak of ripeness for the best results.
- Simmer the fruit just until it becomes soft and slightly tender. Overcooking can lead to mushy fruit in the jars.
- Make sure to leave the recommended headspace in the jars to allow for expansion during processing.
- Properly sterilize jars and lids before using them for canning.
- Follow recommended processing times and adjust for altitude if necessary.
- Store your canned fruit in a cool, dark place to ensure maximum shelf life.
Hot pack canning is a fantastic option for preserving your favorite fruits. The simmering process helps enhance the flavors and textures of the fruit, resulting in delicious and versatile canned goods. By following the steps outlined above and applying these helpful tips, you’ll be well on your way to enjoying homemade, hot-packed canned fruit throughout the year.
| Advantages of Hot Pack Canning | Disadvantages of Hot Pack Canning |
|---|---|
| The simmering process enhances flavors and textures. | Requires more time and effort compared to other canning methods. |
| Creates a unique texture compared to other canning methods. | Slightly longer processing times. |
| Allows for better liquid distribution in the jars. | May lead to softer fruit due to the simmering process. |
Advantages of Canning Fruit
When it comes to preserving fruit, canning offers numerous advantages and benefits. Let’s explore why fruit canning has become a popular choice for many:
- Year-round availability of fruit: By canning fruit, you can enjoy your favorite fruits throughout the year, even when they are out of season. This means you can savor the freshness and flavors of your preferred fruits whenever you desire.
- Convenience: Having canned fruit readily available in your pantry provides convenience and flexibility in meal planning. It allows you to easily incorporate fruit into your recipes, desserts, or enjoy it as a healthy snack.
- Reduction of food waste: Canning fruit is an effective way to reduce food waste. Instead of letting overripe or excess fruit go to waste, you can preserve it by canning. This not only saves money but also contributes to a more sustainable lifestyle.
Discover how canning fruit enhances your culinary experience and ensures the availability of your favorite fruits all year round.
“Canning fruit offers the convenience of having fresh flavors at your fingertips while reducing food waste.” – [Your Name]
Commercial Fruit Canning Industry
The commercial fruit canning industry is a vital player in meeting the demand for canned fruit among consumers. Fruit canning companies employ industry standards and leverage efficient processes for the mass production and distribution of canned fruit.
These companies follow stringent guidelines to ensure the highest quality and safety standards are met during the canning process. From sourcing the freshest fruit to implementing state-of-the-art technology, commercial fruit canning companies prioritize delivering products that meet customer expectations.
Mass production of canned fruit involves advanced machinery and automated systems that aid in the efficient processing, packaging, and sealing of fruits. The use of modern techniques enables companies to produce large quantities of canned fruit to meet consumer needs.
Once the canned fruit is ready, it undergoes a distribution process that ensures its availability in various markets. These distribution channels may include wholesalers, retailers, and direct-to-consumer platforms, allowing consumers to easily access and enjoy a wide variety of canned fruit.
By partnering with local farmers and sourcing fruit from different regions, fruit canning companies maintain a steady supply of high-quality produce for canning. This collaboration supports local economies and provides consumers with an extensive selection of canned fruit options.
Benefits of Commercial Fruit Canning
“The commercial fruit canning industry ensures the availability of canned fruit in the market, offering consumers a convenient and reliable source of preserved fruit throughout the year.”
The commercial fruit canning industry plays a crucial role in meeting the demands of consumers who seek the convenience of canned fruit. Its efficient processes, adherence to industry standards, and wide distribution networks contribute to fulfilling the needs of fruit enthusiasts seeking preserved fruit options all year round.
Different Fruit Preservation Techniques
While canning is a popular fruit preservation technique, there are alternative methods that can be just as effective. Freezing fruit, dehydrating fruit, and making fruit preserves are all great options for preserving the flavors and nutrients of your favorite fruits. Let’s explore these different fruit preservation techniques:
1. Freezing Fruit
Freezing fruit is a simple and convenient way to preserve its freshness. By freezing fruit, you can extend its shelf life and enjoy it throughout the year. To freeze fruit, start by washing and drying it thoroughly. Then, chop or slice the fruit into bite-sized pieces and arrange them in a single layer on a baking sheet. Place the baking sheet in the freezer until the fruit is frozen solid. Once frozen, transfer the fruit to airtight containers or freezer bags and label them with the date. Frozen fruit can be used in smoothies, baked goods, or enjoyed as a refreshing snack.
2. Dehydrating Fruit
Dehydrating fruit removes the moisture from the fruit, preserving its flavor and increasing its shelf life. You can dehydrate fruit using a food dehydrator, an oven, or even the sun. To dehydrate fruit, wash and dry it thoroughly, and cut it into uniform slices. Arrange the fruit slices on dehydrator trays or a baking sheet lined with parchment paper. If using an oven, set it to the lowest temperature and prop the oven door open to allow airflow. Leave the fruit to dehydrate for several hours or overnight, until it becomes dry and leathery. Store the dehydrated fruit in airtight containers and store them in a cool, dry place. Dehydrated fruit can be enjoyed as a healthy snack or added to trail mixes, granola, and baked goods.
3. Making Fruit Preserves
Fruit preserves, such as jams, jellies, and fruit spreads, are a fantastic way to preserve the flavors of your favorite fruits. Making fruit preserves involves cooking fruit with sugar and sometimes pectin to create a thick, sweet spread. The process typically involves simmering the fruit and sugar mixture until it reaches the desired consistency, then transferring it to sterilized jars and sealing them tightly. Fruit preserves can be enjoyed on toast, in sandwiches, or used as a topping for desserts. They also make lovely homemade gifts for friends and family.
By exploring these alternative fruit preservation techniques, you can enjoy the flavors of your favorite fruits beyond their peak season. Whether you choose to freeze fruit, dehydrate it, or make delicious fruit preserves, these methods offer unique ways to preserve and savor the natural goodness of fruits.
| Method | Advantages |
|---|---|
| Freezing Fruit |
|
| Dehydrating Fruit |
|
| Making Fruit Preserves |
|
How to Store Canned Fruit
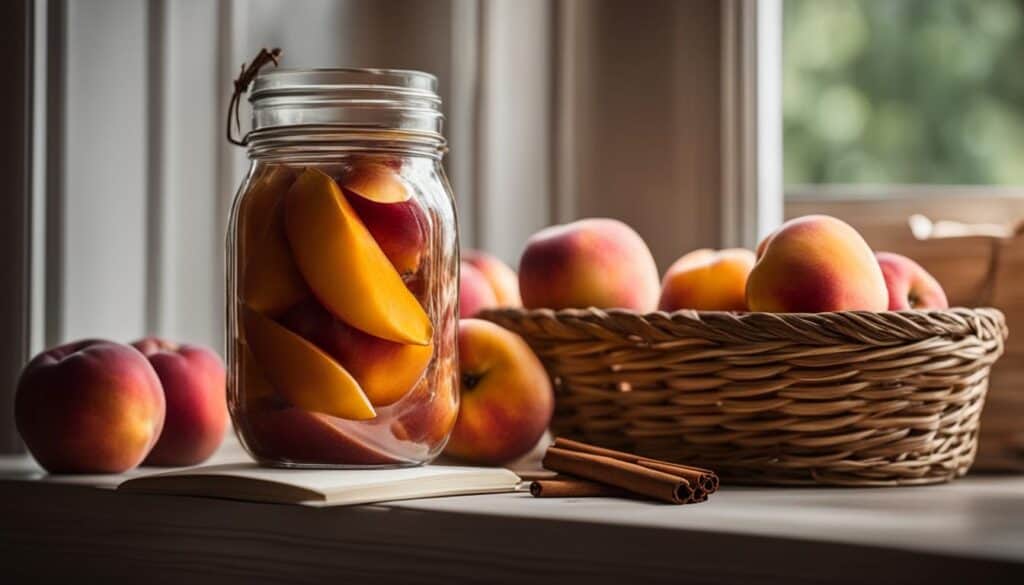
Proper storage is crucial to maintaining the quality and safety of canned fruit. To maximize the longevity of your canned fruit and ensure it remains safe for consumption, it’s important to follow these guidelines:
1. Choose the Right Storage Conditions
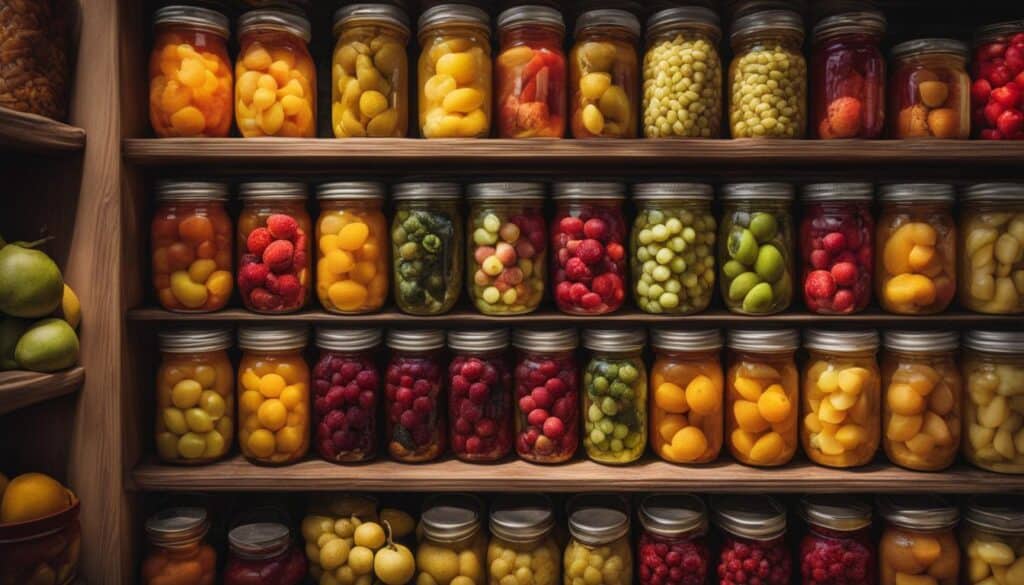
Canned fruit should be stored in a cool, dry place away from direct sunlight. Exposure to heat and light can cause the fruit to deteriorate and lose its flavor and nutritional value. A pantry or basement is an ideal storage location, as long as it meets the temperature and humidity requirements.
2. Check the Seal
Before storing canned fruit, always check the seal to ensure it is intact. If the lid is bulging or the seal is broken or leaking, the fruit may have spoiled and should be discarded. Properly sealed cans will help maintain the freshness of the fruit.
3. Rotate Your Stock
When storing canned fruit, practice the “first in, first out” rule. Place the newest cans at the back of the storage area and use the oldest ones first. This helps prevent cans from expiring and ensures that you consume the fruit within its recommended shelf life.
4. Label and Date
Label each can with the type of fruit and the date it was canned. This will help you keep track of the age of the canned fruit and ensure you use it before it expires. Use a permanent marker or labels that won’t fade or peel off over time.
5. Maintain Proper Hygiene
When handling canned fruit, make sure your hands are clean. Contaminating the cans with dirt or bacteria can shorten the shelf life and compromise the safety of the fruit. Wash your hands thoroughly before handling the cans.
Following these proper storage conditions and practices will help prolong the shelf life of your canned fruit and ensure that it remains safe and delicious for consumption.
Remember, canned fruit has a relatively long shelf life compared to fresh fruit, but it’s essential to check the expiration dates and use the oldest cans first. By storing your canned fruit properly, you’ll be able to enjoy the convenience and taste of preserved fruit throughout the year.
Tips for Successful Fruit Canning
Fruit canning can sometimes be challenging, especially for beginners. To help you achieve successful results, I’ve put together a list of valuable tips and advice for your fruit canning journey. By following these recommendations, you’ll be able to avoid common mistakes, troubleshoot canning issues, and improve your overall canning skills.
1. Choose the Right Fruit:
When it comes to fruit canning, selecting the right fruit is crucial. Choose ripe, high-quality fruit that is free from blemishes or bruises. This will ensure the best flavor and texture in your canned fruit.
2. Properly Sterilize Your Jars:
Clean and sterilize your canning jars before use to prevent contamination and extend the shelf life of your canned fruit. Wash the jars with hot soapy water, rinse thoroughly, and then sterilize them in boiling water for about 10 minutes.
3. Follow Tested and Trusted Recipes:
When canning fruit, it’s important to use tested and trusted recipes. Following a reliable recipe will help you maintain the correct acid levels, processing times, and overall safety of your canned fruit.
4. Avoid Overpacking:
It can be tempting to fill your jars to the brim with fruit, but this can lead to improper sealing and potentially spoil your canned fruit. Leave the recommended headspace, usually around 1/2 to 1 inch, to allow for proper expansion during processing.
5. Use the Hot Pack Method:
For better texture and flavor in your canned fruit, consider using the hot pack method. Simmer the fruit in syrup or juice before packing it into jars. This method helps retain the fruit’s shape and enhances the overall taste.
6. Remove Air Bubbles:
Before sealing your jars, remove any air bubbles trapped inside. Use a plastic or wooden utensil to gently release the bubbles by sliding it along the sides of the jar. This step ensures proper sealing and enhances the appearance of your canned fruit.
7. Properly Seal and Process:
Ensure that your jar lids are properly sealed before processing. Follow the manufacturer’s instructions to apply the lids correctly. When processing your canned fruit, be mindful of the recommended processing time for your specific fruit type and altitude.
8. Cool and Store Properly:
Once your canned fruit has been processed, allow the jars to cool completely before storing them. Store the jars in a cool, dark place, such as a pantry or cellar, away from direct sunlight. Proper storage conditions will help maintain the quality and flavor of your canned fruit.
By following these tips and techniques, you’ll be well on your way to mastering the art of fruit canning. Remember, practice makes perfect, so don’t be discouraged if you encounter challenges along the way. Keep experimenting, learning from your mistakes, and soon you’ll be enjoying delicious, homemade canned fruit all year round.
Conclusion
In conclusion, canning fruit offers an exciting and delicious way to preserve and enjoy your favorite fruits all year long. Whether you prefer the convenience of commercially canned options or the satisfaction of homemade canned fruit, there are numerous benefits to be gained. By following the step-by-step guide provided in this article and utilizing the tips and techniques shared, you can embark on a rewarding fruit canning journey that will elevate your culinary experience.
One of the key advantages of canning fruit is the year-round availability it offers. Instead of being limited to seasonal availability, you can savor the taste of your favorite fruits at any time, regardless of the season. This not only provides convenience but also allows you to explore a wider range of recipes and culinary creations.
Furthermore, canning fruit is a sustainable way to reduce food waste. It enables you to preserve excess or overripe fruits that may otherwise go to waste. By canning these fruits, you can minimize food wastage while still enjoying their flavors and nutritional benefits.
Homemade canned fruit also allows you to have full control over the ingredients and flavors. You can customize the sweetness, add spices or herbs, and experiment with different fruits and combinations. This level of personalization ensures that every jar of homemade canned fruit is tailored to your preferences, making it even more enjoyable and satisfying.
FAQ
How is fruit canned?
Fruit is canned through a step-by-step process that involves selecting and preparing the fruit, packing it into jars, and processing it using either a boiling water bath or hot pack method.
Why is safe home canning important?
Safe home canning is crucial to prevent the growth of harmful bacteria and ensure the longevity of canned fruit. Following proper guidelines, using the right tools and equipment, and sterilizing jars helps maintain a hygienic canning environment.
How do I choose and prepare the fruit for canning?
When canning fruit, it’s important to determine the appropriate amount of fruit per jar, properly peel and slice the fruit, and take measures to prevent fruit browning.
What is the boiling water bath canning method?
The boiling water bath canning method involves filling jars with fruit, removing air bubbles, ensuring proper sealing and lids, and processing the jars in a boiling water bath for a specified time based on the type of fruit being canned.
What is the hot pack method of canning?
The hot pack method involves simmering the fruit before packing it into jars. The fruit is then processed similarly to the boiling water bath method, ensuring proper sealing and cooling before storing.
What are the advantages of canning fruit?
Canning fruit offers year-round availability, convenience, and helps reduce food waste. Homemade canned fruit allows for personalized flavor profiles and control over ingredients.
How does the commercial fruit canning industry work?
The commercial fruit canning industry involves companies that adhere to industry standards and engage in mass production of canned fruit to meet consumer demand. Canned fruit is distributed through various channels to reach the market.
What are the different fruit preservation techniques?
Apart from canning, fruit can be preserved through freezing, dehydrating, and making fruit preserves. These techniques offer alternative options for preserving fruit with different flavors and textures.
How should canned fruit be stored?
Canned fruit should be stored in a cool, dark place with proper storage conditions, such as a pantry or cellar. Following recommended guidelines increases the shelf life and maintains the quality of the canned fruit.
What tips can improve fruit canning success?
To improve fruit canning, it’s important to avoid common mistakes, troubleshoot issues, and learn from experienced canners. These tips and advice can enhance your canning techniques and yield better results.
Why should I consider canning fruit?
Learning how to can fruit allows you to enjoy your favorite fruits year-round and enjoy the benefits of homemade canned fruit, including convenience, sustainability, and the satisfaction of preserving your own food.

Leave a Reply