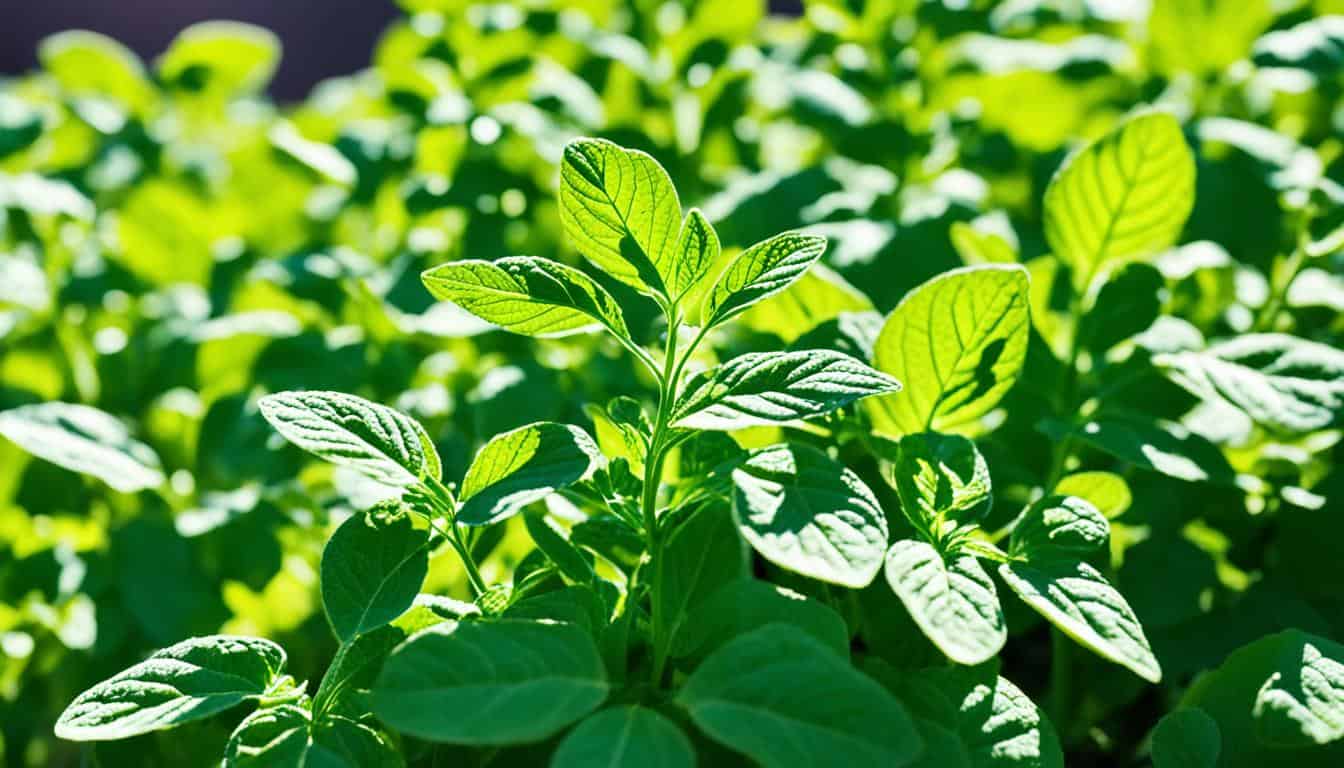
Did you know that potato plant leaves play a crucial role in determining the yield of your crop? It’s true! The health and vitality of your potato plant leaves directly impact the quality and quantity of the potatoes you harvest. By properly caring for your potato plant leaves, you can ensure a bountiful harvest of delicious spuds.
To help you achieve optimal potato plant care, I’ve compiled my top tips for caring for potato plant leaves. From watering and fertilizing to pruning and protection, these tips will keep your potato plants thriving and your harvest abundant. Let’s dig in and discover how to maintain healthy and vibrant foliage, leading to a successful potato crop.
Key Takeaways:
- Proper care of potato plant leaves is essential for a successful potato crop.
- Water your potato plants early in the morning to ensure they receive adequate moisture.
- Earthing up potatoes protects the leaves from excessive sunlight and prevents the tubers from turning green.
- Use slow-acting, natural fertilizers to provide the necessary nutrients for leaf growth.
- If your potato plants develop leaf diseases, carefully prune the affected leaves to prevent the spread.
Watering Potato Plants: Ensuring Moisture for Healthy Leaves
Potatoes need plenty of moisture to form tubers. Sandy, permeable soils require more water than heavier, loamy soils. Water your potato plants early in the morning to allow them to absorb as much water as possible before the heat of the day.
If the leaves start to droop, it indicates that the plants are dehydrated and need immediate watering. Mulching between the rows of plants helps reduce evaporation and provides nutrients to the soil.
By following these watering practices, you can provide the necessary moisture for healthy potato plant leaves. Ensuring adequate water supply is crucial for the plants to thrive and develop strong foliage, ultimately leading to a successful harvest.
Earthing Up Potatoes: Protecting Leaves and Promoting Growth
When it comes to caring for your potato plants, earthing up is a crucial process that shouldn’t be overlooked. By piling up soil around the base of the plants, you provide much-needed protection for their leaves and promote healthy growth.
One of the primary benefits of earthing up potatoes is shielding the leaves from excessive sunlight. Direct sunlight can scorch the delicate foliage, leading to sunburn and damage. By adding a layer of soil, you create a natural barrier that helps reduce the harmful effects of the sun.
Additionally, earthing up helps prevent the formation of toxic solanine in the tubers. When exposed to light, potatoes can turn green and produce solanine, which is harmful if consumed in large quantities. By covering the tubers with soil, you not only protect them from light but also ensure they remain safe for consumption.
Another advantage of earthing up potatoes is the reduction of weed growth. By mounding soil around the potato shoots every 2 to 4 weeks, you smother any weed growth around the plants. Weeds compete for nutrients, water, and sunlight, potentially hampering the growth of your potato plants. By keeping the area around the plants free from weeds, you ensure that your potatoes have access to the resources they need to thrive.
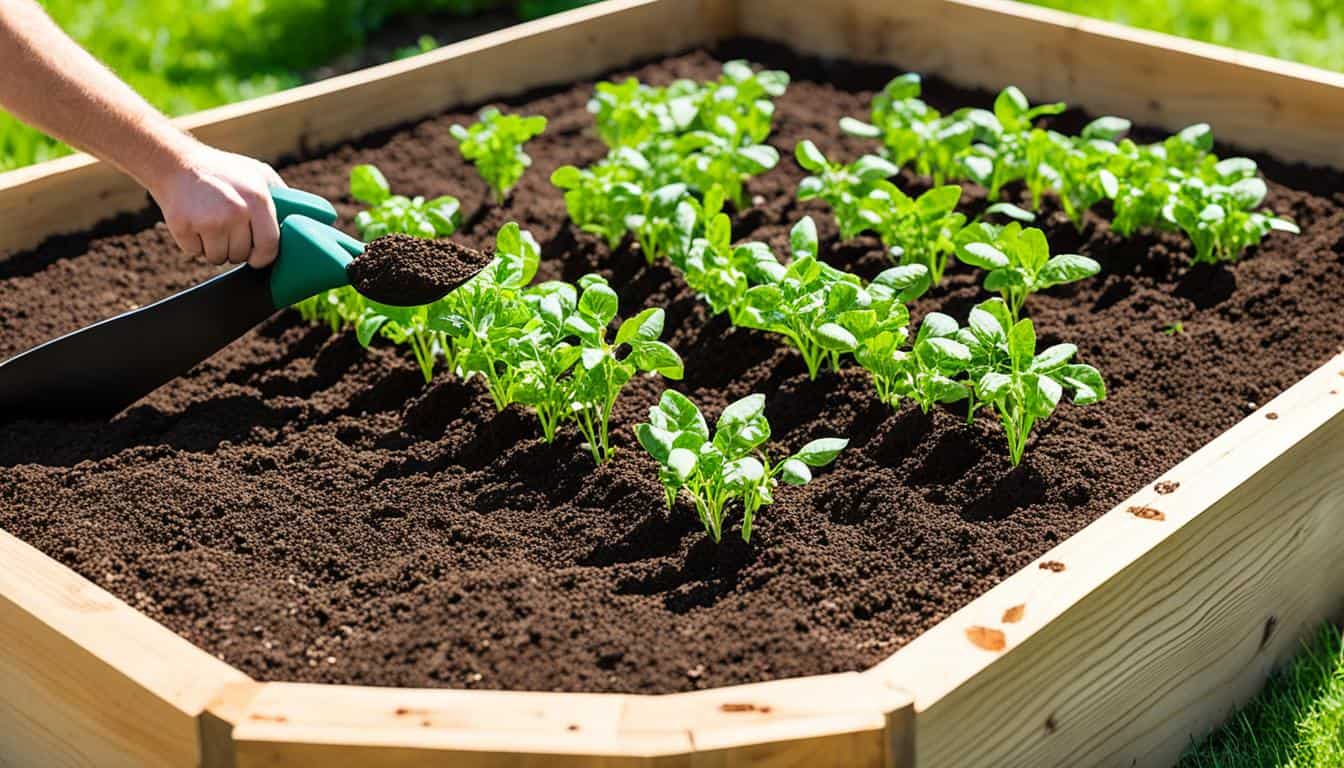
To effectively earth up your potato plants, start by gently mounding soil around the base of the shoots. Be careful not to cover the foliage completely, as it still needs access to sunlight for photosynthesis. Repeat this process every 2 to 4 weeks, especially for vigorous growers that may require additional soil. By adhering to this practice, you’ll help promote healthy foliage and ultimately achieve a higher yield.
Earthing Up Potatoes: Step-by-Step Guide
- Start by gently mounding soil around the base of the potato shoots, leaving some foliage exposed.
- Repeat this process every 2 to 4 weeks for vigorous growers, ensuring that the soil covers the base of the stems.
- Be cautious not to bury the foliage completely, as it still needs access to sunlight for photosynthesis.
- Maintain a consistent watering schedule to keep the soil moist and provide optimal conditions for growth.
- Continue earthing up until the plants stop producing new foliage.
By taking the time to earth up your potatoes, you’ll be rewarded with healthier plants and a more abundant harvest.
| Benefits of Earthing Up Potatoes | How it Helps |
|---|---|
| Protection from excessive sunlight | Prevents sunburn and damage to the leaves |
| Prevention of toxic solanine production | Ensures tubers remain safe for consumption |
| Reduction of weed growth | Eliminates competition for resources |
| Promotion of healthy foliage | Increases the likelihood of a higher yield |
Fertilizing Potatoes: Providing Nutrients for Leaf Growth
When it comes to potato plant care, fertilizing is a critical step in ensuring healthy foliage and a bountiful yield. Potatoes require an ample supply of nutrients to fuel leaf growth and support overall plant health. However, it’s important to strike the right balance, as they can be sensitive to excess nitrogen.
For optimal results, I recommend using slow-acting, natural fertilizers that provide a steady release of nutrients over time. This allows the plants to absorb what they need without overwhelming them. One effective method is incorporating mature compost or well-rotted manure into the potato bed in the spring. This organic matter not only enriches the soil but also provides a wide range of essential nutrients.
“Using slow-release fertilizers specifically formulated for tomatoes can also benefit potato plants.”
Another option is to utilize slow-release fertilizers specifically formulated for tomatoes. Tomatoes and potatoes belong to the same plant family, Solanaceae, and have similar nutrient requirements. These slow-release formulas ensure a gradual and consistent release of nutrients, promoting steady leaf growth without the risk of nutrient burn.
“Avoid fast-acting mineral fertilizers, as they can harm the tubers.”
It’s important to note that fast-acting mineral fertilizers should be avoided. These types of fertilizers release nutrients quickly, which can lead to excessive leaf growth but may harm the tubers. To maintain the delicate balance, stick to slow-acting, natural fertilizers that nurture the plant’s overall health rather than promoting excessive vegetative growth.
| Fertilizer Type | Advantages | Disadvantages |
|---|---|---|
| Slow-acting natural fertilizers | Gradual release of nutrients | May require more time to see results |
| Fertilizers formulated for tomatoes | Promote steady leaf growth | Slightly higher cost compared to traditional fertilizers |
| Fast-acting mineral fertilizers | Provide quick results | Increase the risk of nutrient burn |
Remember, fertilizing potatoes is just one aspect of potato plant care that contributes to healthy foliage. When used in conjunction with proper watering, earthing up, and pruning techniques, you can create an optimal growing environment for your potatoes. By following these care practices, you’ll be well on your way to a successful harvest with vibrant and thriving potato plant leaves.
Sources:
- Gardening Know How – Growing Potatoes with Bone Meal
- Bonide – Tomato & Vegetable 3-in-1 Ready to Use Label
Pruning Potato Plants: Managing Leaf Diseases
Caring for the leaves of your potato plants is crucial for maintaining their overall health and ensuring a successful harvest. While healthy potato plants generally do not require pruning, there are instances where it becomes necessary, especially when leaf diseases start to develop.
Pruning potato plants involves removing diseased leaves to prevent the spread of diseases and save the rest of the plant. By effectively managing leaf diseases through pruning, you can protect your potato plants and promote their growth.
However, it’s important to approach pruning with caution to avoid causing harm to the healthy foliage. Careful and precise pruning techniques can help minimize any damage and maximize the plant’s ability to successfully recover.
“Pruning potato plants is an essential method of managing leaf diseases and preventing further spread. By removing diseased leaves, you protect the rest of the plant and promote healthy foliage growth.”
Here are a few steps to follow when pruning potato plants:
- Identify the diseased leaves: Take the time to inspect your potato plants regularly for any signs of leaf diseases. Look for discoloration, spots, or other visible signs of infection.
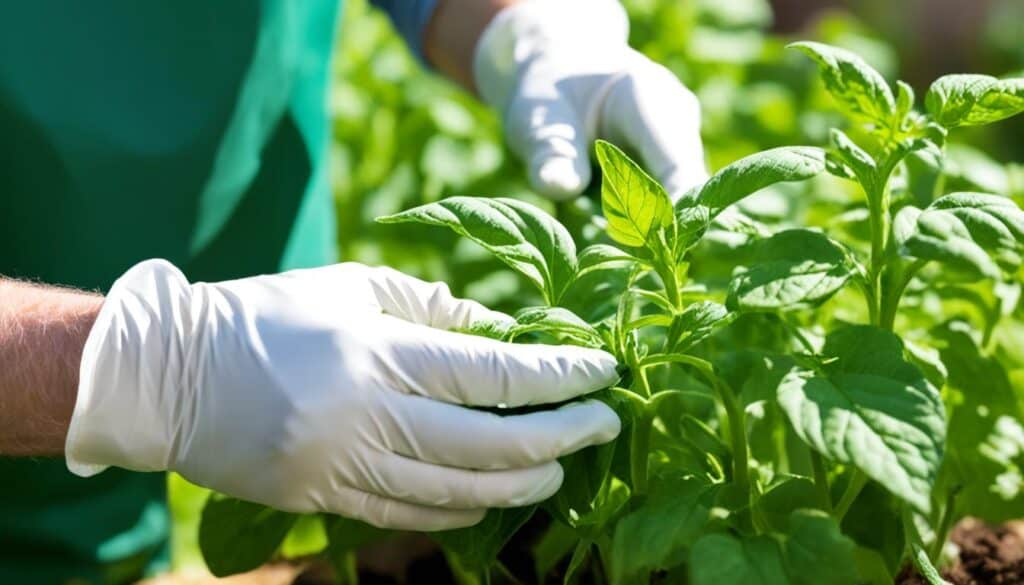
- Isolate the affected leaves: Once you’ve identified the diseased leaves, carefully separate them from the healthy foliage. Be sure to use clean and sterilized tools to prevent further contamination.
- Dispose of the diseased leaves: It’s important to remove the pruned leaves from the garden to reduce the risk of disease spreading. Bag and discard them in designated waste areas, away from your potato plants.
- Monitor the plants: After pruning, continue monitoring your potato plants for any further signs of leaf diseases. Keep a close eye on the remaining foliage to ensure optimal plant health.
Pruning potato plants should be done as soon as you notice signs of leaf diseases. By taking action promptly, you can effectively manage the spread of the disease and safeguard the health of your plants.
Benefits of Pruning:
Pruning potato plants offers several advantages:
- Control disease spread: Removing diseased leaves helps prevent pathogens from spreading to other parts of the plant, reducing the risk of further infection.
- Promote plant recovery: Pruning stimulates the plant’s ability to redirect nutrients and resources to healthy foliage, aiding in its recovery and growth.
- Enhance air circulation: Removing diseased leaves opens up the plant canopy, allowing better airflow and reducing the humidity that contributes to the development of leaf diseases.
Remember, not all leaf diseases in potato plants require pruning. Only prune when necessary and always prioritize the health and vigor of your plants.
By employing proper pruning techniques and actively managing leaf diseases, you can ensure the overall health and productivity of your potato plants, leading to a gratifying harvest.
Overwintering Potatoes: Preparing Plants for Cold Weather
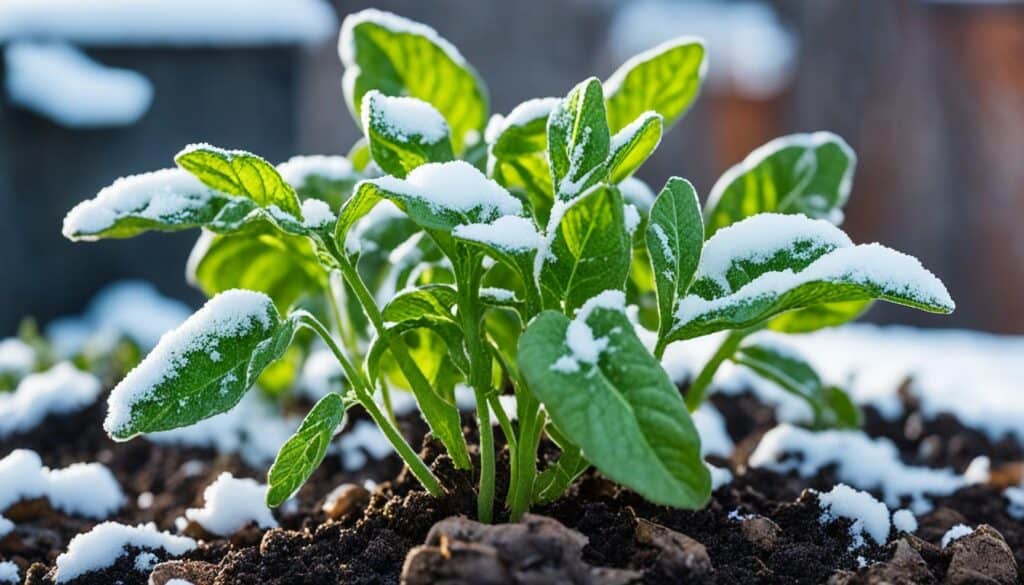
As the autumn approaches, it’s time to prepare your potato plants for the cold weather ahead. Overwintering potatoes ensures that they survive the harsh conditions and emerge with vigor in the following growing season. Follow these essential steps to protect your valuable crop.
Harvest and Storage
To begin the overwintering process, it’s crucial to harvest the potatoes before the first frost. Carefully dig them up, taking care not to damage the tubers. Remove any soil and debris, and inspect them for signs of disease or damage. Only store healthy potatoes for overwintering.
Choose a suitable storage location like a cool, frost-free area such as a cellar or garden shed. The ideal temperature for storing potatoes is around 40°F (4°C). Ensure that the storage area is well-ventilated and free from excessive moisture, which could lead to rotting. Arrange the potatoes in a single layer or in a shallow container, providing sufficient air circulation.
Remember to label your stored potatoes with their variety and harvest date for easy reference in the future.
Protection from Frost
Potato tubers are vulnerable to frost damage, which can hinder their ability to sprout and grow new shoots in the next growing season. To protect them, it’s essential to choose a suitable storage location that remains frost-free throughout the winter.
If necessary, you can also add an extra layer of protection by covering the stored potatoes with burlap sacks or old blankets. This additional insulation helps prevent temperature fluctuations and provides further defense against freezing temperatures.
Preparing for Propagation
Properly stored overwintered potatoes can also serve as a valuable source for propagation. By carefully selecting healthy and disease-free tubers, you can plant them in the next growing season to grow new potato plants.
Before planting, allow the stored potatoes to chit, or sprout, by placing them in a well-lit and warm location. This encourages the development of strong and vigorous sprouts, which will lead to healthier plants.
When preparing for propagation, consider cutting larger potatoes into smaller sections, ensuring that each section contains at least one sprout. This practice allows you to maximize your harvest and generate more potato plants.
Propagating Potatoes: Growing New Plants from Tubers
Propagating potatoes is an excellent way to expand your potato plant collection and ensure a sustainable supply of delicious tubers. With the right techniques, you can grow new potato plants from existing tubers, guaranteeing genetically identical harvests and saving time compared to growing from seeds. Here’s a step-by-step guide to propagating potatoes:
- Choose healthy tubers: Select firm and disease-free potatoes for propagation. Avoid using damaged or sprouted tubers, as they may not produce strong and healthy plants.
- Prepare the soil: Before planting the tubers, prepare the soil by loosening it and adding organic matter such as compost to improve its fertility and moisture retention.
- Space the tubers: Dig planting holes about 4 to 6 inches deep, spaced approximately 12 to 15 inches apart. Place one whole tuber or cut larger tubers into sections, each containing at least one eye or bud, into each planting hole.
- Plant the tubers: Position the tubers with the eyes facing up and cover them with soil, ensuring they are adequately buried. Firmly press the soil around each tuber to provide good contact and support for growth.
- Water thoroughly: After planting, give the tubers a generous watering to settle the soil and initiate growth. Ensure the soil remains consistently moist but not waterlogged throughout the growing season.
- Provide sunlight and warmth: Place the planted tubers in a location that receives full sun for at least six hours a day. Potatoes thrive in warm temperatures between 60 to 70°F (15 to 21°C).
- Monitor and care for the plants: Keep an eye on the potato plants’ growth and continue to provide regular water and nutrients as needed. Remove any weeds that compete for resources.
- Harvest when ready: Depending on the potato variety, your plants will be ready for harvest in approximately 70 to 120 days. Check for mature tubers by gently digging near the base of the plant; the potatoes should be of suitable size for consumption.
Tips for successful potato propagation:
- Choose disease-resistant varieties to minimize the risk of infection.
- Consider using seed potatoes from certified sources for guaranteed quality and health.
- Rotate your potato crops to prevent the buildup of pests and diseases in the soil.
- Protect the young plants from frost by covering them with straw or frost blankets.
- Regularly monitor for pests and diseases, and take appropriate actions to minimize damage.
By following these propagation techniques, you can easily expand your potato plant collection and enjoy a bountiful harvest each year. Stay tuned for the next section, where we’ll explore common potato diseases and how to prevent them.
Common Potato Diseases: Scab and Blight
Potatoes are susceptible to various diseases that can impact their growth and overall health. Among the most common potato diseases are scab and blight. Understanding how to identify and manage these diseases is crucial for maintaining a successful potato crop.
Scab
Scab is a prevalent potato disease characterized by rough, scabby patches on the skin. While it doesn’t affect the quality or taste of the tubers, it can be unsightly and reduce their market value. To prevent scab:
- Ensure adequate watering to maintain consistent soil moisture levels.
- Incorporate organic matter into the soil to improve water retention and reduce scab development.
- Choose scab-resistant potato varieties, such as ‘Norland’ or ‘Red Pontiac’, to minimize the risk of infection.
“Scab is a common potato disease caused by the Streptomyces species of bacteria. By implementing proper soil management practices and selecting resistant varieties, you can effectively prevent scab and protect your potato plants.”
Blight
Potato blight, also known as late blight, is a fungal disease that can devastate an entire potato crop if left uncontrolled. Blight thrives in warm, wet weather conditions and rapidly spreads, infecting both foliage and tubers. To manage potato blight:
- Plant early potato varieties that can be harvested before blight typically strikes.
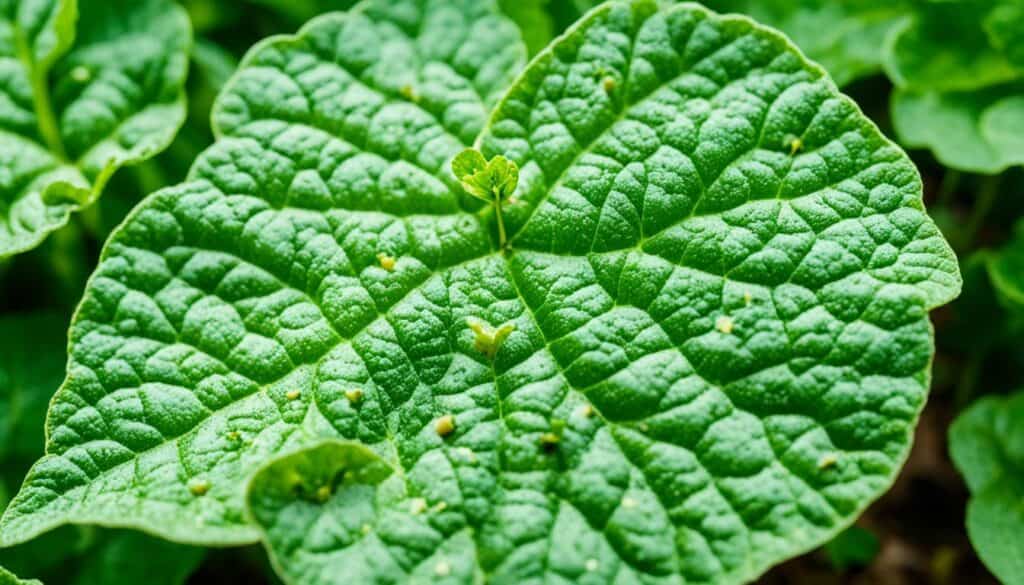
- Regularly monitor your plants for early signs of blight, such as dark brown lesions on the leaves.
- If blight is detected, cut back the foliage to slow the spread of the disease.
- Harvest the potatoes promptly to salvage as much of the crop as possible.
Potato blight is a persistent and challenging disease, so it’s essential to remain vigilant and take proactive measures to control its spread.
Potato Pests: Strategies for Control and Prevention
When it comes to growing potatoes, dealing with pests is a common concern. Several pests can wreak havoc on your potato plants, including aphids, Colorado potato beetles, flea beetles, leafhoppers, tomato hornworms, whiteflies, and wireworms. These pests can damage the leaves, stems, and tubers of your plants, leading to reduced yield and poor overall plant health. However, there are effective strategies for controlling and preventing these potato plant pests.
Companion Plants for Natural Pest Control
One method of controlling potato pests is through companion planting. Certain plants, such as marigolds, basil, and tansy, emit compounds that repel pests. By interplanting these companion plants with your potato crops, you can deter pests and protect your plants.
Row Covers and Traps
Another strategy is to use row covers and traps. Row covers are lightweight, translucent fabrics that create a barrier around your potato plants, preventing pests from reaching them. Traps, on the other hand, attract and capture pests, reducing their population. Sticky traps and pheromone traps are commonly used to control potato pests.
Beneficial Insects
Introducing beneficial insects into your potato garden can help control pest populations naturally. Ladybugs, lacewings, and parasitic wasps are examples of beneficial insects that prey on potato pests. These insects can be purchased from garden centers or ordered online.
Organic Pesticides
If pests become a serious problem, organic pesticides can provide effective control. Neem oil, insecticidal soap, and pyrethrin-based products are commonly used to combat potato pests. Remember to read and follow the instructions carefully when using any pesticide, and only use them as a last resort.
Regular Monitoring and Proper Hygiene
To effectively manage potato pests, it’s crucial to regularly monitor your plants for signs of infestation. Look for chewed leaves, wilting plants, or the presence of pests themselves. Additionally, practicing proper hygiene in your garden, such as removing plant debris and rotating crops, can help disrupt pest life cycles and reduce their impact on your potato plants.
“By implementing these strategies, I can keep my potato plants healthy and free from destructive pests. Regular monitoring, companion plants, and organic pest control methods have been game-changers for my potato garden.”
Conclusion
Caring for potato plant leaves is essential for a successful potato crop. By following proper watering, earthing up, fertilizing, pruning, overwintering, and propagating techniques, you can maintain healthy and vibrant foliage. These practices ensure that your potato plants have the necessary nutrients, protection, and care they need to thrive.
Furthermore, preventing common potato diseases and pests through proper care practices and vigilant monitoring is crucial. Regular inspection and prompt action can help you identify and address any issues before they become major problems. By staying proactive and implementing preventive measures, you can ensure the overall health and productivity of your potato plants.
With these top tips and strategies, you can enjoy a plentiful harvest of delicious potatoes. Growing your own potatoes can be a rewarding experience, and by caring for your potato plant leaves, you can maximize your yield and savor the satisfaction of homegrown, flavorful potatoes on your plate.


Leave a Reply