Artichokes are not just a delicious vegetable, they are also a stunning addition to any backyard garden. But did you know that you can easily grow your own artichoke plant right at home? With a little bit of care and attention, you can enjoy the satisfaction of nurturing a lush artichoke plant and eventually harvesting your own fresh artichokes.
Key Takeaways:
- Growing your own artichoke plant is a rewarding experience.
- Artichokes can be grown in a variety of climates.
- Proper planting and care can lead to a bountiful harvest.
- Artichoke plants can be susceptible to pests and diseases, but can be managed with proper care.
- Harvesting and storing artichokes is a simple process.
The Basics of Artichoke Plants
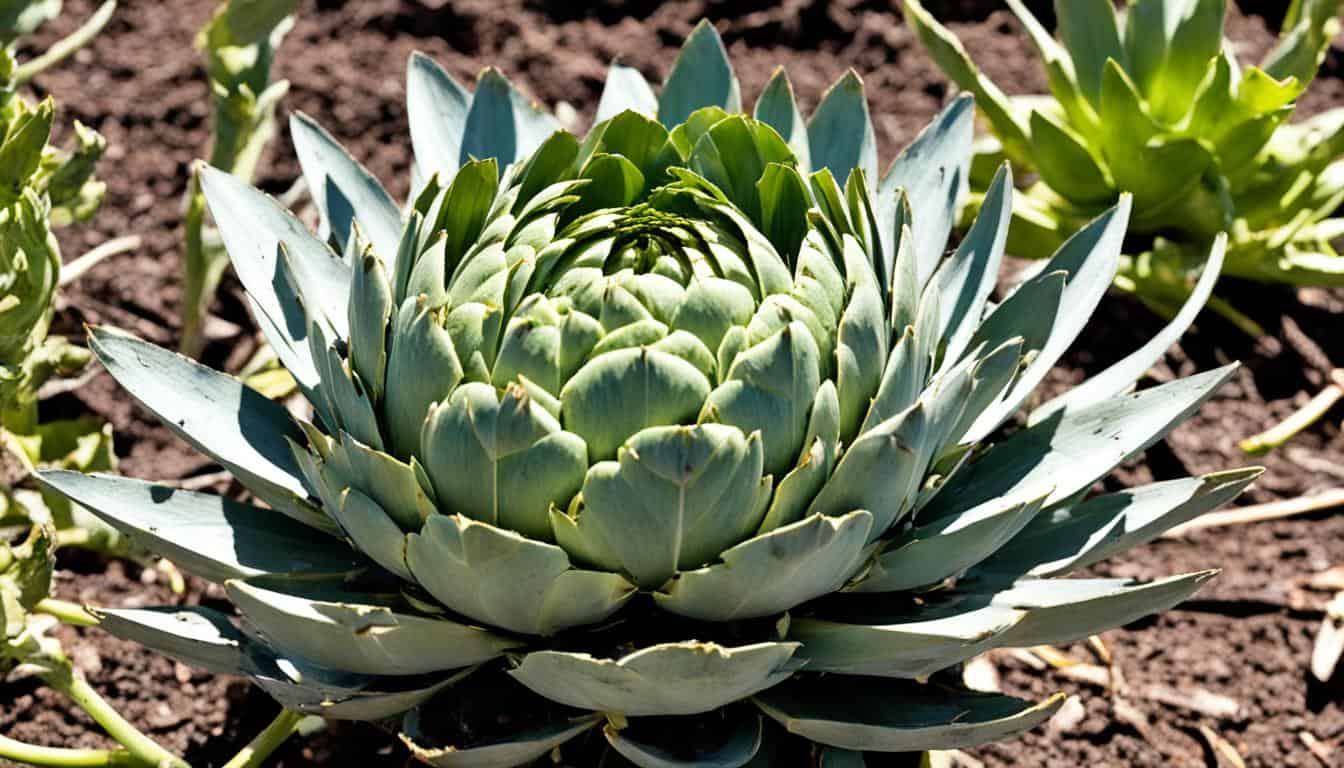
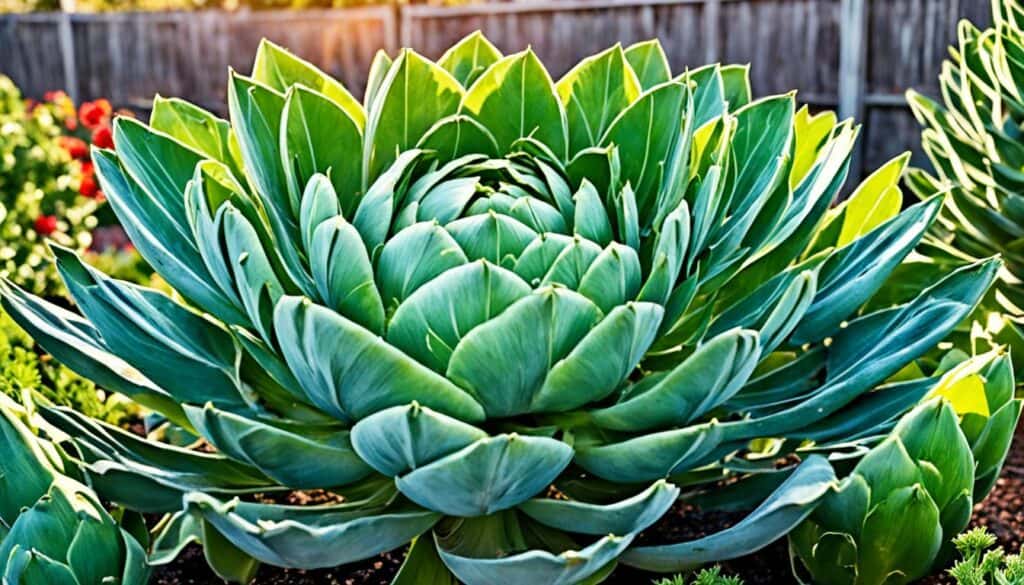
The artichoke plant, scientifically known as Cynara scolymus, is a hardy perennial vegetable that can grow 1.2-1.5m in height and spread. It is easy to grow and requires full sun and well-drained fertile soil. You can choose from a variety of artichoke plant varieties, including Green Globe and Imperial Star. To grow artichokes, you can start by sowing seeds indoors or planting them directly in the garden.
Planting and Caring for Artichoke Plants
When it comes to growing healthy artichoke plants, proper planting and care are essential. Here are some tips to help you successfully cultivate artichokes in your garden.
Choosing the Right Location
Artichoke plants thrive in full sun, so it’s important to choose a spot in your garden that receives at least 6-8 hours of direct sunlight per day. This will ensure that your plants receive the necessary light to grow and produce delicious artichokes.
Sowing Seeds and Transplanting
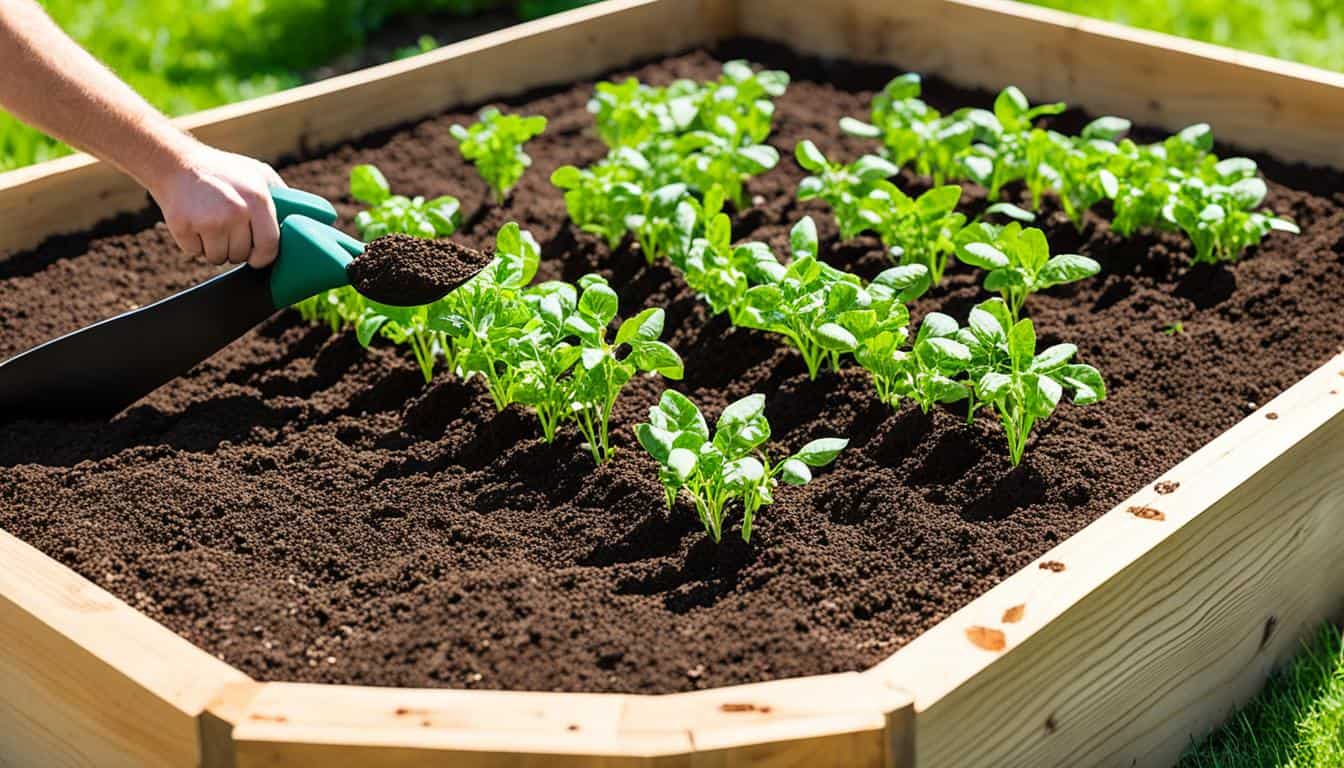
If you’re starting artichokes from seeds, begin by sowing them indoors in late February or early March. Fill a seed tray or pots with seed compost and lightly press the seeds into the soil. Keep the soil moist and the temperature around 70°F (21°C) for optimal germination.
Once the roots have filled the pot and the weather has warmed up, you can transplant the seedlings outdoors. Choose a location with well-drained soil and space the plants at least 1m apart to allow for their large size.
Watering and Staking
Artichoke plants are relatively low-maintenance when it comes to watering. Once established, they do not require much water and can tolerate dry conditions. However, it’s important to water them regularly during dry spells to ensure that the soil remains evenly moist.
In terms of staking, most artichoke varieties do not require staking as their stems are sturdy enough to support themselves. However, if you notice any signs of bending or flopping, you can provide support using stakes or cages.
Harvesting and Pruning
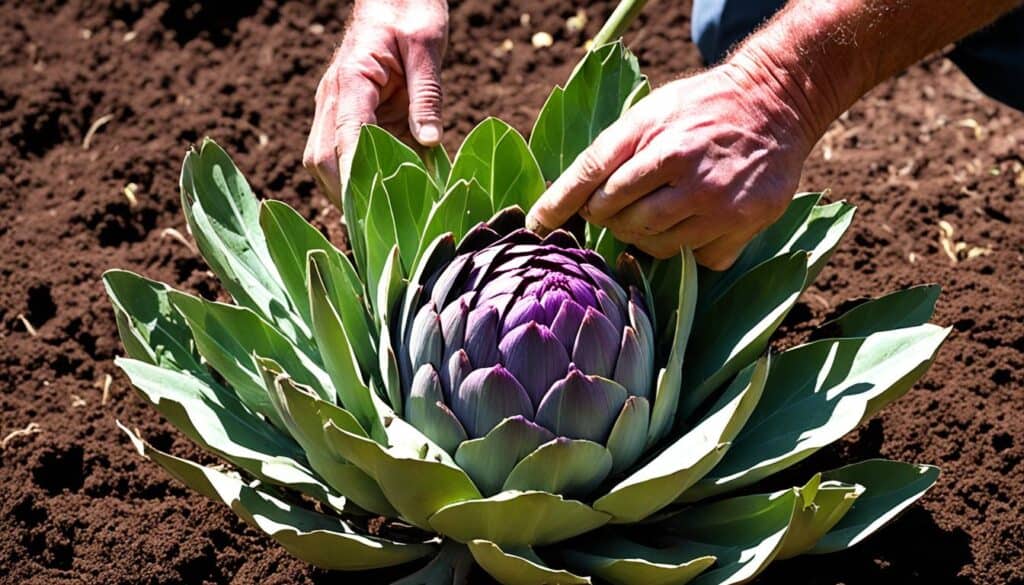
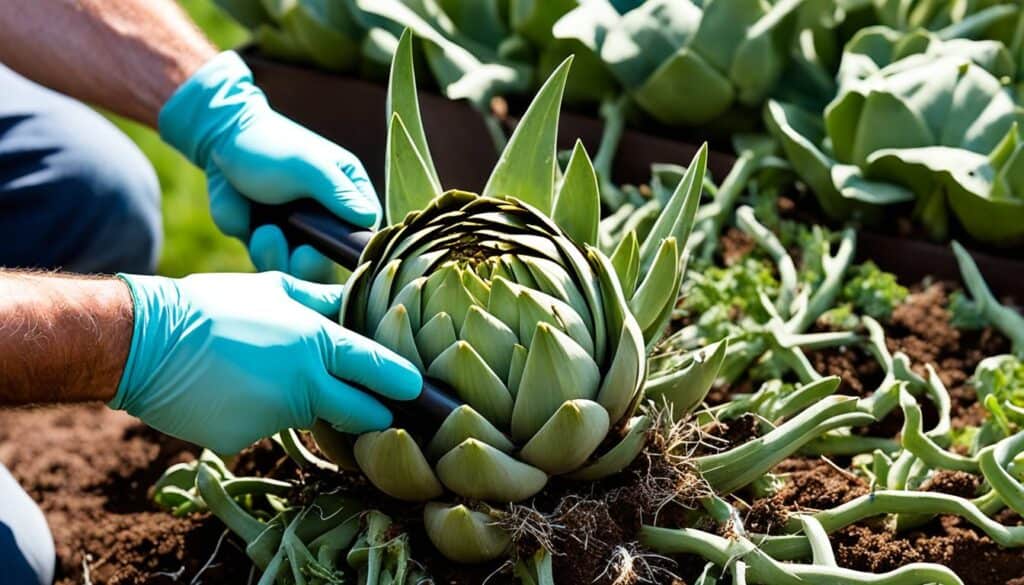
The key to harvesting artichokes for optimal taste is to pick the flower buds when they reach the right size. This is typically when the scales are tightly closed and at least the size of a cricket ball. Harvest the buds by cutting the stem just below the bud using sharp garden scissors or pruners.
After the first crop, it’s important to cut back the artichoke plants to promote further growth and flowering. Trim the stem down to a few inches above the ground to encourage the development of new shoots.
Artichoke Plant Care Tips
| Aspect | Watering | Spacing | Harvest Time |
|---|---|---|---|
| Full Sun | Moderate | 1m apart | When scales are tightly closed and at least the size of a cricket ball |
With proper care and attention, your artichoke plants will thrive in your garden, rewarding you with abundant and delicious harvests.
Common Problems with Artichoke Plants
While artichoke plants are generally easy to care for, they can still encounter a few problems. Here are some common issues you may face when growing artichokes:
Pests
Artichoke plants can attract a variety of pests, including slugs, snails, greenfly, and aphids. These pests can damage the leaves and hinder the growth of the plant. However, you can naturally control these pests by encouraging their natural predators, such as ladybugs and lacewings, in your garden. Additionally, incorporating companion plants like dill, coriander, and yarrow can help deter pests from your artichoke plants.
Diseases
Artichoke plants are also susceptible to certain diseases. If you notice brown patches on the leaves of your artichoke plant, it may indicate a fungal attack. Proper watering techniques, such as watering at the base of the plant and avoiding wetting the leaves, can help prevent fungal diseases. Furthermore, slimy and foul-smelling centers can be signs of bacterial or fungal rot. To manage these diseases, promptly remove any affected leaves or parts of the plant to prevent further spread.
“Maintaining good garden hygiene, including removing any debris or fallen leaves, can help prevent the recurrence of diseases in your artichoke plants.” – Gardening expert, Sarah Thompson
Proper Care
Preventing and managing artichoke plant problems is all about providing proper care. Ensuring good drainage in the soil and removing affected leaves can help prevent the onset of diseases and mitigate pest infestations. Regularly inspect your artichoke plants for any signs of problems, and take necessary action to maintain their health and vitality.
| Pest/Disease | Symptoms | Prevention |
|---|---|---|
| Slugs and Snails | Holes in leaves and stems | Set up slug traps with beer, create barriers, or use organic slug pellets |
| Greenfly and Aphids | Sticky residue on leaves, distorted growth | Encourage natural predators like ladybugs, use insecticidal soap or neem oil |
| Fungal Diseases | Brown patches on leaves | Water at the base, avoid wetting the leaves, and remove affected leaves |
| Bacterial or Fungal Rot | Slime and foul smell in center | Remove affected leaves and parts of the plant, maintain good garden hygiene |
Propagation and Harvesting of Artichokes
When it comes to growing artichokes, there are two primary methods for propagation: through offshoots or by dividing established plants. Offshoots, also known as suckers, are small plantlets that grow from the base of the mother plant. To propagate artichokes using offshoots, select healthy and vigorous shoots in the spring. Carefully remove these offshoots from the mother plant, making sure to include some roots with each shoot. Transplant them into well-prepared soil and provide regular water and nutrient support.
Dividing established artichoke plants is another effective way to propagate. Early spring is the ideal time to divide these plants. Start by carefully digging up the established artichoke plant and then divide it into smaller sections, making sure each division has both roots and shoots. Replant these divisions in a suitable location and provide them with adequate care to ensure successful growth.
Comparison of Artichoke Propagation Methods
| Propagation Method | Benefits | Considerations |
|---|---|---|
| Offshoots | Easy and reliable propagation | Requires healthy and vigorous mother plant |
| Dividing | Allows for the expansion of existing plants | Needs careful handling and adequate soil preparation |
Once your artichoke plants are established, it’s time to learn about harvesting them. Artichokes can be harvested in the first summer, but it’s important to remove small artichokes to allow the plant to focus its energy on developing larger buds. The best time to harvest artichokes is when the scales are tightly closed and at least the size of a cricket ball. Use sharp pruning shears or a knife to cut the stem below the bud.
After harvesting the mature artichokes, the plant can be cut back to allow for regrowth. With proper care and maintenance, your artichoke plant will produce a second crop, providing you with multiple harvests throughout the growing season.
In summary, propagating artichokes through offshoots or by dividing established plants offers gardeners the opportunity to expand their artichoke patch. Harvesting artichokes at the right stage ensures optimal taste and allows for continued growth. With the right techniques, you can enjoy a bountiful harvest of delicious artichokes straight from your own garden.
Growing Artichokes in Different Climates
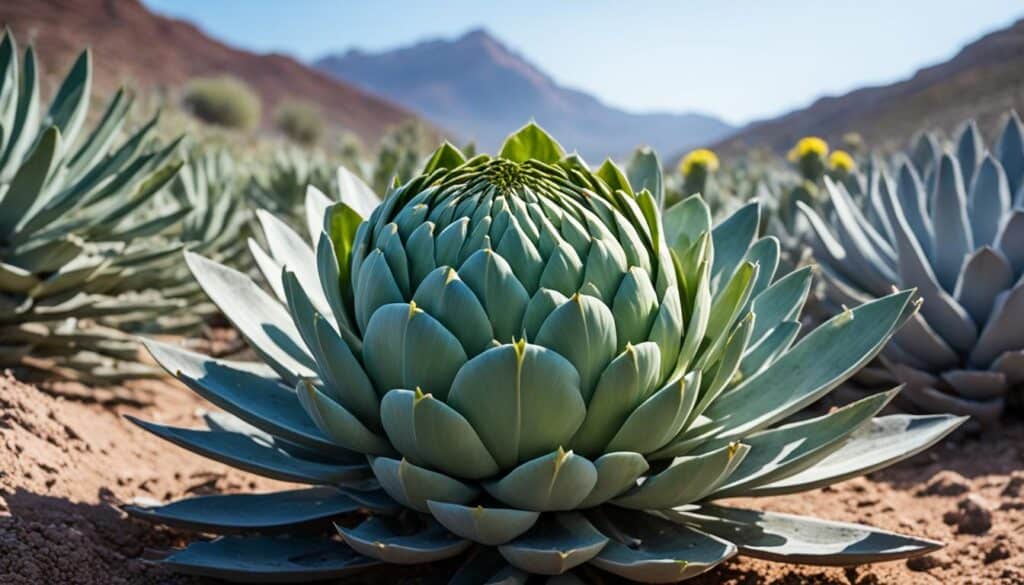
Artichokes are versatile plants that can thrive in various climates, although they have specific preferences. While they prefer cool and moist summers and mild winters, they can still be grown successfully in other conditions with proper care and adjustments.
In colder climates, where frost and freezing temperatures are common, it’s best to treat artichokes as annuals. This means starting new plants each year to ensure they have the best chance of survival. By sowing seeds indoors in late winter or early spring and transplanting the seedlings outdoors after the last frost, you can enjoy a fresh harvest of artichokes every year.
For those living in warmer climates with mild winters, artichokes can be grown as perennials. With proper protection and care during colder months, the plants can survive and produce multiple crops year after year. Mulching around the base of the plant during winter can help insulate the roots and preserve moisture.
“In colder climates, treat artichokes as annuals and start new plants each year. In warmer climates, artichokes can be grown as perennials with proper protection and care.”
By understanding the specific needs of artichokes and adapting their care to your local climate, you can successfully grow these delicious plants regardless of where you live. Whether you choose to grow them as annuals or perennials, the joy of harvesting your own artichokes will surely be a rewarding experience.
Artichoke Varieties and Their Characteristics
When it comes to artichokes, there is no shortage of variety. Each artichoke plant variety brings its own unique characteristics, allowing home gardeners to choose the one that suits their preferences and growing conditions best. Whether you’re looking for a large, globe-shaped artichoke or a smaller, tender variety, there’s an artichoke plant that will delight your taste buds. Let’s explore some popular artichoke varieties:
1. Green Globe
The Green Globe artichoke is one of the most widely recognized and cultivated varieties. It features a large, round shape with tightly packed scales and a vibrant green color. Green Globe artichokes are known for their rich, nutty flavor and tender hearts, making them a popular choice for both cooking and eating raw in salads.
2. Imperial Star
The Imperial Star artichoke is a variety specially bred for annual cultivation. Unlike other artichoke varieties, Imperial Star plants can produce edible buds in their first season. This makes it a great choice for gardeners in colder climates or those who prefer to grow artichokes as annuals. The Imperial Star artichoke has a slightly smaller size and a milder flavor compared to the Green Globe.
3. Violetta
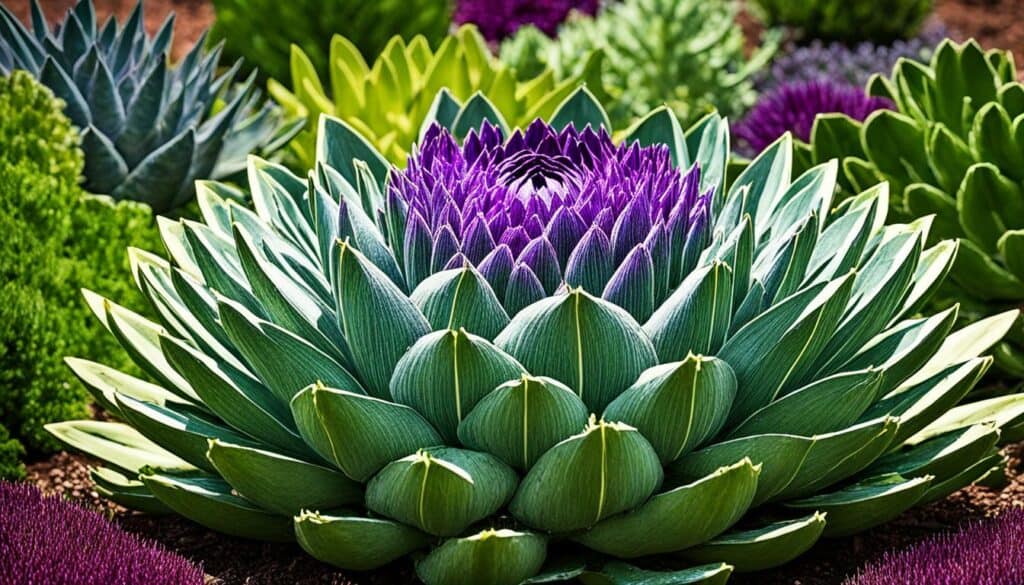
If you’re looking to add a splash of color to your garden, the Violetta artichoke is a stunning choice. This variety features purple and green hues, creating a visually striking appearance. Violetta artichokes have a sweeter taste compared to other varieties, with a slightly nutty and floral flavor. They are best enjoyed steamed or roasted to bring out their vibrant color and delicate taste.
4. Siena
The Siena artichoke is a newer variety that offers a unique spin on the classic Green Globe. It has a distinctive red and green coloration, with shades ranging from deep burgundy to pale green. Siena artichokes have a creamy texture and a slightly sweeter flavor. They are great for grilling, adding a touch of elegance to any summer barbecue.
These are just a few examples of the many artichoke plant varieties available to home gardeners. Each variety offers its own set of characteristics, allowing you to explore different tastes, textures, and visual appeal. Whether you’re a seasoned artichoke enthusiast or a beginner looking to try your hand at growing this versatile vegetable, there’s a variety that will suit your needs.
Suitable Growing Conditions for Artichoke Plants
Artichokes require specific growing conditions to thrive and produce healthy yields. By providing the right environment, you can ensure the success of your artichoke plants. Here are some tips on creating suitable growing conditions:
Sunlight
Artichokes thrive in full sun, so it is important to choose a location in your garden that receives at least 6-8 hours of direct sunlight each day. This will help the plants grow strong and healthy, ensuring optimal bud development.
Soil
Artichokes prefer well-drained soil that is rich in organic matter. Before planting, it is recommended to amend your soil with compost or well-rotted manure. This will help improve soil fertility, drainage, and moisture retention. Additionally, artichokes prefer a slightly acidic soil pH ranging between 6.5 and 7.5.
Watering
Regular watering is essential for artichoke plants. They have deep root systems and require consistent moisture to grow and develop properly. However, it is important to avoid overwatering, as this can lead to root rot and other diseases. Aim to keep the soil evenly moist, but not saturated.
Compost and Fertilizer
Providing your artichoke plants with compost and fertilizer will ensure they receive the necessary nutrients for healthy growth. Apply a balanced organic fertilizer once a month during the growing season, following the manufacturer’s instructions. Additionally, top-dress the soil with compost annually to replenish nutrients and improve soil structure.
Shade
In areas with hot summers, providing afternoon shade to your artichoke plants can help prevent stress and reduce water evaporation. This can be achieved by planting them near taller plants or using shade cloth.
| Artichoke Growing Conditions | Sunlight | Soil | Watering | Compost and Fertilizer | Shade |
|---|---|---|---|---|---|
| Ideal Conditions | Full sun (6-8 hours/day) | Well-drained, fertile, slightly acidic soil (pH 6.5-7.5) | Consistent moisture, avoid overwatering | Monthly application of organic fertilizer | Afternoon shade in hot climates |
Overwintering and Dividing Artichoke Plants
When it comes to the care of artichoke plants, overwintering and dividing are essential practices to ensure their longevity and productivity. In this section, I will share tips on overwintering artichoke plants in different climates and the importance of dividing them every few years.
Overwintering Artichoke Plants:
In mild climates, where temperatures rarely drop below freezing, artichoke plants can survive the winter with a little extra protection. One way to protect the crown of the plant is by adding a layer of mulch around it. This helps insulate the roots and prevent damage from frost. Another option is to use a cold frame, which provides even more protection from the cold weather.
In colder climates with harsh winters, overwintering artichoke plants can be a challenge. In these regions, artichokes are often grown as annuals, meaning they are replanted each year. However, if you’re determined to keep your artichoke plants alive through the winter, you can try the following method:
1. Cut back the foliage of the artichoke plant to about 6 inches above the ground.
2. Carefully dig up the entire plant, making sure to preserve as much of the root system as possible.
3. Trim the roots to encourage new growth.
4. Place the plant in a container filled with a well-draining potting mix.
5. Store the container in a cool, dark place, such as a basement or garage, where the temperature stays above freezing.
6. Water the plant sparingly during the winter months.
7. In early spring, when the danger of frost has passed, transplant the dormant plant back into the garden.
Dividing Artichoke Plants:
Dividing artichoke plants is necessary every 3-5 years to maintain their productivity. It helps rejuvenate the plant and promote healthy growth. Dividing is best done in early spring, just as new shoots begin to emerge.
To divide an artichoke plant, follow these steps:
1. Carefully dig up the entire plant, taking care not to damage the roots.
2. Gently separate the root ball into smaller sections, ensuring each section has a healthy root system and a few shoots.
3. Plant each division in a new location with well-drained soil and full sun.
4. Water the divisions thoroughly to help them establish in their new spots.
Overwintering and dividing artichoke plants may require a bit of effort, but it’s well worth it for the continued success of your artichoke garden. By providing the necessary protection and rejuvenation, you’ll ensure a bountiful harvest year after year.
Harvesting and Storing Artichokes
When it comes to enjoying the delicious rewards of your artichoke plant, timing is everything. Harvesting at the right moment ensures that the buds are the perfect size and the bracts are tightly packed, resulting in maximum flavor and tenderness. Here’s a step-by-step guide on how to harvest and store artichokes:
- Check for maturity: Look for artichoke buds that are about the size of a cricket ball and have gained color. The bracts should be tightly closed. If you notice any opened bracts or enlarged buds, it’s a sign that the artichoke is past its prime.
- Prepare your tools: Using a pair of sharp clippers or a knife, cut the stem below the bud. Make sure to leave a couple of inches of stem intact to enhance the presentation of the artichoke.
- Harvest selective buds: If you have multiple artichokes on the same plant, it’s essential to harvest selectively. Start with the larger, more mature buds and leave the smaller ones to continue growing. This way, you can enjoy a steady supply of artichokes throughout the growing season.
Once you’ve harvested your artichokes, you have a few options for storage:
- Refrigeration: If you plan on using your artichokes within a week, storing them in the refrigerator is the best option. Place the harvested buds in a plastic bag or wrap them in a damp cloth to maintain their moisture. They can then be stored in the crisper drawer for up to seven days.
- Canning: For longer-term storage, canning is a great method. You can preserve artichoke hearts by packing them in jars with brine or oil. Be sure to follow a trusted canning recipe to ensure food safety.
- Freezing: Another option for preserving artichokes is freezing. Blanch the artichoke buds in boiling water for a few minutes, then transfer them to an airtight container or freezer bag. They can be stored in the freezer for several months.
By following these harvesting and storage tips, you can savor the taste of fresh artichokes even after the growing season ends.
Now that you know how to harvest and store artichokes, you can fully enjoy the results of your gardening efforts. Next, let’s explore some additional tips and tricks to help you grow thriving artichoke plants.
Artichoke Plant Tips and Tricks
If you want to grow thriving artichoke plants and produce larger, more flavorful buds, here are some essential tips and tricks to keep in mind:
- Remove Excess Shoots: To encourage the growth of stronger and more productive artichoke plants, it’s important to remove all but one or two of the strongest shoots on each plant. This allows the chosen shoots to receive maximum nutrients and energy, resulting in higher-quality buds.
- Mulch for Moisture Conservation: Mulching around your artichoke plants can help conserve moisture in the soil and prevent evaporation. Apply a layer of organic mulch, such as straw or wood chips, around the base of the plants to retain moisture and keep the soil consistently hydrated.
- Regular Feeding with Organic Fertilizers: Providing your artichoke plants with regular doses of organic fertilizers can ensure they receive the necessary nutrients for healthy growth. Use organic fertilizers specifically formulated for vegetables and follow the recommended dosage instructions for optimal results.
- Consistent Watering: Artichoke plants thrive when the soil remains consistently moist. Water your plants regularly, ensuring the soil doesn’t dry out completely between waterings. However, be cautious not to overwater, as excessive moisture can lead to root rot.
By following these tips and tricks, you can create the ideal conditions for your artichoke plants to flourish and produce abundant, delicious harvests.
Expert Tip:
“To prevent weed growth and maintain soil moisture, consider using landscape fabric in conjunction with mulch around your artichoke plants. This combination can create a highly efficient and low-maintenance gardening solution.”
Conclusion
Growing your own artichoke plants can be a rewarding experience. I’ve learned that with the right care and attention, you can enjoy the beauty and taste of these unique veggies right in your own backyard. Whether you choose to grow them as annuals or perennials, artichokes can be a delicious addition to your garden.
As I’ve discovered, the artichoke plant is a hardy perennial that thrives in full sun and well-drained soil. It requires minimal watering and doesn’t need staking. By following the proper planting and care techniques, such as spacing the plants adequately and cutting back after the first crop, you can ensure their optimal growth.
Additionally, it’s important to be aware of common problems that may arise, such as pests and diseases. However, with the right preventive measures, like providing good drainage and removing affected leaves, you can effectively manage these issues.
To truly reap the rewards of your efforts, proper harvesting is crucial. Harvest the artichokes when the buds are the right size, and the scales are tightly closed. You can store them in the refrigerator for up to a week or preserve them through canning or freezing.
So, go ahead and embark on your artichoke-growing journey. I guarantee that the joy of witnessing your artichoke plants thrive and indulging in their delicious bounty will make it all worthwhile. Happy growing!


Leave a Reply