Did you know that bottle gourds can produce an astonishing harvest of up to 20 fruits per plant? These versatile vegetables have been cultivated for centuries and offer a bountiful harvest for both novice and experienced gardeners alike. If you want to try your hand at cultivating bottle gourd seeds, you’ve come to the right place. In this guide, I’ll provide you with expert gardening advice and tips to help you grow healthy and productive bottle gourd plants. So, put on your gardening gloves and let’s dig in!
Key Takeaways:
- Cultivating bottle gourd seeds can result in a remarkable yield of up to 20 fruits per plant.
- With the right guidance and green thumb, anyone can successfully grow bottle gourd plants.
- Expert gardening advice and tips will help ensure healthy growth and a bountiful harvest.
- By following the tips in this guide, you’ll be on your way to enjoying the delicious and versatile bottle gourds in no time.
- Stay tuned for the next sections, where we’ll cover choosing the right planting area, preparing the soil, planting the seeds, caring for the plants, and more.
Choosing the Right Planting Area for Bottle Gourd Seeds
When it comes to growing bottle gourd seeds, selecting the perfect planting area is crucial for their successful development. These warm-weather plants thrive in areas that receive ample sunlight, requiring a minimum of 6 hours each day. Sunlight plays a pivotal role in their growth, aiding the development of large leaves and strong vines.
While sunlight is vital, it’s also important to consider the impact of shady areas on the planting area. Shady spots can help prevent excessive water evaporation, keeping the soil moist and nourished. However, it’s important to strike the right balance. Overly shaded areas can cool down the soil, hindering the growth of the gourds and potentially causing rot. Therefore, it’s best to choose an area that offers maximum sun exposure while providing some shade to prevent water evaporation and keep the gourds healthy.
To visually represent the ideal planting area for bottle gourd seeds, please refer to the table below:
| Planting Area Characteristics | Sunlight Requirements | Water Evaporation | Rot Prevention |
|---|---|---|---|
| Warm and Bright Spots | At least 6 hours of sunlight per day | Prevents excessive evaporation | Optimal soil conditions for growth |
| Shady Areas | Offers shade, preventing water loss | May cool down the soil | Potential for rot if soil remains too moist |
As shown in the table, finding a planting area that balances sunlight requirements, prevention of water evaporation, and rot prevention is essential for cultivating healthy bottle gourd plants.
Now that we have explored the importance of the planting area, let’s move on to the next section where we will discuss preparing the soil for bottle gourd seeds.
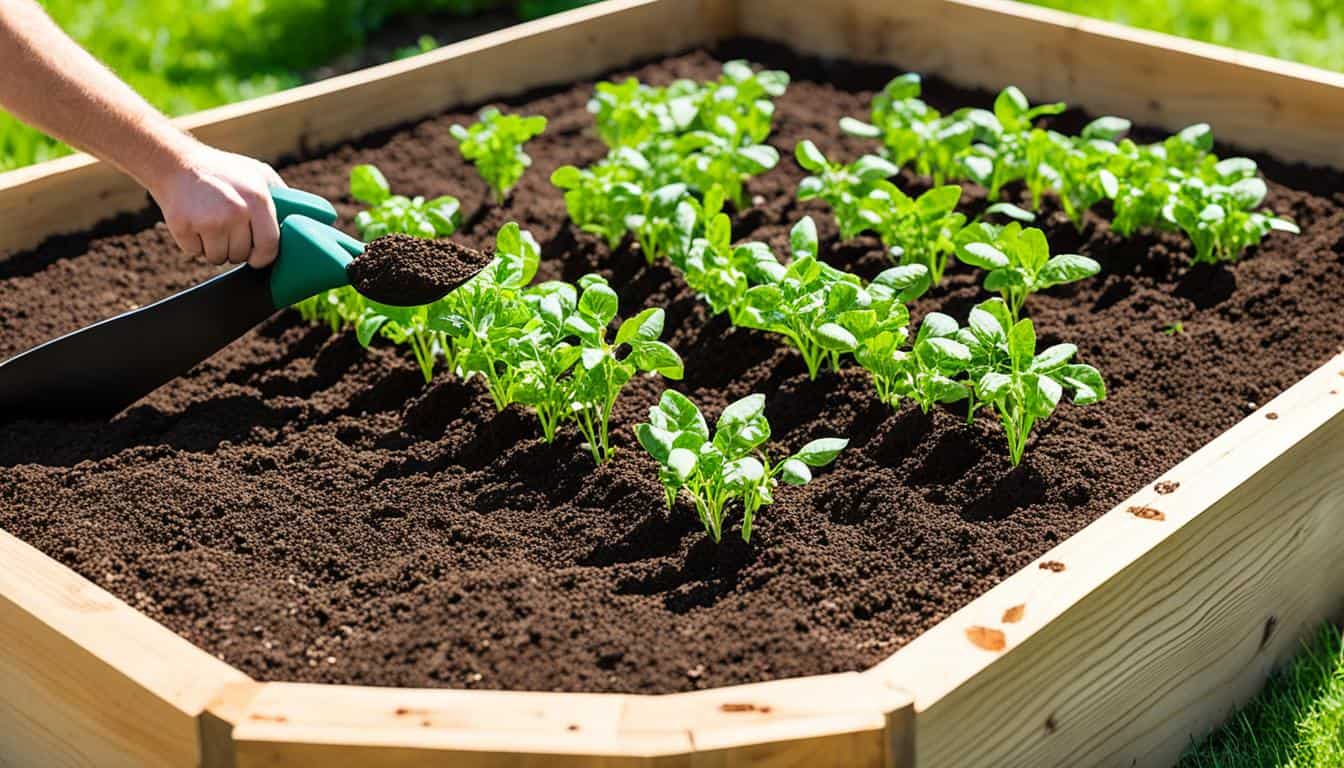
Preparing the Soil for Bottle Gourd Seeds
Proper soil preparation is essential for successful bottle gourd cultivation. Bottle gourds require well-draining soil to prevent waterlogging, which can hinder their growth and development. To ensure your soil has good drainage, you can perform a simple soil testing procedure.
To test the drainage of your soil, dig a hole about 1 foot deep and 1 foot wide. Fill the hole with water and observe how quickly it drains. Ideally, the water should drain within 1 to 6 inches. If the water drains too slowly or remains stagnant, it indicates poor drainage. In such cases, you may need to take measures to improve the soil’s drainage.
The pH level of the soil is another important factor to consider. Bottle gourds thrive in soil with a pH level between 6.5 and 7.5. You can determine the pH level of your soil using a pH testing kit or by sending a soil sample to a laboratory for analysis. If the pH level of your soil is not within the ideal range for bottle gourd cultivation, it can be adjusted by adding amendments like peat moss or limestone.
In addition to ensuring good drainage and the appropriate pH level, adding organic matter to your soil is crucial. Compost or well-rotted manure can be incorporated into the soil to improve its structure, water-holding capacity, and nutrient content. Organic matter also helps to promote beneficial microbial activity in the soil, which is beneficial for overall plant health.
“Well-draining soil and the right pH level are key for the successful cultivation of bottle gourd seeds.”
Improving drainage and enriching the soil with organic matter can be achieved by following these steps:
- Prepare the soil by removing any rocks, debris, or weeds from the planting area.
- Use a garden fork or tiller to loosen the soil and create a fine, crumbly texture.
- Add compost or well-rotted manure to the soil, mixing it in thoroughly.
- Perform a final soil test to ensure that the drainage and pH level are suitable for bottle gourd cultivation.
By taking these steps to prepare your soil, you can create an optimal environment for bottle gourd seeds to germinate and grow into healthy, productive plants.
| Materials | Instructions |
|---|---|
| Compost or well-rotted manure | Mix into the soil to improve drainage and nutrient content. |
| Garden fork or tiller | Loosen the soil and create a fine texture for better root growth. |
| pH testing kit or laboratory analysis | Determine the pH level of the soil and make necessary adjustments. |
Planting Bottle Gourd Seeds
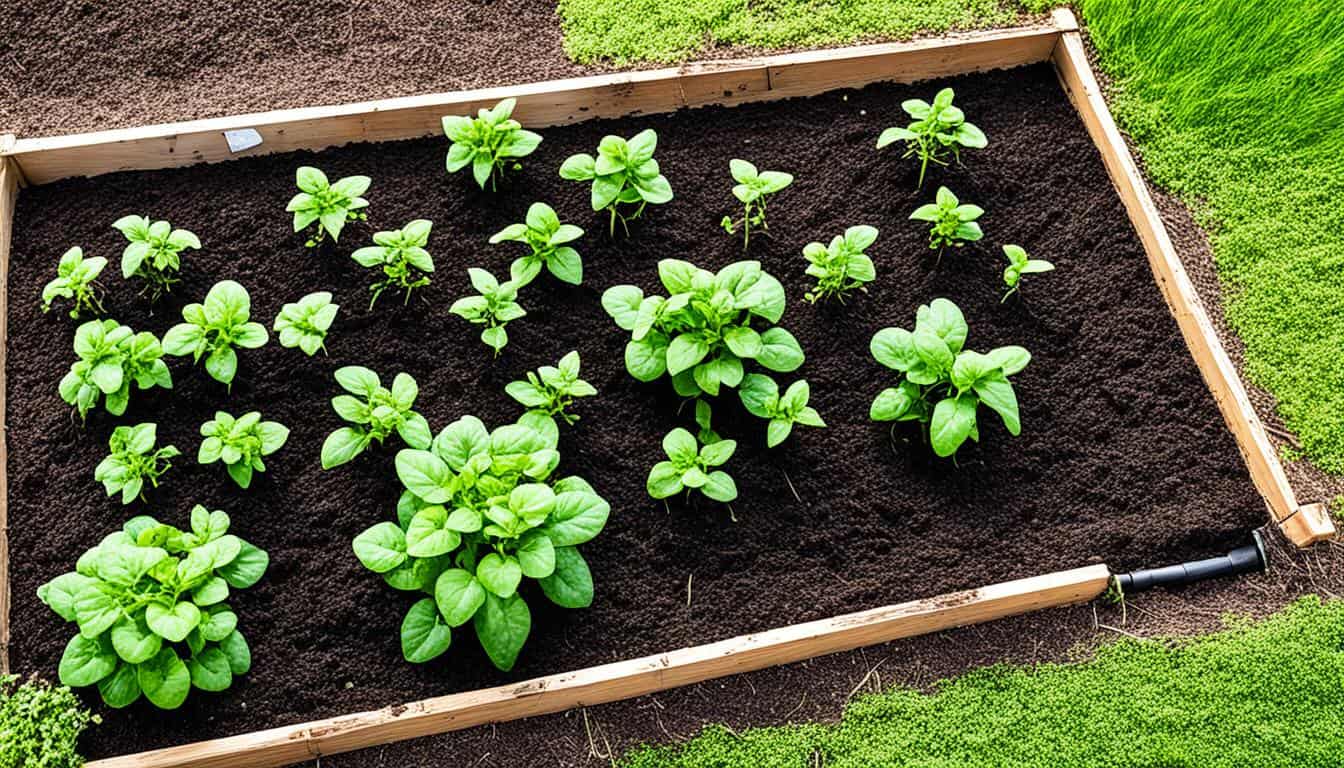
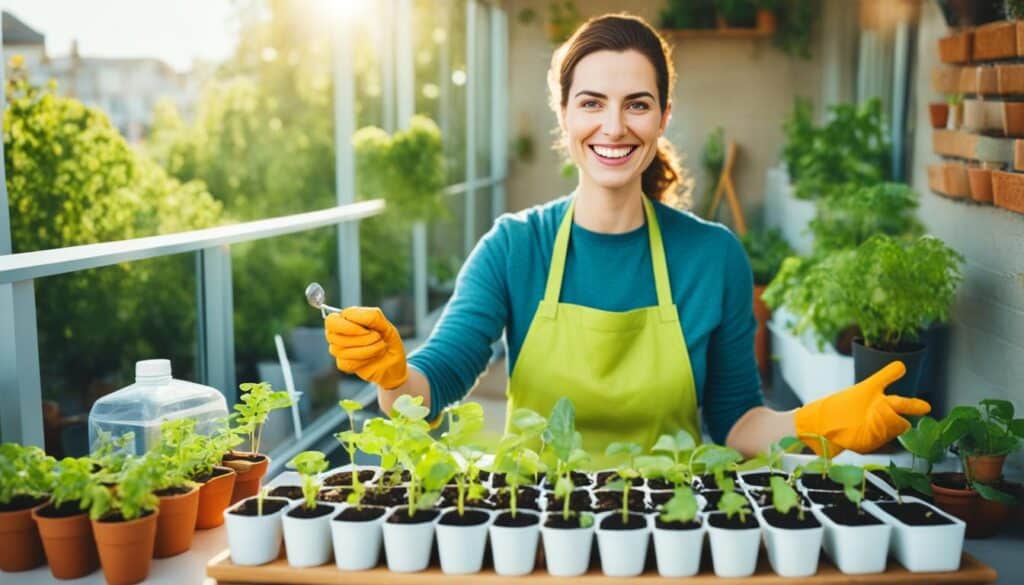
When it comes to planting bottle gourd seeds, timing is crucial. The best time to plant these seeds is in the spring, after the last frost. This ensures that the weather is warm enough for optimal growth. If you’re eager to get started early, you can also begin the process indoors up to 4 weeks before the last frost. Simply plant the seeds in peat pots or seed trays, providing them with a head start before transplanting them into the garden.
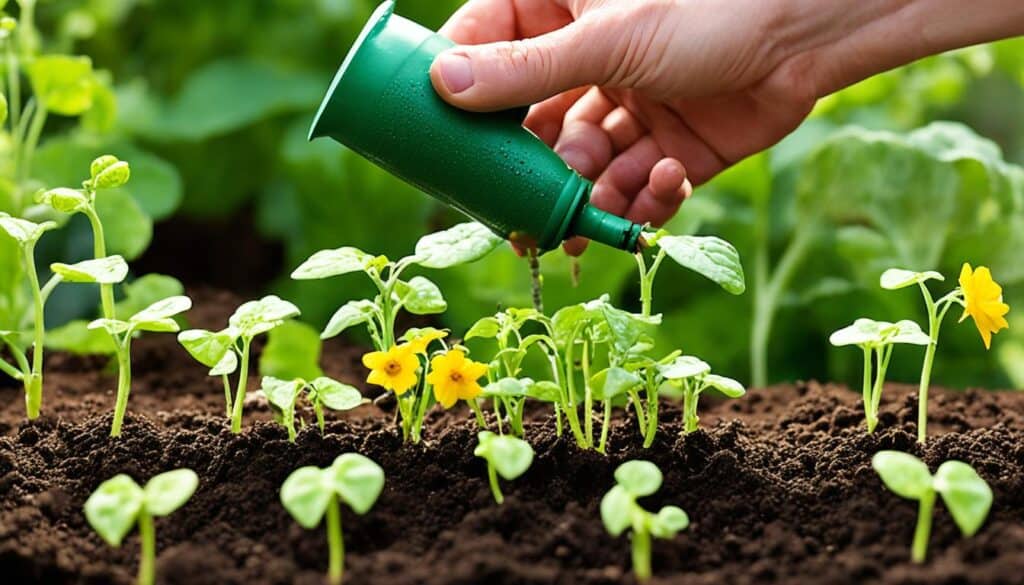
To improve germination rates, it’s recommended to snip the tip of the seed shell before planting. This encourages faster sprouting and stronger seedlings. Additionally, soaking the seeds in water for 1 day prior to planting can also enhance germination. Make sure to plant the seeds at a depth of 1/2 to 1 inch in the soil, and remember to water them immediately after planting to establish a good moisture level.
Proper watering is essential for the successful growth of bottle gourd seeds. They require consistent and adequate moisture throughout their life cycle. Aim to keep the soil damp but not waterlogged. Overwatering can lead to root rot, while underwatering can cause stunted growth.
Thinning the seedlings down to 2 per mound is also important for promoting healthy growth. This allows the remaining plants to have enough space to spread out and develop strong root systems. By taking these steps during the planting process, you can ensure that your bottle gourd seeds have the best chance of thriving and producing a bountiful harvest.
Caring for Bottle Gourd Plants
When it comes to cultivating bottle gourd plants, caring for them properly is crucial for their growth and productivity. Here are some essential practices to keep your bottle gourd plants healthy and thriving:
Weeding
Weeding is an important task to ensure that bottle gourd plants receive adequate water and nutrients without facing competition from invasive weeds. Regularly remove weeds from the vicinity of the plants to prevent them from robbing the soil of essential resources.
Fertilizing
Proper fertilization is essential to provide bottle gourd plants with the necessary nutrients for optimal growth. After the plants have been growing for 6-8 weeks, fertilize them with a balanced 10-10-10 fertilizer. This will help replenish any nutrient deficiencies and encourage healthy foliage and fruit development.
Pruning
Pruning is another important practice for bottle gourd plants, especially when the vines start reaching 8 feet in length. By selectively pruning the vines, you can promote better air circulation, control the growth, and encourage the plants to focus their energy on fruit production.
Hand-pollination
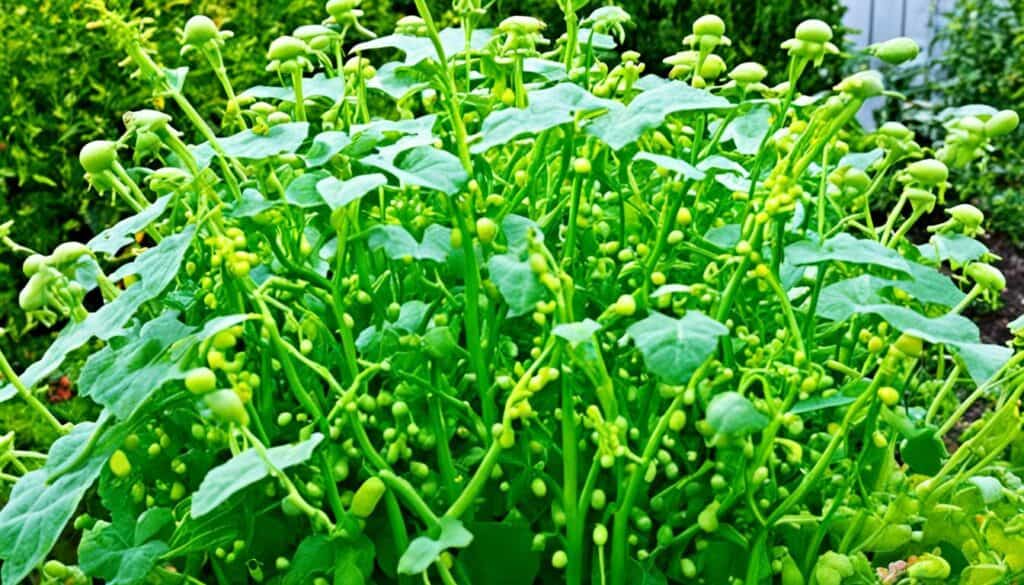
Bottle gourd plants rely on pollination for fruit set. In case of low pollinator activity, hand-pollination can help ensure a successful harvest. Gently transfer pollen from male flowers to female flowers using a small brush or cotton swab to ensure proper fertilization and fruit development.
Pest Control
Protecting bottle gourd plants from pests is vital for their health and productivity. Cucumber beetles and aphids are common pests that can cause damage to the plants. Consider using insecticides that are safe for vegetable gardening and follow the instructions carefully to control pest infestations and prevent them from causing harm.
By implementing these care practices, you can maintain the health and vigor of your bottle gourd plants, ensuring a successful and abundant harvest.
Harvesting Bottle Gourds
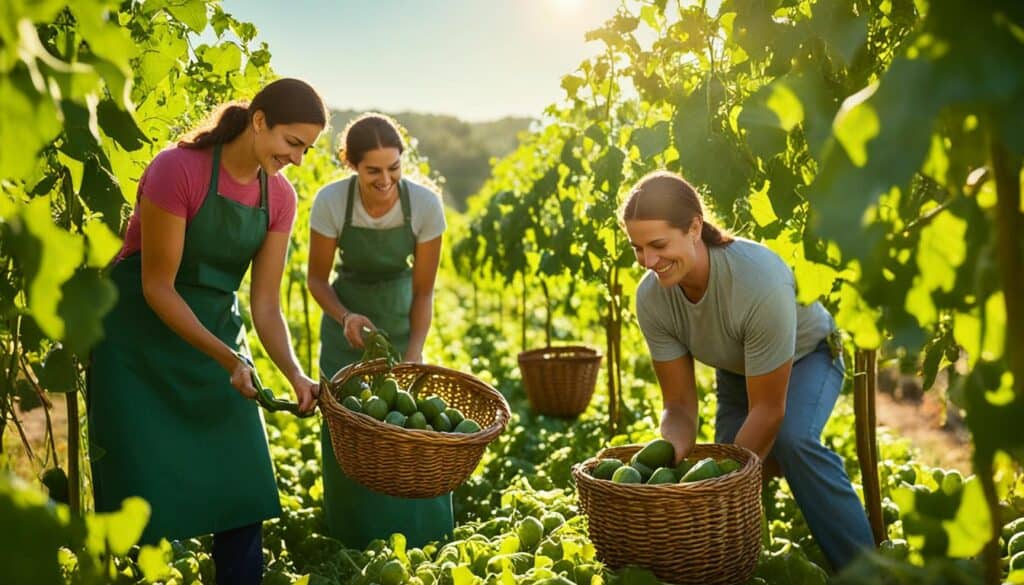
Once the bottle gourds have grown and matured, it’s time to harvest the fruits. The harvesting season generally begins 2-3 months after seed sowing and continues for about 6-8 weeks. To ensure you pick the perfect gourds, there are a few key indicators to look for.
First, check for ripe fruits with a soft and smooth surface. Gently press your fingers on the skin, and if it gives way slightly, it indicates that the gourd is ready for harvest. You can also use your fingernail to lightly scrape the skin. If the skin easily comes off, it’s a good sign that the gourd is mature.
Handle the harvested bottle gourds with care to prevent bruising or damage. Keep in mind that bottle gourds are delicate and can easily get dented or punctured. Store them in a cool, dry place until you’re ready to use them.
Harvesting Tips:
- Harvest bottle gourds when they have a soft, smooth surface.
- Check for gourds that can be easily pierced with a fingernail or scraped.
- Handle the harvested fruits gently to avoid bruising or damage.
Recommended Harvesting Time:
| Harvesting Time | Characteristics | Harvesting Tips |
|---|---|---|
| 2-3 months after seed sowing | Soft and smooth surface | Lightly press the fruit or scrape the skin to check for ripeness |
Remember, harvesting at the right time ensures that you enjoy the best flavors and textures from your bottle gourds.
Growing Bottle Gourds in Pots
Container gardening is an excellent option for growing bottle gourds, especially if you have limited space or want more control over the growing conditions. With the right pot size, potting mixture, and proper care, you can successfully cultivate bottle gourds in pots. Here’s what you need to know:
Suitable Pot Size
When choosing pots for growing bottle gourds, opt for a minimum size of 14 inches in diameter. This allows enough space for the roots to spread and the plants to thrive. Larger pots provide even better results, as they accommodate more soil volume and provide better stability. Remember, the size of the pot affects the overall growth and yield of your plants.
Potting Mixture
The potting mixture plays a crucial role in the success of container-grown bottle gourds. Use a high-quality potting mix specially formulated for vegetables or organic veggie mix. These mixes are rich in nutrients and provide excellent drainage, ensuring optimal conditions for the plants to thrive. Avoid using garden soil in pots, as it may become compacted and hinder root growth.
One Plant per Container
To give your bottle gourds ample space for growth, it’s important to grow only one plant per container. This allows the plant to spread its roots and vines without overcrowding. Overcrowding can lead to stunted growth, competition for nutrients, and decreased yields. By providing enough space, you’ll ensure healthier and more productive plants.
Proper Care
Container-grown bottle gourds require proper care to reach their full potential. Here are a few key care tips:
- Watering: Container-grown plants require more frequent watering than those grown in the ground. Keep the soil consistently moist, but avoid overwatering, as it can lead to root rot. Monitor the moisture levels by checking the top inch of soil regularly.
- Fertilizing: Feed your bottle gourds with a balanced liquid fertilizer, such as a 10-10-10 or 14-14-14 formula, every two to three weeks. Follow the instructions on the fertilizer package for the correct dosage and application method.
- Sunlight: Place your potted bottle gourds in a location that receives at least six hours of direct sunlight each day. Adequate sunlight is crucial for the plants to grow vigorously and produce healthy fruits.
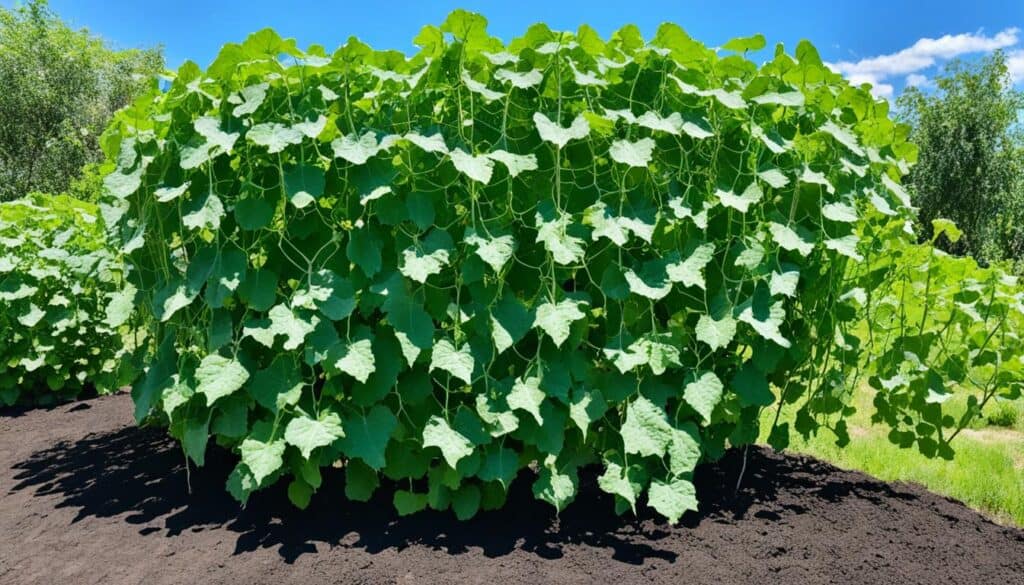
- Support: As the vines start to grow, provide support such as trellises or stakes to help them climb. This will not only save space but also promote better air circulation and reduce the risk of diseases.
With the right pot size, potting mixture, and care, you can enjoy a bountiful harvest of bottle gourds right from your own container garden.
Tips for Bottle Gourd Plant Care
When it comes to caring for bottle gourd plants, there are a few key tips to keep in mind. By following these guidelines, you’ll be well on your way to growing healthy and productive bottle gourds.
Growing in Open and Sunny Locations
First and foremost, it’s important to choose an open and sunny location for your bottle gourd plants. These plants thrive in areas that receive plenty of sunlight. Aim for at least 6 hours of direct sunlight each day to ensure optimal growth.
Top Dressing with Coco Peat and Manure
For additional nutrients and improved soil fertility, consider top dressing your bottle gourd plants with a mixture of coco peat and well-rotted manure. This organic amendment provides essential nutrients and improves moisture retention, promoting healthier and more vigorous growth.
Adequate Watering
Watering is crucial for the overall health and development of bottle gourd plants. Aim to keep the soil consistently moist, but not waterlogged. Provide regular and adequate watering, especially during dry spells or hot weather. Avoid overwatering, as this can lead to root rot and other issues.
Stopping and Pinching the Climber
To encourage more compact and productive plants, it’s important to practice stopping and pinching of the climber. This involves removing the growing tip of the main vine once the plant reaches a desired height. This technique redirects growth energy to lateral branches, resulting in a bushier and more fruitful plant.
“Proper care and attention to the specific needs of bottle gourd plants can significantly enhance their growth and productivity.”
By implementing these tips, you’ll create an optimal environment for your bottle gourd plants, ensuring they receive the necessary sunlight, nutrients, and care for successful growth and a bountiful harvest.
| Tips for Bottle Gourd Plant Care | Description |
|---|---|
| Growing in Open and Sunny Locations | Choose a location that receives at least 6 hours of direct sunlight each day for optimal growth. |
| Top Dressing with Coco Peat and Manure | Apply a mixture of coco peat and well-rotted manure to provide additional nutrients and improve soil fertility. |
| Adequate Watering | Keep the soil consistently moist, avoiding both under- and overwatering. |
| Stopping and Pinching the Climber | Remove the growing tip of the main vine to redirect growth energy and promote a bushier plant. |
Troubleshooting Bottle Gourd Plants
Despite your best efforts, bottle gourd plants can sometimes encounter common issues that hinder their growth and development. Recognizing and addressing these problems promptly is essential to ensure healthy and productive plants. Here are some troubleshooting tips to help you overcome the challenges that may arise:
1. Falling Immature Gourds
One issue that bottle gourd plants may face is the premature falling of gourds before they fully mature. This problem can often be attributed to a lack of proper nourishment or inconsistent watering. To prevent falling immature gourds, make sure to provide your plants with adequate nutrients through regular fertilization and maintain a consistent watering schedule.
2. Small Fruits Rotting
Another common problem is the rotting of small bottle gourd fruits. This issue can occur due to waterlogging in the soil or imperfect pollination. To prevent fruit rot, ensure that your planting area has proper drainage and avoid overwatering. Additionally, consider hand-pollinating the flowers to increase the chances of successful pollination and fruit development.
3. Pest Infestation
Pests can also pose a threat to your bottle gourd plants. Cucumber beetles and aphids, in particular, are known to infest bottle gourd plants and cause damage. Regularly inspect your plants for any signs of pest infestation, such as chewed leaves or aphid clusters, and take immediate action to control the pests. Organic insecticides or insecticidal soap can be used as effective remedies.
By proactively addressing these common plant issues, you can ensure the health and productivity of your bottle gourd plants. Remember that proper care, timely solutions, and close observation are paramount to a successful bottle gourd cultivation experience.
| Problems | Possible Causes | Solutions |
|---|---|---|
| Falling Immature Gourds | Lack of nourishment or watering | – Regular fertilization\n- Consistent watering |
| Small Fruits Rotting | Waterlogging or imperfect pollination | – Ensure proper drainage\n- Avoid overwatering\n- Consider hand-pollination |
| Pest Infestation | Cucumber beetles or aphids | – Regular inspection\n- Use organic insecticides or insecticidal soap |
Conclusion
Bottle gourd cultivation offers a rewarding gardening experience, and with the right tips for successful growth, harvest, and care, you can enjoy a bountiful supply of this versatile vegetable.
From choosing the right planting area and preparing the soil to planting the seeds and providing proper care, each step plays a crucial role in the healthy development of bottle gourd plants. Timely weeding, fertilizing, and pruning contribute to their overall well-being, while hand-pollination ensures proper fruit set.
When it comes to harvesting, remember to wait until the fruits have a soft, smooth surface for the best flavor and quality. And while bottle gourds are commonly used as a low-calorie vegetable in cooking, they also find a place in dried ornamental gourd crafts, adding a touch of natural beauty to your home.

Leave a Reply