Did you know that celery seeds offer not only a burst of flavor but also a plethora of health benefits? These tiny seeds, often overlooked, pack a powerful punch when it comes to enhancing your well-being. In this comprehensive guide, I’ll take you on a journey to explore the wonders of celery seeds. From growing and harvesting them in your own garden to incorporating them into your everyday meals, you’ll discover just how versatile and beneficial these seeds can be.
Key Takeaways:
- Celery seeds are not only flavor enhancers but also possess numerous health benefits.
- You can grow and harvest celery seeds in your own garden for a fresh supply.
- Celery seeds can be used in various culinary creations, adding a unique taste to your dishes.
- The health benefits of celery seeds range from reducing inflammation to aiding weight loss.
- With this comprehensive guide, you’ll become an expert in the world of celery seeds!
Growing Celery Seeds: A Step-by-Step Guide
Growing celery seeds can be an exciting and fulfilling endeavor for any gardener. With the right knowledge and techniques, you can cultivate your own abundant supply of celery seeds. In this step-by-step guide, I’ll walk you through the process of growing celery seeds, from selecting the perfect variety to harvesting the seed heads.
Step 1: Choosing the Right Variety
To start your celery seed journey, it’s important to choose a variety that is specifically bred for seed production. Two popular celery seed varieties suitable for cultivation are ‘Tall Utah 52-70’ and ‘Ventura.’ These varieties are known for their robust seed heads and are well-suited for home gardeners.
Step 2: Starting Seeds Indoors
One of the best ways to ensure a successful celery seed germination is by starting the seeds indoors. Begin the process about 8 to 10 weeks before the last frost date in your area. Fill a seed tray or pots with a high-quality seed-starting mix, plant the seeds, and lightly cover them with soil. Keep the seeds moist and maintain a consistent temperature of around 70°F (21°C) to encourage germination.
Step 3: Transplanting Seedlings
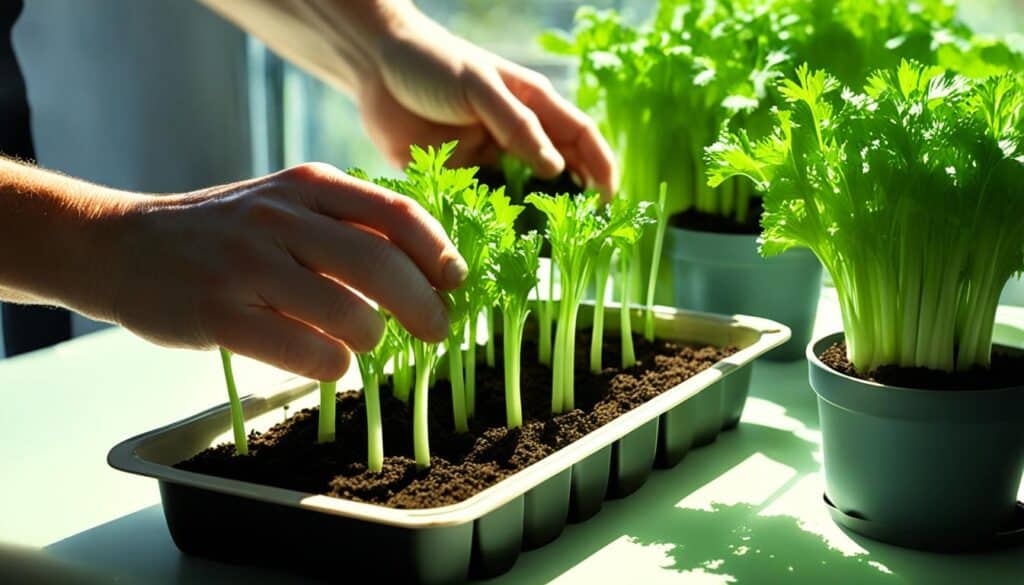
Once your celery seedlings have developed their first set of true leaves, they are ready to be transplanted into individual pots or larger containers. Gently transplant the seedlings, making sure to handle them carefully to avoid damaging the delicate roots. Provide ample sunlight, water, and nutrients to promote healthy growth as the seedlings establish themselves.
Step 4: Planting Celery Seedlings Outdoors
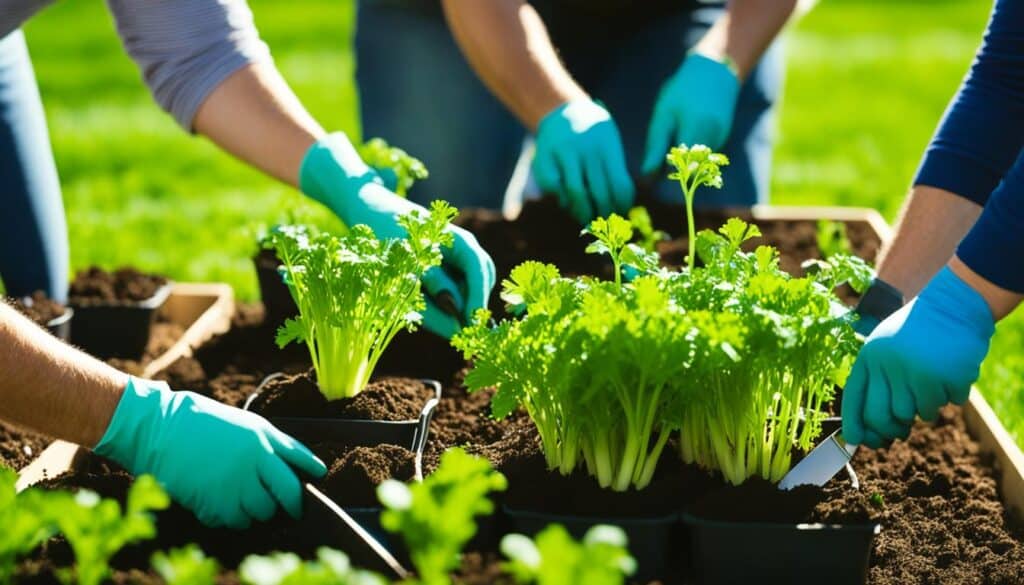
When your celery seedlings are 8 to 10 weeks old and the weather has warmed up, it’s time to transplant them outdoors. Choose a sunny location with well-draining soil. Dig holes or trenches that are deep and wide enough to accommodate the root system of the seedlings. Plant the seedlings, making sure to space them adequately to allow for proper growth. Water the seedlings thoroughly after planting and continue to provide moisture as needed.
Step 5: Harvesting the Seed Heads
Patience is key when it comes to harvesting celery seed heads. The seed heads are ready for harvesting when they turn brown and start to dry out. Cut the seed heads from the plant, leaving a few inches of stem attached. Place the seed heads in a dry and well-ventilated area to further dry out. Once fully dry, gently rub the seed heads to release the seeds.
By following these step-by-step instructions, you’ll be well on your way to successful celery seed cultivation. Stay tuned for the next section where we’ll dive deeper into choosing the right variety of celery seeds for your garden.
Choosing the Right Variety of Celery Seeds
When it comes to seed production, not all celery varieties are created equal. To ensure a successful harvest, it’s crucial to choose a celery seed variety that is specifically bred for seed production. Selecting the right celery seeds will increase your chances of a bountiful harvest and robust seed heads.
Two popular celery seed varieties known for their excellent seed production are ‘Tall Utah 52-70’ and ‘Ventura’. These varieties have been carefully selected for their ability to produce abundant and high-quality seed heads.
With ‘Tall Utah 52-70’ celery seeds, you can expect strong and vigorous plants that yield a plentiful harvest. This variety is known for its disease resistance and adaptability to various growing conditions.
‘Ventura’ celery seeds are another great choice for seed production. This variety produces uniform and dense seed heads, making it easy to collect the seeds for future planting.
By choosing the right variety of celery seeds, such as ‘Tall Utah 52-70’ or ‘Ventura’, you’ll give yourself the best chance of a successful celery seed harvest.
Comparison of Celery Seed Varieties
| Variety | Seed Production | Disease Resistance | Adaptability |
|---|---|---|---|
| ‘Tall Utah 52-70’ | Abundant | High | Wide |
| ‘Ventura’ | Dense | Moderate | Intermediate |
Starting Celery Seeds Indoors
Growing celery seeds indoors is a popular method among gardeners due to the small size and slow germination of these seeds. By starting celery seeds indoors, you can provide the optimal conditions for germination and ensure that your seeds develop into healthy seedlings ready for transplanting. Here’s a step-by-step guide on how to start celery seeds indoors:
- Timing: Start celery seeds indoors about 8 to 10 weeks before the last frost date in your area. This will give the seedlings enough time to grow before they are transplanted outdoors.
- Seed-Starting Mix: Fill a seed tray or individual pots with a seed-starting mix. This type of potting mix is lightweight and well-draining, providing an ideal environment for seed germination.
- Sowing the Seeds: Sow celery seeds thinly and evenly across the surface of the seed-starting mix. Gently press them down, ensuring good soil contact.
- Moisture: Moisture is crucial for celery seed germination. Mist the surface of the soil lightly with water, ensuring it is evenly damp but not waterlogged.
- Germination Conditions: Cover the seed tray or pots with a plastic dome or plastic wrap to create a greenhouse-like environment. Place the tray or pots in a warm area with indirect sunlight.
- Temperature: Celery seeds germinate best in temperatures between 70-75°F (21-24°C). Use a heating mat, if needed, to maintain the desired temperature.
- Germination Time: Celery seeds can take 2-3 weeks to germinate. Be patient and continue to provide the right conditions.
- Thinning Seedlings: Once the seedlings have grown their first set of true leaves, thin them out to one seedling per pot or space them 2-3 inches apart in the seed tray.
- Light: Provide the seedlings with ample light. If natural sunlight is insufficient, use fluorescent grow lights to ensure healthy growth.
- Watering: Keep the seedlings evenly moist, but not excessively wet. Water from the bottom to avoid damping-off disease.
With these techniques, you can successfully germinate celery seeds indoors and nurture them into strong, healthy seedlings. Once the danger of frost has passed, you can transplant the seedlings outdoors for the next stage of growth.
Quote:
“Starting celery seeds indoors is a great way to kickstart their growth and ensure a successful harvest. By providing the right conditions, you can give your celery seeds a head start and enjoy a bountiful harvest of delicious and nutritious celery stalks.” – [Gardening expert]
| Benefits of Starting Celery Seeds Indoors | Challenges of Starting Celery Seeds Indoors |
|---|---|
| – Allows for early planting – Provides controlled germination conditions – Increases success rate of germination – Offers protection from pests and harsh weather |
– Requires additional time and attention – Need for artificial light in low-light areas – Potential for seedling overcrowding – Risk of overwatering or underwatering |
Transplanting Celery Seedlings
Once your celery seedlings have developed their first set of true leaves, it’s time to transplant them into individual pots or larger containers. This step is crucial for their continued growth and ensures they have enough space to thrive. Follow these tips for successful transplanting of your celery seedlings.
1. Choose the right containers
When transplanting celery seedlings, select containers that are at least 4 inches deep, with good drainage. This allows room for the roots to grow and ensures excess water drains properly. You can use biodegradable pots or reuse containers you already have.
2. Prepare the soil
Fill the chosen containers with well-draining potting mix or compost-enriched soil. Celery seedlings prefer a slightly acidic soil pH of 6.0 to 6.7. Ensure the soil is loose and friable to allow the roots to establish and access nutrients easily.
3. Transplant gently
Handle the celery seedlings with care to avoid damaging their delicate roots. Make a small hole in the soil of the container and gently place the seedling, ensuring the root system is intact. Firm the soil gently around the base of the seedling to secure it in place.
4. Water thoroughly
After transplanting, water the seedlings thoroughly to help them settle into their new containers. Ensure the water reaches the roots by watering from the base of the container, allowing the soil to absorb moisture. Avoid overwatering, as it can lead to root rot.
5. Provide appropriate light and temperature conditions
Place the transplanted celery seedlings in an area that receives full sunlight or bright, indirect light. Maintain a temperature between 60°F and 70°F (15°C to 21°C) to promote healthy growth. Celery seedlings are sensitive to temperature fluctuations, so avoid placing them in drafty or excessively hot locations.
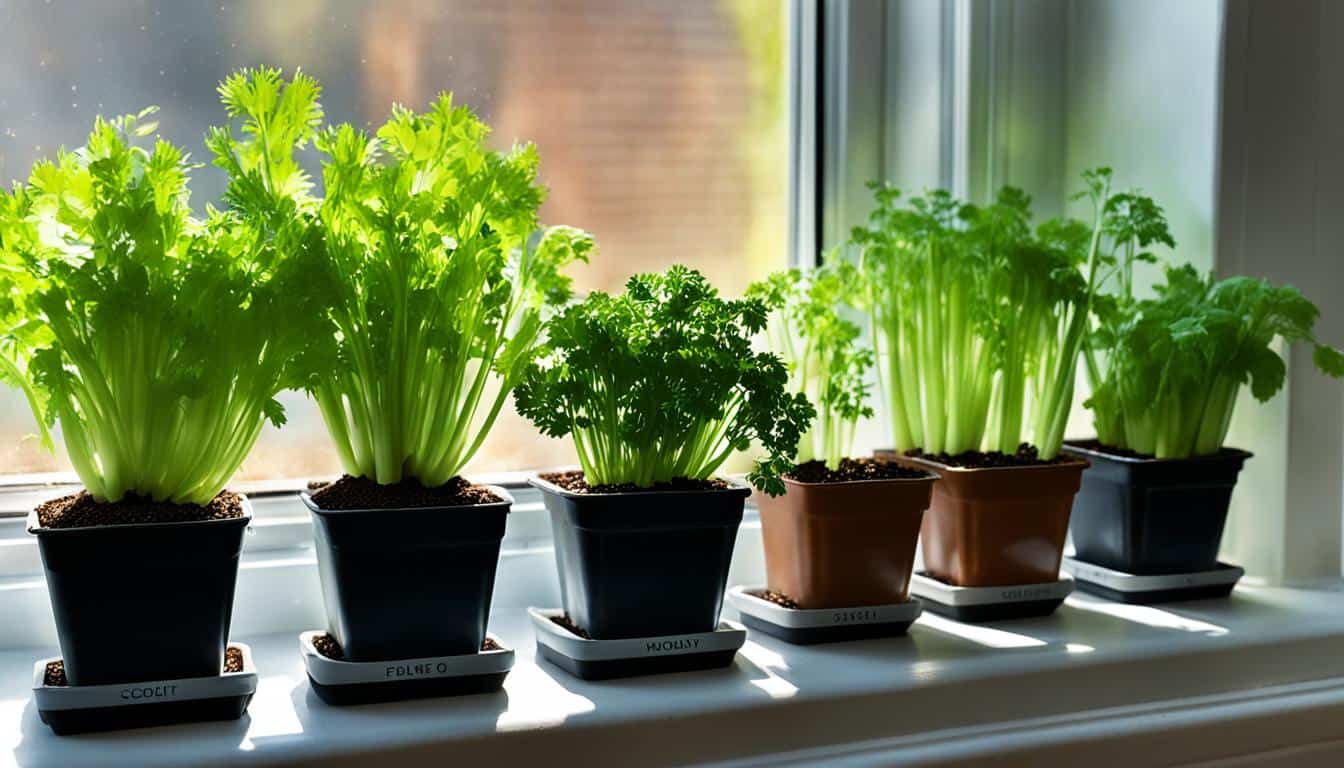
Remember to label your containers with the variety and transplanting date to keep track of your plants.
By following these tips, you’ll ensure successful transplanting of your celery seedlings. Providing them with the right conditions and care will promote their healthy growth and ultimately lead to a bountiful harvest.
Planting Celery Seedlings Outdoors
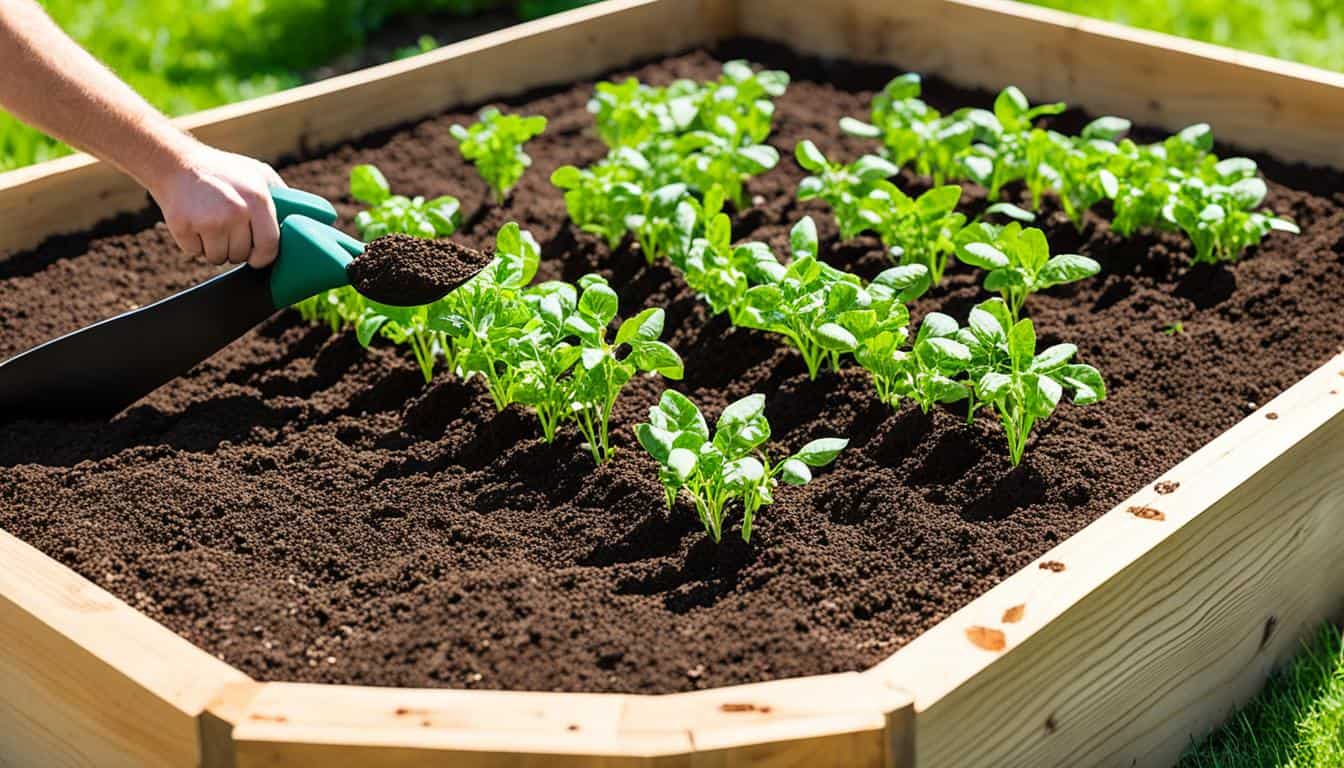
Once your celery seedlings are 8 to 10 weeks old and the weather has warmed up, it’s time to transplant them outdoors. This is an exciting step in your celery seed cultivation journey, as you’ll see your young seedlings thrive in their natural environment.
To ensure the healthy growth of your celery seedlings, here are some valuable tips for planting them outdoors:
- Select a sunny location: Choose a spot in your garden that receives at least 6 to 8 hours of direct sunlight daily. Celery plants love the sun and will benefit from ample light exposure.
- Prepare well-draining soil: Celery requires well-draining soil to prevent waterlogged roots. Amend your garden soil with organic matter, such as compost or well-rotted manure, to improve drainage and provide essential nutrients.
- Space seedlings adequately: Celery plants need room to grow and spread their roots. Space your seedlings 6 to 8 inches apart in rows that are 12 to 18 inches apart. This allows for proper airflow and prevents overcrowding.
- Water consistently: Celery plants have high moisture requirements. Keep the soil consistently moist, watering deeply to encourage root development. Avoid overwatering, as it can lead to root rot. Consider using a drip irrigation system or soaker hoses for efficient watering.
- Maintain optimal temperature: Celery thrives in cool temperatures, ideally between 60°F and 70°F (15°C to 21°C). Monitor weather conditions and protect your seedlings from sudden temperature drops or frost. Consider using row covers or cloches to create a favorable microclimate.
By following these planting techniques and providing the right conditions, your celery seedlings will flourish in their outdoor environment. With patience and care, you’ll soon be rewarded with healthy stalks and abundant celery seeds.
Harvesting Celery Seed Heads
Harvesting celery seed heads is an exciting milestone in your celery seed cultivation journey. It is the moment when you can collect the fruits of your labor and enjoy a bountiful supply of celery seeds for future use. But how do you know when the seed heads are ready for harvest?
One of the telltale signs that your celery seed heads are mature and ready for harvesting is their color. As the seed heads mature, they will turn from a vibrant green to a light brown or tan color. Additionally, the seed heads will start to dry out, indicating that the seeds inside have reached their full maturity.
When harvesting celery seed heads, it is important to use the proper techniques to ensure successful seed extraction. To begin, you’ll need a sharp pair of garden shears or secateurs. Carefully cut off the seed heads from the celery plants, making sure to leave a bit of stem attached to the seed head.
After harvesting, it’s time to prepare the seed heads for extraction. Place the seed heads in a cool, dry location with good airflow. This will allow the seed heads to continue drying and prevent them from becoming moldy. It is recommended to hang the seed heads upside down to encourage proper drying.
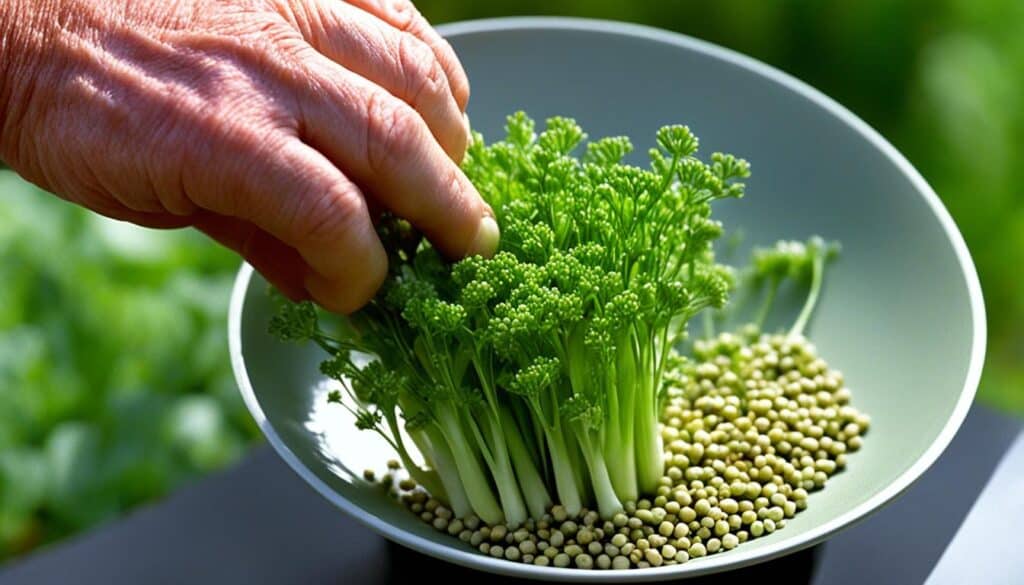
Allow the seed heads to dry for about two to three weeks, or until they feel completely dry and brittle to the touch. Once the seed heads are dry, gently crush them to release the celery seeds. You can do this by placing the seed heads in a clean cloth and rolling them between your hands or by using a mortar and pestle.
Remember: Harvesting celery seed heads at the right time and drying them properly are crucial steps in the process of collecting celery seeds. With careful timing and attention to detail, you’ll be able to enjoy a plentiful supply of celery seeds to use in your culinary endeavors or save for future plantings.
Continue reading to explore the various uses and benefits of celery seeds in Section 8 and Section 10.
Storing and Preserving Celery Seeds
To ensure the longevity of your celery seeds, proper storage is essential. By following these best practices for storing celery seeds, you can maintain their flavor and viability for an extended period. Here are some seed storage tips to help you preserve the freshness and quality of your celery seeds.
Airtight Containers
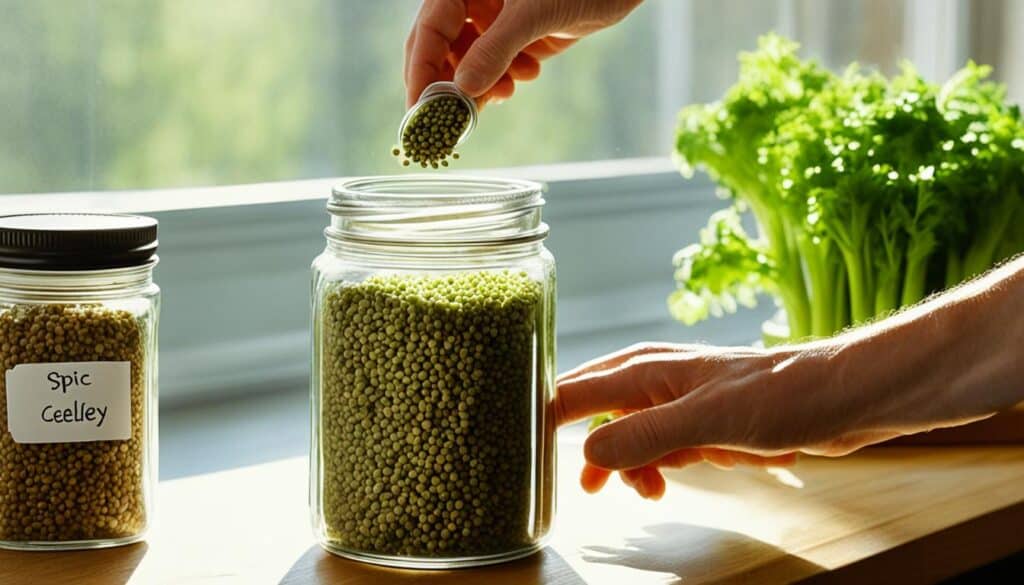
When storing celery seeds, it’s crucial to protect them from exposure to air and moisture. Transfer the seeds to airtight containers, such as glass jars or resealable plastic bags, to create a barrier against these elements. Ensure that the containers are clean, dry, and tightly sealed to prevent any moisture from entering and compromising the seeds’ quality.
Cool and Dry Place
Proper temperature and humidity levels are vital for seed storage. Store your celery seeds in a cool, dry place, away from direct sunlight and fluctuations in temperature. Ideally, the storage area should maintain a temperature between 40°F and 50°F (4°C and 10°C) and a humidity level below 40%. This controlled environment will help prevent the seeds from deteriorating.
Dark Storage Location
Protect your celery seeds from exposure to light by storing them in a dark location. Sunlight can degrade the seed’s quality and shorten its shelf life. Choose a storage area away from windows or any other source of direct light. A pantry, cupboard, or basement can serve as suitable storage locations.
Labeling and Date
To keep track of your celery seed inventory, it’s essential to label the containers with the date of storage and variety of celery seeds. This labeling system will help you identify and use the oldest seeds first to ensure their freshness. Use waterproof markers or labels to prevent fading or smudging of the information.
Freezing Method
If you plan to store celery seeds for an extended period, you may consider using the freezing method. Place the seeds in an airtight container or freezer bag and label them accordingly. Freezing celery seeds can extend their shelf life up to two years. However, it’s crucial to avoid frequent temperature fluctuations that can occur if the seeds are exposed to warm air or moisture upon removal from the freezer.
By implementing these seed storage tips, you can enjoy the freshness and potency of your celery seeds for many months or even up to a year.
Celery Seed Storage Tips
| Storage Tips | Description |
|---|---|
| Airtight Containers | Transfer celery seeds to airtight containers to protect them from air and moisture. |
| Cool and Dry Place | Store celery seeds in a cool, dry place away from sunlight and temperature fluctuations. |
| Dark Storage Location | Choose a storage area that is dark and free from direct light. |
| Labeling and Date | Label containers with the date and variety of celery seeds for easy identification. |
| Freezing Method | Consider freezing celery seeds for long-term storage. |
Culinary Uses of Celery Seeds
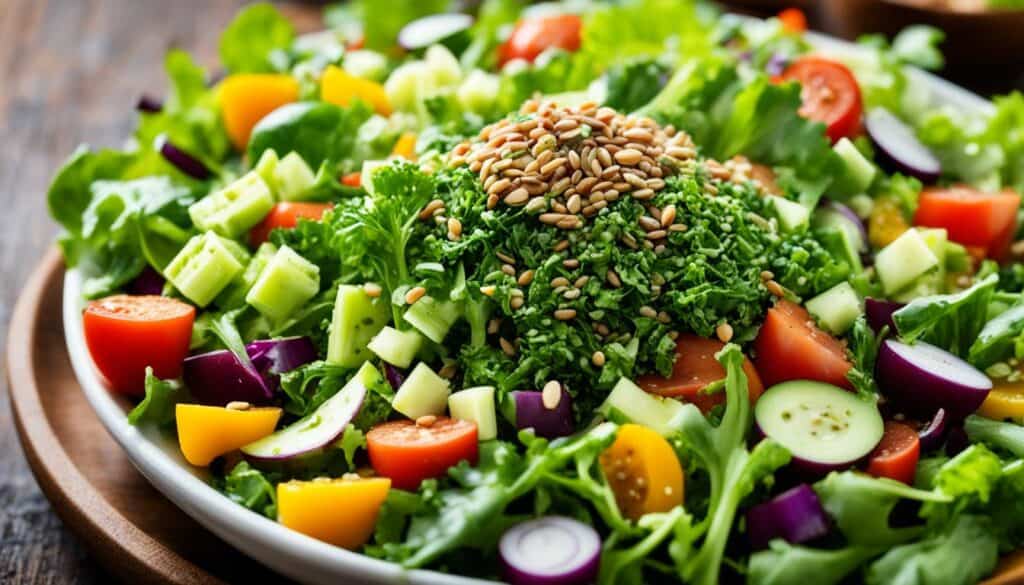
Celery seeds are a versatile ingredient that can add depth and flavor to a wide variety of dishes. Whether you’re cooking soups, stir-fries, or salads, incorporating celery seeds into your recipes can take your culinary creations to the next level.
When it comes to flavor, celery seeds have a distinct profile that can enhance both savory and sweet dishes. They have a warm, earthy taste with hints of bitterness and a subtle celery-like aroma. This unique flavor makes them a fantastic addition to marinades, dressings, and sauces.
If you’re looking to infuse your dishes with the essence of celery, adding celery seeds is a great option. They provide a concentrated celery flavor without the added bulk and moisture of fresh celery. This can be particularly useful when you want to add a subtle celery taste to dishes where the texture of fresh celery may be undesirable.
One common way to use celery seeds is to incorporate them into spice blends. They can complement other herbs and spices, such as garlic, onion, thyme, and cumin, adding complexity to the overall flavor profile. Consider creating your own homemade seasoning blend with celery seeds or using them in your favorite store-bought spice mix.
To inspire you in your culinary adventures with celery seeds, here are a few recipe ideas:
- Celery Seed Coleslaw: Combine shredded cabbage, carrots, and red onion with a dressing made from mayonnaise, sour cream, apple cider vinegar, and celery seeds. Toss everything together and let the flavors meld in the refrigerator before serving.
- Celery Seed Potatoes: Boil baby potatoes until tender, then toss them with melted butter, chopped fresh parsley, salt, and celery seeds. Roast the potatoes in the oven until crispy and golden brown.
- Celery Seed Chicken Soup: In a large pot, sauté onions, carrots, and celery. Add diced chicken, chicken broth, bay leaves, and a sprinkle of celery seeds. Simmer until the flavors meld together and the chicken is cooked through.
Remember, these are just a few examples of how you can incorporate celery seeds into your cooking. Feel free to experiment and let your creativity shine in the kitchen.
Now, let’s take a look at a table highlighting some popular spices and their culinary uses:
| Spice | Culinary Uses |
|---|---|
| Celery Seeds | Marinades, dressings, spice blends, soups, and roasted vegetables |
| Paprika | Seasoning for meat, poultry, and seafood, as well as in stews and sauces |
| Cumin | Mexican, Indian, and Middle Eastern dishes such as chili, curries, and hummus |
| Turmeric | Curry powders, marinades, golden milk, and to add a vibrant color to dishes |
As you can see, celery seeds offer a unique flavor and can be a valuable addition to your kitchen spice collection. Start experimenting with these little seeds and see how they can elevate your favorite dishes.
Health Benefits of Celery Seeds
Celery seeds are more than just a flavorful spice; they also offer a range of health benefits. For centuries, these tiny seeds have been used for their medicinal properties, providing relief and promoting overall well-being. Incorporating celery seeds into your diet can be a natural way to support your health.
Alleviate Joint Pain
The medicinal properties of celery seeds make them a popular natural remedy for joint pain and inflammation. Celery seed extract, in particular, is known to help reduce swelling and ease discomfort caused by conditions like arthritis. By incorporating celery seeds in your daily routine, you may experience relief and improved joint mobility.
Reduce Inflammation
Inflammation is a natural response by the body to protect and heal itself. However, chronic inflammation can contribute to various health issues. The active compounds in celery seeds, such as flavonoids and polyphenols, have anti-inflammatory properties that can help reduce inflammation in the body, supporting overall health and well-being.
Promote Weight Loss
If you’re on a weight loss journey, celery seeds may become your new best friend. These seeds have diuretic properties, which means they can help eliminate excess water weight and reduce bloating. Additionally, celery seed extract may help curb appetite and increase satiety, supporting your weight loss efforts.
Support Digestive Health
Celery seeds have long been used as a natural remedy for digestive issues. They contain compounds that can help soothe an upset stomach, reduce bloating, and improve digestion. Celery seed tea or supplements can be particularly beneficial for those experiencing indigestion, gas, or acid reflux.
Incorporating celery seeds into your diet is easy. You can use celery seed extract in cooking, enjoy a cup of comforting celery seed tea, or opt for celery seed supplements. Additionally, celery seed oil can be used topically to provide relief for joint pain and inflammation.
Conclusion
Growing celery seeds can be a rewarding and enjoyable experience. Throughout this comprehensive guide, I’ve covered everything you need to know about cultivating celery seeds. From choosing the right variety to harvesting and storing the seeds, you now have the knowledge to embark on your own celery seed gardening journey.
During our exploration, we’ve also delved into the culinary and health benefits of celery seeds. These flavorful seeds can elevate the taste of various dishes and offer potential therapeutic effects for joint pain, inflammation, weight loss, and digestive health.
With this summary of celery seed cultivation, you can confidently incorporate celery seeds into your diet and experience their incredible flavor and health benefits. Whether you use them in soups, stir-fries, or salads, the possibilities are endless.
As you start your celery seed gardening journey, remember to choose the right variety, start the seeds indoors, transplant seedlings, and provide optimal growing conditions. With proper care and attention, you’ll soon have an abundant supply of celery seeds to enjoy.
Thank you for joining me in exploring the world of celery seeds. I hope you found this guide informative and inspiring. Now, it’s time to roll up your sleeves and start growing your own celery seeds! Happy gardening!
Additional Resources and Learning
If you’re eager to expand your knowledge and delve deeper into the world of celery seed cultivation, there are plenty of additional resources available to help you on your journey. Whether you’re a beginner or an experienced gardener, these resources will provide you with valuable insights and tips to enhance your celery seed gardening experience.
One excellent resource for further reading on celery seed cultivation is the book “The Complete Guide to Celery Seeds: From Planting to Harvest.” This comprehensive guide covers everything from seed selection to pest control, making it an invaluable reference for any celery seed enthusiast.
In addition to books, there are numerous articles and blog posts available online that can further enhance your knowledge. Websites like GardeningKnowHow.com and TheSpruce.com offer a wealth of information on growing celery seeds, including tips for successful cultivation and troubleshooting common issues.
If you prefer a more interactive learning experience, consider exploring podcasts and videos on celery seed gardening. The “Gardening Tips and Tricks” podcast and the “Gardeners’ World” YouTube channel both feature episodes dedicated to celery seed cultivation, providing practical advice and inspiration.
By taking advantage of these additional resources, you can become a more knowledgeable and skilled celery seed gardener. Whether you prefer reading, listening, or watching, there are plenty of options to suit your learning style and further enrich your gardening journey.


Leave a Reply