Did you know that starting plants from seeds can save you up to 50% compared to buying seedlings?
Whether you’re an experienced gardener or just starting out, successfully growing garden seeds can be a rewarding and cost-effective way to create a beautiful and productive garden. But where do you begin? With so many types of garden seeds available, from organic and heirloom to vegetable, flower, and herb seeds, it’s important to have the right knowledge and techniques to ensure your seeds have the best chance of thriving.
In this guide, I will share expert tips and best practices for sowing and growing garden seeds. From record-keeping to proper storage, container selection to sowing techniques, we will cover all aspects of starting your plants from seeds. By incorporating these tips into your gardening routine, you can set yourself up for success and enjoy the fruits of your labor.
Key Takeaways:
- Keep records of your seed sowing activities to track important details and make informed decisions for the next season.
- Properly store your seeds in a cool, dark location to maintain their viability.
- Choose the right containers, such as wide and shallow plastic pots, for optimal seed starting.
- Ensure direct contact between seeds and the soil by tamping them down gently.
- Provide good airflow and drainage to prevent disease and promote healthy growth.
The Importance of Keeping Records for Seed Sowing.
Keeping a record of your seed sowing activities is a key factor in achieving gardening success. Whether you are a dedicated home gardener or managing a large-scale nursery, maintaining a propagation journal can greatly enhance your understanding of what works best for your plants. With careful record keeping, you can track important details such as sowing dates, germination rates, and transplanting timelines. By evaluating your production schedule at the end of the year, you can make informed decisions for the next season and create the optimal conditions for your garden seeds to thrive.
Not only does record keeping allow you to monitor the progress of your plants, but it also enables you to assess the quality and reliability of your seeds. By noting the source of your garden seeds, you can identify patterns and determine which suppliers consistently provide the best quality. This information is invaluable when selecting future seed purchases, ensuring that you obtain reliable and high-performing varieties for your garden.
A propagation journal serves as a central repository for all the essential information related to your seed sowing activities. Here are some key components to include in your record keeping:
- Sowing dates: Document when you sow each type of seed to monitor germination times and plan for future plantings.
- Germination rates: Record the percentage of seeds that germinate successfully to assess seed quality and identify any issues.
- Transplanting timelines: Note the dates when seedlings are ready to be transplanted into the garden to ensure timely and appropriate care.
- Seed sources: Track where you purchased each variety to identify reliable suppliers and avoid potential inconsistencies in seed quality.
By maintaining detailed records, you can make data-driven decisions and continuously improve your gardening practices. It also allows you to fine-tune your sowing techniques, experiment with different seed treatments, track the success of specific varieties, and ultimately achieve more consistent and successful germination.
“I find that keeping a propagation journal is one of the best investments I’ve made for my garden. It helps me understand the unique needs of each variety and make informed decisions for future plantings.” – Emily Johnson, avid gardener
With a propagation journal as your gardening companion, you’ll have a wealth of knowledge at your fingertips, providing the insights and data needed to optimize your garden’s productivity. So grab a notebook or utilize digital tools to start keeping records of your seed sowing activities and take your gardening to the next level.
Proper Seed Storage for Longevity.
Properly storing seeds is essential to maintain their viability. Seeds can be fragile and quickly lose their ability to germinate if not treated correctly. To ensure the longevity of your garden seeds, follow these key storage tips:
- Choose a Cool, Dark Location: Store your seeds in a cool, dark place with low humidity, such as a refrigerator or a basement storage area. Avoid exposing them to direct sunlight or high temperatures, as this can damage their viability.
- Label and Organize: To keep track of your seed collection, label each packet with the seed name, source, and year of purchase. This will help you identify older seeds and ensure you use them before their viability declines.
- Use Proper Containers: Place your labeled seed packets in a reclosable bag or a film canister to protect them from moisture and air. Store these smaller containers inside a larger plastic or glass container to provide an extra layer of protection. Make sure the larger container is airtight to prevent moisture from seeping in.
- Perform Viability Tests: Before sowing your seeds, it’s a good idea to test their viability. One simple test involves soaking a batch of seeds in water for a few hours. If the seeds sink to the bottom, they are likely still viable. If they float, however, the viability may be compromised, and they may not germinate as well. Discard any non-viable seeds and focus on sowing those that have the best chance of success.
By following these seed storage guidelines, you can maximize the lifespan and germination potential of your garden seeds, ensuring a successful and productive growing season.
“Proper storage is the key to maintaining the viability of garden seeds.”
Now let’s take a look at a table summarizing the best practices for seed storage.
| Storage Method | Advantages | Disadvantages |
|---|---|---|
| Refrigerator | – Provides cool and stable temperatures – Reduces seed deterioration – Suitable for most seed types | – Limited space – Potential exposure to moisture if not properly sealed |
| Freezer | – Prolongs seed viability – Preserves germination potential – Ideal for long-term storage | – Requires careful packaging to prevent moisture damage – Limited space in a domestic freezer |
| Dark Cabinets | – Convenient access to seeds – Protects seeds from light and temperature fluctuations | – Prone to humidity and moisture depending on the storage location |
Remember, different seed types have varying longevity, so it’s essential to check specific storage recommendations for each variety. With proper seed storage, you can preserve the vitality of your garden seeds and enjoy successful and fruitful harvests.
Choosing the Right Containers for Seed Starting.
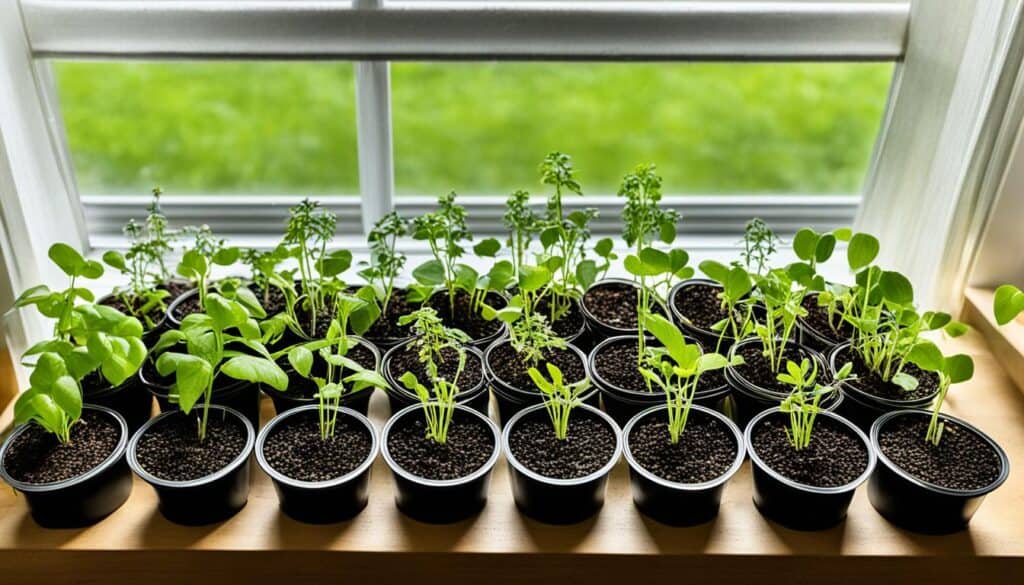
When it comes to starting seeds, selecting the right containers is essential for the success of your garden. Here are some factors to consider:
- Plastic pots or containers: Opt for plastic pots instead of clay pots when starting garden seeds. Plastic retains moisture more consistently, providing a suitable environment for germination and early growth.
- Wide, shallow containers: Choose containers that are wide and shallow rather than deep. This helps prevent overcrowding and excessive moisture retention around young roots, promoting healthy growth.
- Recycled plastic containers: Consider reusing empty yogurt or margarine tubs as seed starting containers. Ensure proper drainage by poking holes in the bottom to prevent waterlogged soil.
Regardless of the container type you choose, it is crucial to ensure that it is clean and free of pathogens. Sanitizing containers is an important step to prevent the spread of diseases that can harm your seedlings.
To sanitize your containers:
- In a well-ventilated area, prepare a solution of 10 percent bleach and 90 percent water.
- Submerge the containers in the bleach solution for 15 minutes.
- Rinse the containers thoroughly with clean water to remove any residual bleach.
Following these guidelines will help you provide the right environment for your garden seeds, ensuring healthy and successful germination.
Proper Techniques for Sowing Seeds.
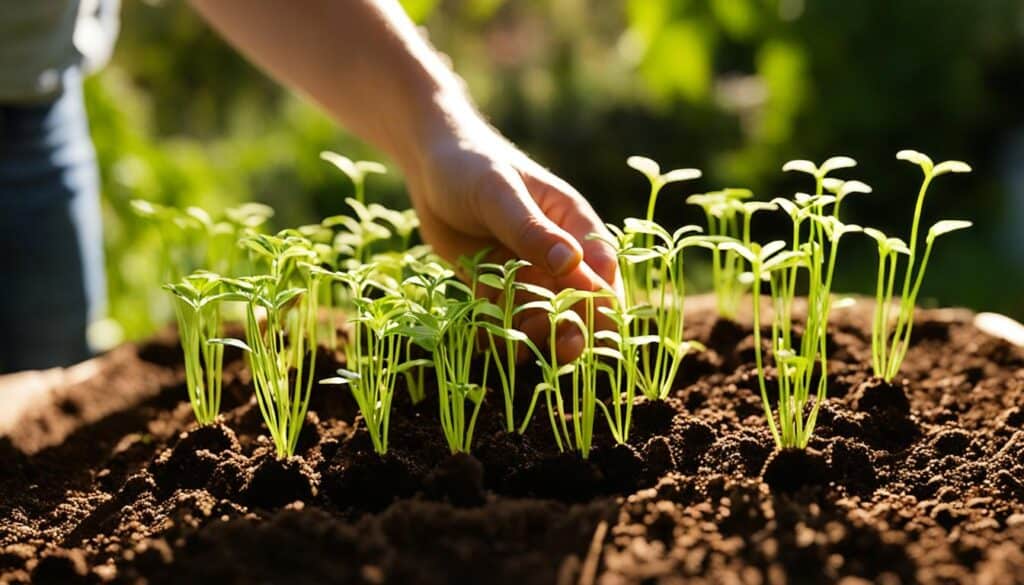
Sowing seeds properly is crucial for their successful germination. By following these techniques, you can give your garden seeds the best chance of thriving.
To begin, gather a kitchen sieve and a soilless seed-starting mix. Evenly spread the seed-starting mix over the seeds, making sure to reach the appropriate depth.
If you’re working with small seeds or those that require light for germination, simply place them directly on the surface without covering them. This allows the seeds to receive the necessary light for sprouting.
For all seeds, it’s essential to ensure direct contact with the soil. To achieve this, firmly tamp the seeds down using a pestle or the bottom of a glass. This helps the seeds establish direct contact with the moist soil, promoting faster and healthier germination.
Remember, proper techniques for sowing seeds set the foundation for successful growth and development. Take your time and apply these techniques with care for the best results in your garden.
Continue reading to learn more about preventing diseases and maintaining moisture levels for your garden seeds.
Preventing Disease with Proper Airflow and Drainage.
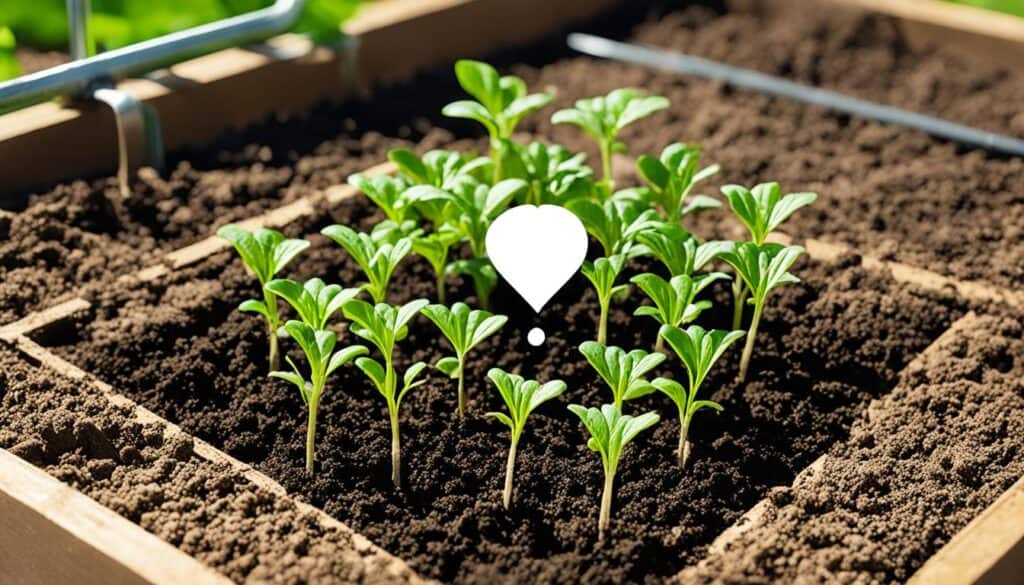
Proper airflow and drainage are crucial factors in preventing disease in seedlings. One common fungal infection that can affect young plants is damping-off, which is caused by excessive moisture and poor air circulation. To protect your garden seeds and seedlings, follow these tips:
- Add a thin layer of milled sphagnum moss to the soil surface. This natural material helps keep the soil dry and creates an inhospitable environment for pathogens.
- Incorporate starter chicken grit into the soil. The small particles promote good drainage, preventing water from pooling around the roots and potentially causing root rot.
- Place a small fan near the seedlings to ensure good airflow. This helps prevent the stagnant air that can contribute to the spread of diseases.
By implementing these measures, you can create a healthier growing environment for your garden seeds and minimize the risk of disease.
“Proper airflow and drainage are crucial factors in preventing disease in seedlings.”
Maintaining Moisture Levels with Plastic Wrap.
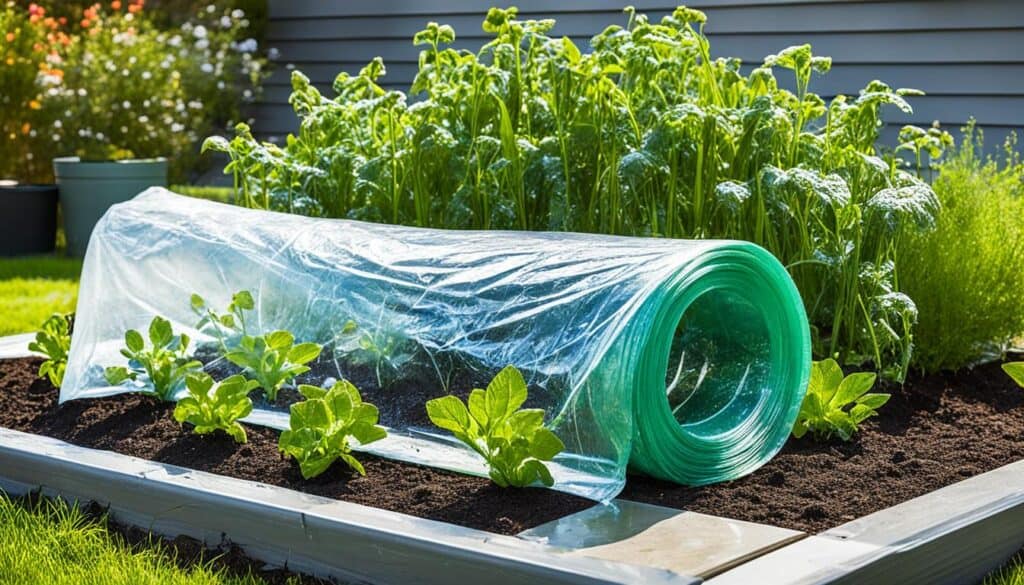
To ensure that your garden seeds have consistent moisture levels, using plastic wrap to cover trays can be highly beneficial. The plastic wrap effectively retains moisture, preventing the seeds from drying out and promoting optimal germination. However, it is crucial to monitor the moisture level regularly to avoid overwatering or allowing the seeds to become too dry.
If the moisture level is low, you can add water through bottom watering or gently spritzing the surface with a spray bottle. This allows for controlled hydration without disturbing the seeds or causing excessive moisture. By maintaining the perfect moisture balance, you give your garden seeds the best conditions for successful germination and healthy growth.
Once the seeds have germinated and sprouted, it is essential to remove the plastic wrap. Leaving the seedlings covered for an extended period can lead to excess moisture, which may lead to damping-off or other fungal diseases. By carefully removing the plastic wrap, you promote proper airflow and prevent the seedlings from becoming too damp, ensuring optimal conditions for their development.
Incorporating plastic wrap to maintain moisture levels can enhance the success of your seed sowing endeavors. By diligently monitoring and adjusting the moisture, you can create the ideal environment for your garden seeds to thrive.
Keeping Seeds Warm for Optimal Germination.
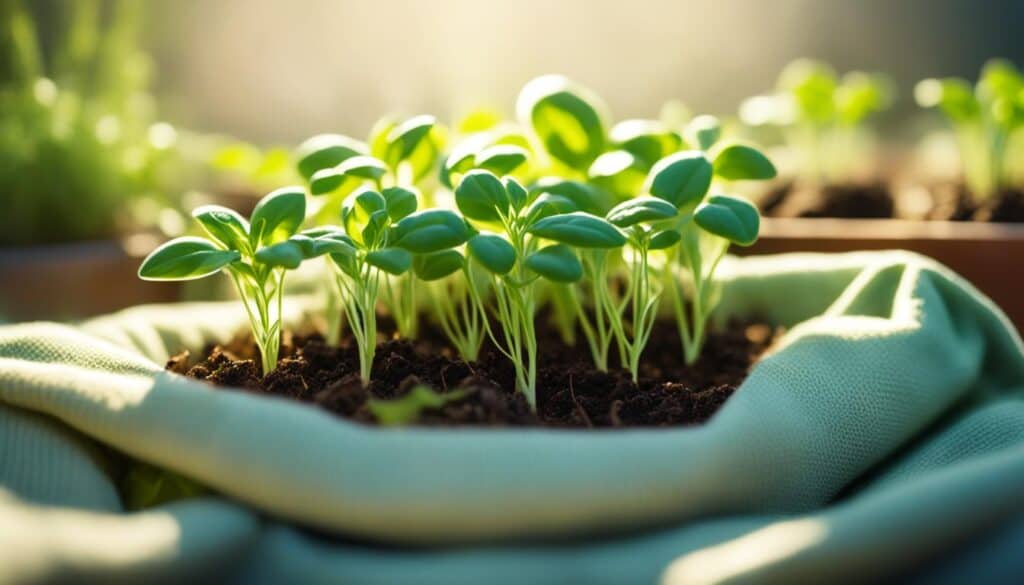
When it comes to successful germination, providing the right temperature is crucial for garden seeds. Most seeds require temperatures between 65°F and 75°F to kickstart the germination process. To ensure your seeds receive the warmth they need, here are a few tips:
- Place your seed containers near a heater or in a warm spot in your home. Keep in mind that some heaters may have adjustable settings, so make sure to set the temperature within the recommended range for your seeds.
- Consider using a space heater with adequate safety precautions. This allows you to create a controlled warm environment for your seeds.
- If you prefer a more targeted approach, invest in a heating pad specifically designed for plants. These mats can be placed directly under the seed containers, promoting warmth and encouraging germination.
It’s important to monitor the moisture levels closely when using additional heat sources. The warmth can cause the seed containers to dry out more quickly. Be sure to check the soil moisture regularly and adjust watering as needed to maintain optimal hydration for your seeds.
Benefits of Warmth for Seed Germination
Providing the right amount of warmth to your seeds creates an ideal environment for germination. Warmth accelerates the metabolic processes within the seeds, allowing them to break dormancy and start sprouting. By maintaining the recommended temperature requirements, you can ensure that your garden seeds germinate successfully and give your plants a healthy head start.
| Benefits of Warmth for Seed Germination | How Warmth Helps |
|---|---|
| Promotes faster germination | Warm temperatures activate enzymes in the seeds, speeding up the germination process. |
| Ensures consistent and reliable germination | Steady warmth encourages uniform germination, reducing the chances of uneven or delayed sprouting. |
| Supports stronger seedling growth | Warmth provides the energy needed for seedlings to establish strong root systems and develop robust stems. |
By prioritizing the temperature requirements of your garden seeds, you can create the optimal conditions for successful germination, leading to healthier plants and a fruitful garden.
Conclusion.
Starting plants from seeds is a gratifying and cost-effective way to create a vibrant and fruitful garden. By incorporating the seed starting tips outlined in this guide, you can increase the success rate of seed germination and ensure the growth of healthy plants.
Keeping records of your seed sowing activities allows you to track important details, such as sowing dates and transplanting timelines, enabling better planning for future seasons. Properly storing garden seeds in a cool, dark location helps maintain their viability over time. Choosing the right containers, such as wide and shallow pots with good drainage, prevents overcrowding and excessive moisture around young roots.
When sowing seeds, it is important to provide direct contact with the soil by tamping them down. Creating proper airflow and drainage helps prevent diseases that can impede the growth of seedlings. Maintaining consistent moisture levels is crucial, and covering trays with plastic wrap can help retain moisture during germination. Additionally, providing adequate warmth for seeds helps promote successful germination.
By following these seed starting tips and best practices, your garden seeds will have the best chance of thriving, resulting in a beautiful and productive garden. So get ready to embark on your seed starting journey and watch your garden flourish with the fruits of your labor!

Leave a Reply