Okra, also known as lady’s fingers, is a warm-weather crop that not only adds beauty to your garden but also provides you with a delicious and nutritious harvest. Whether you’re a seasoned gardener or a beginner, learning the best practices for planting and caring for okra plants can help you achieve a thriving garden.
If you’re eager to grow your own okra and enjoy its tender pods, join me as we explore the tips and techniques for successfully cultivating this versatile vegetable.
Key Takeaways:
- Okra is a warm-weather crop that requires temperatures of at least 60 degrees Fahrenheit.
- Starting with seedlings can help shorten the growing season of okra.
- Proper spacing and well-drained soil are important for successful okra cultivation.
- Regular watering and feeding with a continuous-release plant food can promote a more abundant harvest.
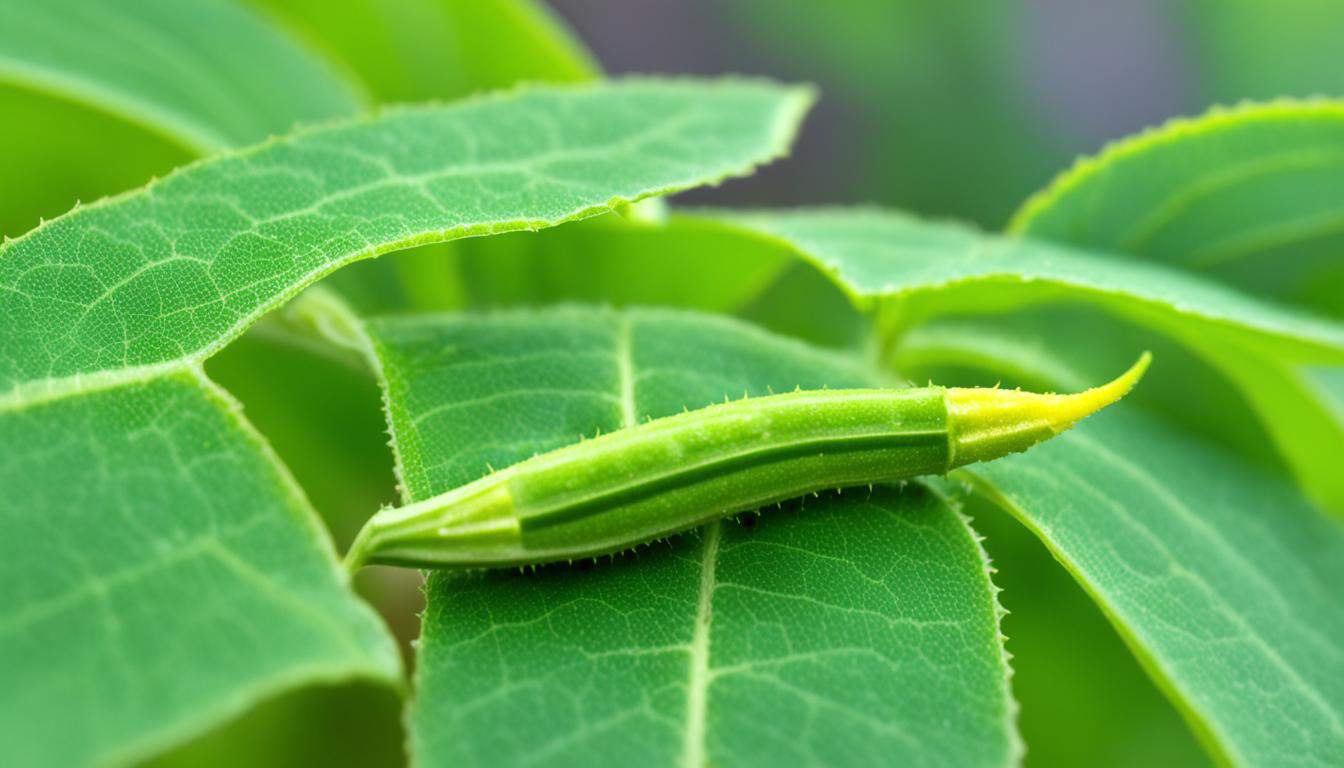
- Harvest okra pods when they are 2 to 4 inches long for the best flavor and tenderness.
Soil, Planting, and Care
When it comes to planting okra, choosing the right soil and providing proper care are crucial for a successful harvest. Here are some best practices to follow:
Preparing the Soil
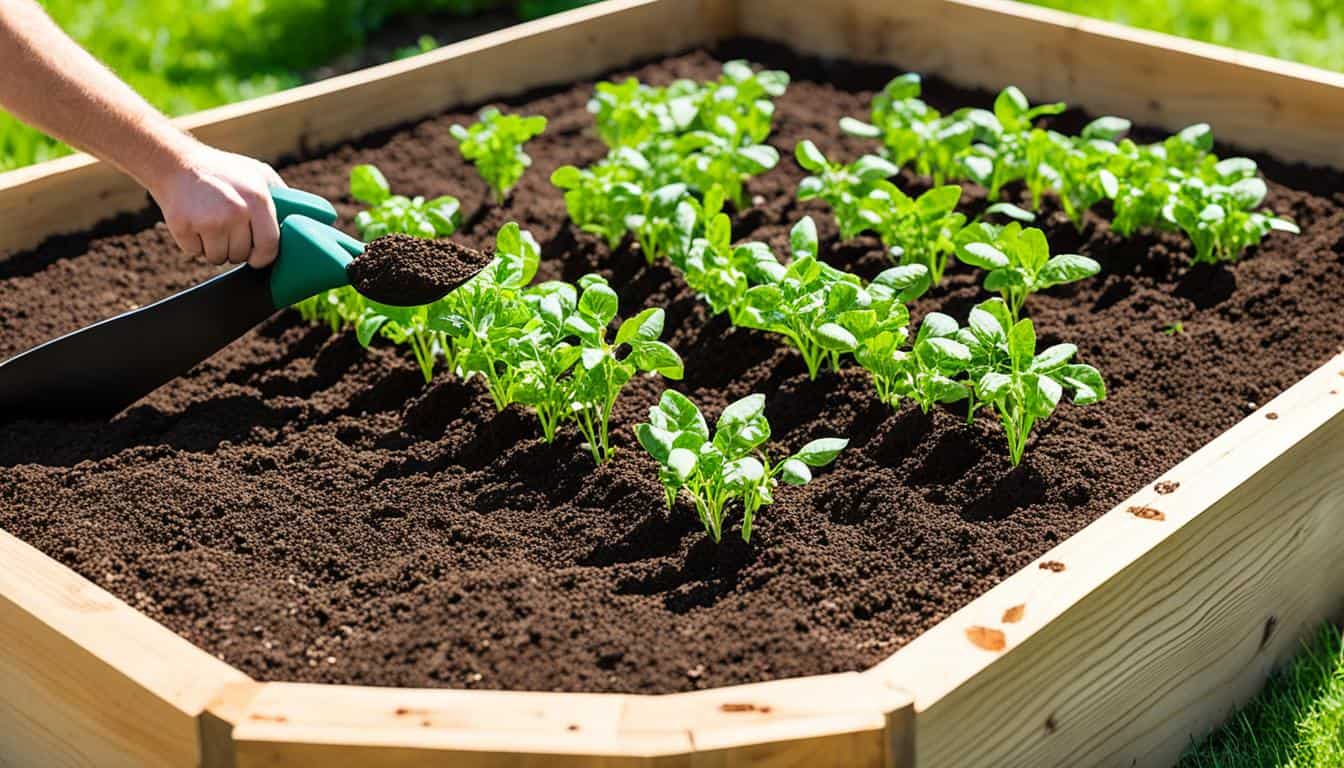
To ensure your okra plants thrive, select a sunny spot in your garden with fertile, well-drained soil. Prior to planting, incorporate aged compost or other organic matter into the native soil. This will improve its quality by enhancing its fertility and drainage capabilities. By providing nutrient-rich soil, you create an ideal environment for healthy growth and robust okra production.
Handling Okra Seedlings
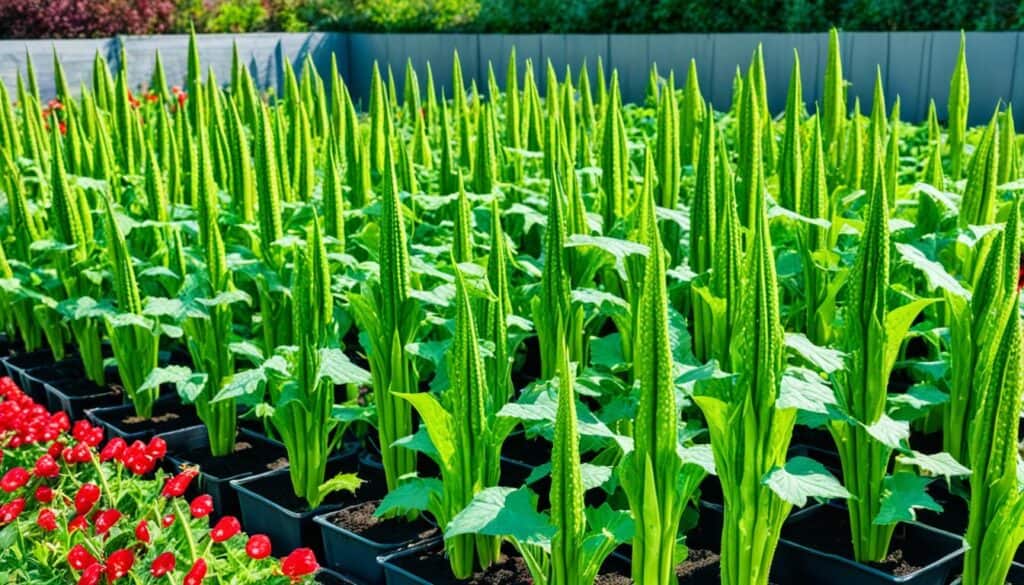
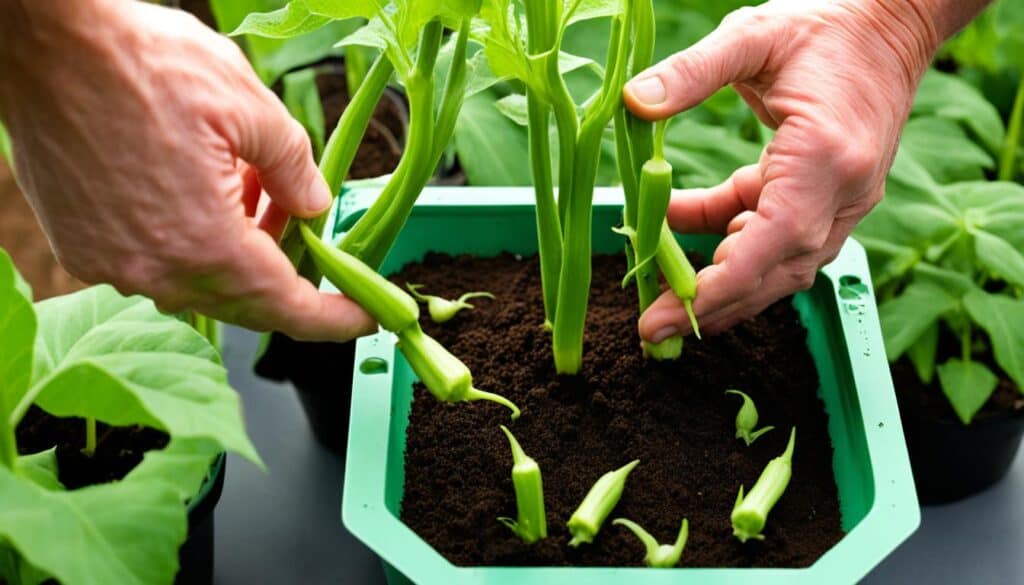
Okra seedlings have delicate taproots, so it’s important to handle them with care when transplanting. Gently water the seedlings before planting to ensure they are adequately hydrated. When placing them in the soil, maintain a spacing of about 10 inches between each seedling. This allows room for optimal root development and ensures efficient nutrient uptake.
Maintaining Proper Moisture
Although okra plants can withstand drought, they require at least an inch of water per week for optimum growth. Regular watering is essential, especially during dry spells, to prevent wilting and ensure healthy pod formation. However, be cautious not to overwater, as excessive moisture can lead to root rot and other diseases. To maintain moisture levels, consider mulching around the base of the plants. This will help retain soil moisture while reducing weed growth.
Feeding Okra Plants
Feeding your okra plants with a continuous-release fertilizer can provide the essential nutrients they need for vigorous growth and abundant yields. Consider using an organic fertilizer, as it not only nourishes the plants but also enhances soil health. Follow the manufacturer’s instructions for application rates and frequencies to avoid over-fertilization, which can lead to imbalanced growth.
Pruning for More Harvests
Pruning the tops of okra plants when they reach a height of 5 to 6 feet can promote the development of more side branches. This encourages increased pod production and can lead to a second crop. Regular pruning also helps maintain the overall shape and structure of the plants, making them more manageable in the garden.
| Planting Okra Best Practices | Key Points |
|---|---|
| Soil | Choose well-drained, fertile soil with added compost or organic matter. |
| Handling Seedlings | Transplant seedlings gently, watering them before planting, and spacing them about 10 inches apart. |
| Watering | Provide at least an inch of water per week, ensuring the soil is moist but not waterlogged. |
| Feeding | Use a continuous-release fertilizer to supply the necessary nutrients for optimal growth and production. |
| Pruning | Prune the tops of okra plants when they reach 5 to 6 feet tall to promote more side branches and a second crop. |
Troubleshooting and Pest Control
While growing okra can be a rewarding endeavor, it is essential to address common pests and diseases that can affect the health and productivity of your plants. By proactively managing these issues, you can ensure the success of your okra crop.
Common Okra Plant Pests
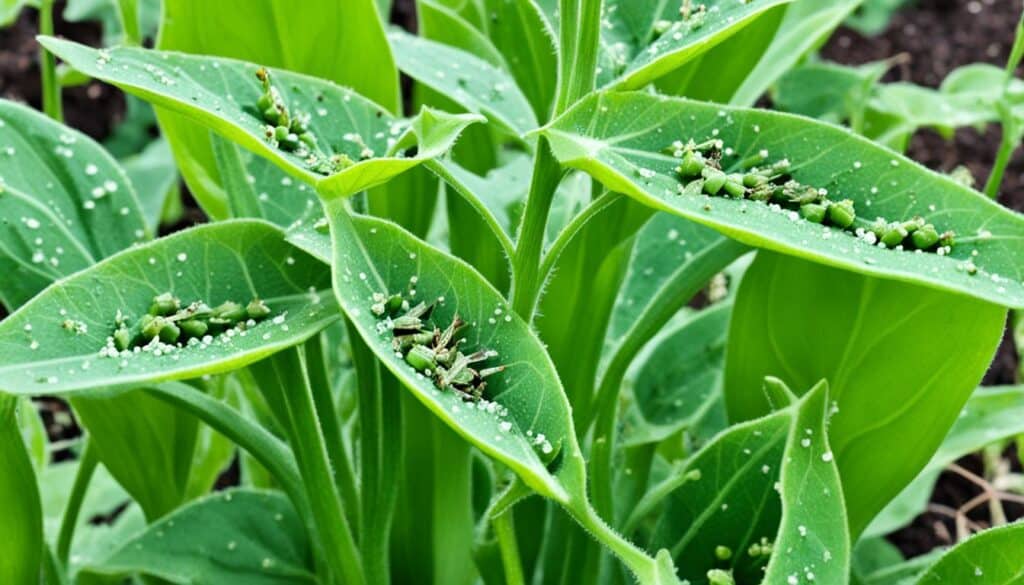
Okra plants can fall victim to various pests that can hinder their growth and development. It is important to be vigilant and identify and control these pests promptly to prevent further damage.
Some of the most common okra plant pests include:
- Japanese beetles
- Stink bugs
- Aphids
- Corn earworms
- Flea beetles
These pests can cause significant harm to your okra plants, leading to reduced yields and overall plant health. Regular monitoring and early intervention are crucial in preventing pest populations from increasing and causing extensive damage.
Okra Plant Diseases
Okra plants are susceptible to certain diseases, and understanding these diseases is critical in controlling and preventing their occurrence. Common diseases that affect okra plants include:
- Verticillium wilt
- Fusarium wilt
- Powdery mildew
These diseases can significantly impact the growth and productivity of your okra plants. Identifying the symptoms of these diseases early on can help you take the appropriate steps to manage and mitigate their effects.
Controlling Okra Pests and Diseases
To effectively control common okra pests and diseases, it is recommended to follow these strategies:
- Implement proper crop rotation techniques to reduce the risk of disease buildup in the soil.
- Regularly monitor your okra plants for signs of pest infestations or disease symptoms.
- Consult your local Extension agency or a horticulture expert for guidance on specific pest and disease control measures.
- Consider using organic insecticides and fungicides to manage pests and diseases while minimizing environmental impact.
Remember that prevention is key when it comes to managing pests and diseases in your okra plants. By maintaining good gardening practices and taking prompt action against potential threats, you can keep your okra plants healthy and thriving.
| Pest | Description | Control Measures |
|---|---|---|
| Japanese beetles | Adult beetles feed on leaves and flowers, causing skeletonized foliage. | Handpick beetles or use insecticides labeled for Japanese beetles. |
| Stink bugs | Suck plant sap, causing distorted growth and fruit damage. | Remove stink bugs by hand or use insecticides labeled for stink bug control. |
| Aphids | Suck plant sap, causing stunted growth and honeydew secretion. | Use insecticidal soap or neem oil to control aphid populations. |
| Corn earworms | Feed on developing pods, causing visible damage and reduced yield. | Apply organic insecticides containing Bacillus thuringiensis or spinosad. |
| Flea beetles | Feed on leaves, causing small holes and leaf discoloration. | Use row covers to prevent flea beetle infestations or apply insecticides labeled for flea beetles. |
Harvesting and Storage
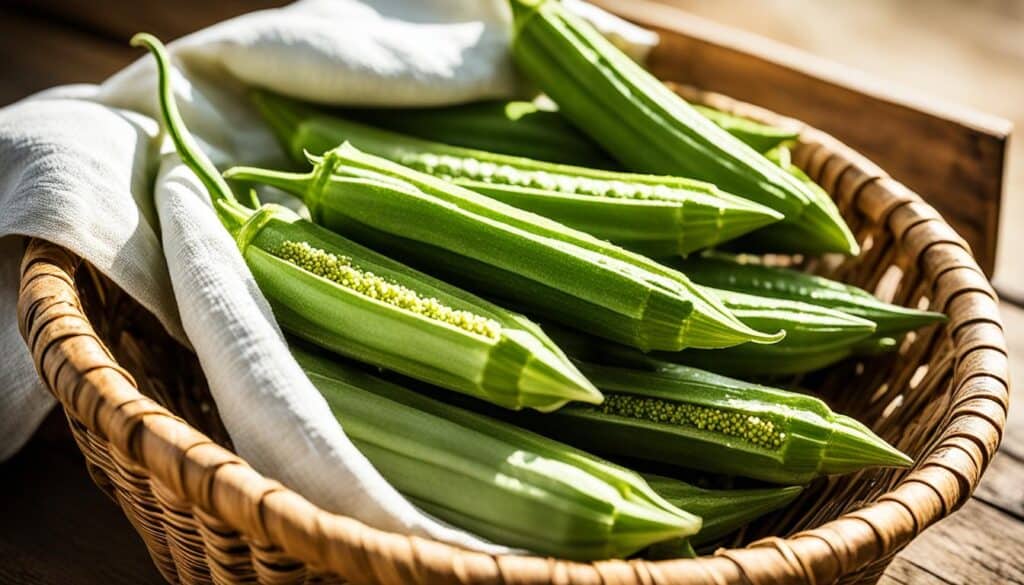
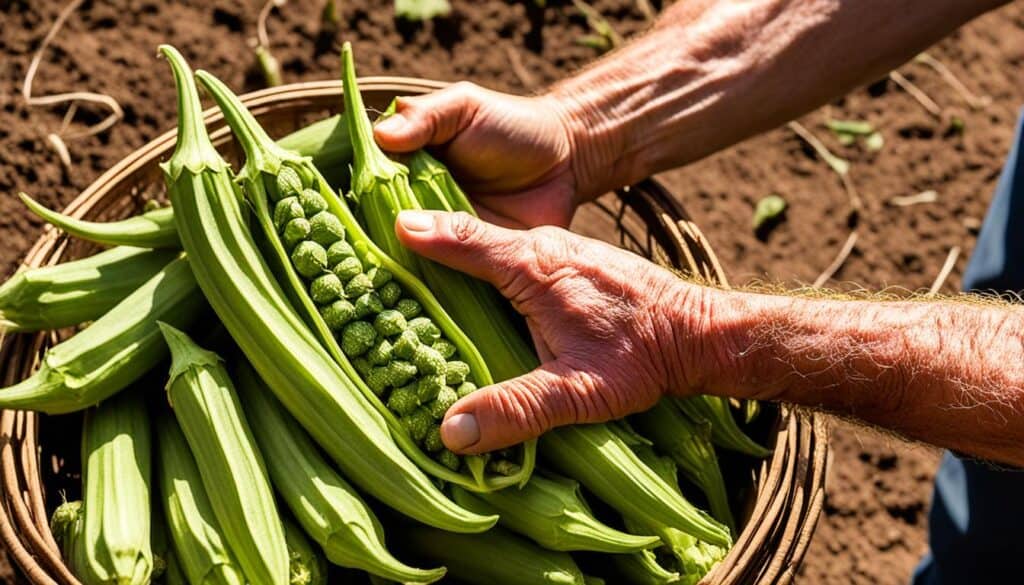
When it comes to harvesting okra, timing is key for optimum flavor and tenderness. It is best to harvest the okra pods when they are between 2 to 4 inches long. This is when they are at their most tender and delicious. Keep a close eye on your okra plants during the harvest season, as the pods can grow rapidly.
When harvesting, use pruning shears to cut the pods, leaving a short stub of stem attached. This helps to preserve the freshness and integrity of the pods. It is also advisable to remove any oversized pods from the plants. By doing so, you are encouraging the plant to continue producing more pods, allowing for a more abundant harvest.
So, what should you do with your freshly harvested okra pods? If you plan to use them within the next 2 to 3 days, you can simply store them in the refrigerator. However, if you find yourself with an abundance of okra, it’s a good idea to consider freezing or canning them for future use.
Freezing okra is a great option for preserving its freshness. Simply blanch the pods in boiling water for a couple of minutes, then cool them in ice water. Once they are completely cooled, pat them dry and place them in freezer bags or containers. This way, you can enjoy the tasty goodness of okra long after its harvest season.
Alternatively, you can also consider canning your okra. This preservation method allows you to enjoy okra throughout the year, even when it’s not in season. There are various canning recipes available that provide detailed instructions on how to safely can okra.
Whether you choose to freeze or can your okra, proper storage and preservation techniques will ensure that you can savor its flavors even after the harvest season has ended.
| Storage Method | Advantages | Disadvantages |
|---|---|---|
| Refrigeration | – Retains fresh texture and taste – Convenient for short-term storage |
– Limited shelf life – Requires available refrigerator space |
| Freezing | – Preserves freshness for months – Convenient for long-term storage |
– Slight loss in texture – Requires freezing equipment and space |
| Canning | – Extended shelf life of up to a year or more – Retains nutritional value |
– Requires proper canning equipment and techniques – Longer preparation time |
Recommended Varieties
When it comes to choosing the best okra varieties for your garden, you have a wide range of options to consider. Different varieties offer unique characteristics, allowing you to find the perfect match for your gardening needs and climate.
‘Blondy’
This variety is known for its spineless pods and early maturity. ‘Blondy’ produces tender and flavorful pods that are perfect for adding to stir-fries and stews.
‘Burgundy’
With its deep burgundy-colored pods, ‘Burgundy’ is not only visually stunning but also delicious. The pods are tender and have a slightly sweeter taste compared to green varieties.
‘Cajun Jewel’
If you’re looking for a compact okra variety, ‘Cajun Jewel’ is an excellent choice. This dwarf variety is perfect for container gardening or smaller garden spaces, producing an abundance of tender pods.
‘Clemson Spineless’
One of the most popular okra varieties, ‘Clemson Spineless’ lives up to its name with its smooth, spineless pods. This variety is known for its high yield and excellent flavor.
‘Louisiana Green Velvet’
With its dark green, velvety pods, ‘Louisiana Green Velvet’ is a favorite among okra enthusiasts. The pods are tender and have a rich, earthy flavor that pairs well with a variety of dishes.
Take your time to explore these recommended okra cultivars and choose the ones that best suit your preferences and growing conditions. Whether you prefer spineless pods, vibrant colors, or compact plants, there’s an okra variety that’s perfect for your garden.
Planting Tips
When it comes to successfully growing okra, proper planting techniques are essential. Here are some tips to help you get started:
When to Plant Okra
Okra is a warm-weather crop and should be planted after the last spring frost date when the soil and air have warmed up. This ensures optimal conditions for germination and growth. Make sure that the soil temperature is consistently above 70 degrees Fahrenheit before planting.
Starting Okra Seeds Indoors
In colder climates, you can start okra seeds indoors 4 to 6 weeks before the last spring frost. This allows you to give the plants a head start and extend the growing season. To start okra seeds indoors, soak the seeds in warm water for a few hours to help with germination. Then, sow the seeds in a well-draining seed starting mix, covering them lightly with soil. Place the container in a warm, sunny location or use a grow light to provide adequate light.
Transplanting Okra Seedlings
Once the okra seedlings have grown and developed their first set of true leaves, they are ready to be transplanted outdoors. Before transplanting, it’s important to harden off the seedlings by gradually exposing them to outdoor conditions over a period of a week. This helps them adjust to the changes in temperature and light intensity. Choose a sunny spot in your garden with fertile, well-drained soil. Dig a hole slightly larger than the root ball of the seedling and gently place the seedling into the hole. Backfill the hole with soil, firming it gently around the plant.
To maximize your okra harvest, make sure to plant it at the right time and provide the correct growing conditions. Starting okra seeds indoors can give you a head start in colder climates, while transplanting seedlings ensures a healthy start in the garden.
Watering and Fertilizing Okra
Proper watering and fertilizing are essential for the successful growth of okra plants. Okra has relatively low water needs, so it’s important not to overwater. Overwatering can lead to root rot and other water-related diseases. However, during dry spells or periods of extended drought, supplemental watering is necessary to ensure the plants receive sufficient moisture.
Watering Okra Plants
When it comes to watering okra plants, it’s best to provide deep, occasional watering rather than frequent shallow watering. Aim to provide about 1 inch of water per week, either from rainfall or irrigation. This will help develop a deep and healthy root system.
To water okra plants effectively:
- Water at ground level: Avoid wetting the leaves and pods when watering. Wet foliage can invite disease, particularly fungal infections.
- Use a soaker hose or drip irrigation system: This allows for slow and direct watering at the base of the plants, minimizing water waste.
- Water in the morning: Watering in the morning allows the foliage to dry out during the day, reducing the risk of disease.
Remember to adjust your watering schedule based on local soil conditions, weather patterns, and the specific needs of your okra plants.
Okra Fertilizer Requirements
Okra plants are heavy feeders, meaning they require a consistent supply of nutrients throughout the growing season. It’s important to provide adequate fertility to promote healthy growth and maximize yield.
At planting time, incorporate compost or organic matter into the soil. This will provide a slow release of nutrients and improve soil structure. Okra plants benefit from a neutral pH level of 6.5 to 7.0.
Additionally, monthly applications of a balanced organic fertilizer can further enhance the growth and productivity of okra plants. Look for fertilizers specifically formulated for vegetables or use a general-purpose organic fertilizer with an N-P-K ratio of 5-5-5 or 10-10-10.
Remember to follow the instructions on the fertilizer package for application rates and timing. Overfertilizing can lead to excessive foliage growth and reduced pod production, so it’s important to strike the right balance.
| Watering Tips | Fertilizing Tips |
|---|---|
|
|
By providing adequate water and nutrients, you can help your okra plants thrive and produce a bountiful harvest of delicious and nutritious pods.
Pest and Disease Management
Managing pests and diseases is an essential part of ensuring the health and productivity of your okra plants. Like any other crop, okra can fall victim to various pests and diseases that can hinder its growth and yield. To protect your okra plants from common pests and diseases, it is important to implement effective management strategies.
Common Okra Pests
- Aphids
- Japanese beetles
- Stink bugs
- Whiteflies
These pests can cause damage to the foliage and pods of your okra plants, potentially leading to stunted growth and reduced yields.
Common Okra Diseases
- Fusarium wilt
- Powdery mildew
These diseases can weaken and even kill your okra plants if left untreated.
To effectively manage pests and diseases in your okra garden, consider the following strategies:
- Use row covers: Covering your okra plants with row covers can provide a physical barrier against pests, preventing them from accessing the plants.
- Practice crop rotation: Rotating your okra crop with other unrelated crops can disrupt the life cycle of pests and diseases, reducing their population in the soil.
- Utilize organic insecticides: Organic insecticides derived from natural sources can help control pests without harming beneficial insects or compromising the safety of your harvest.
- Ensure proper spacing: Proper spacing between okra plants promotes good air circulation, reducing the likelihood of disease development.
- Apply preventive measures: Some natural substances like baking soda or diluted milk can act as preventive sprays, helping to prevent and manage diseases in okra plants.
By incorporating these pest and disease management practices into your gardening routine, you can safeguard your okra plants and promote their overall health and productivity.
Integrated Pest Management Techniques
| Technique | Advantages |
|---|---|
| Row covers | Physical barrier against pests |
| Crop rotation | Disrupts pest and disease life cycles |
| Organic insecticides | Effective pest control without harmful chemicals |
| Proper spacing | Enhances air circulation and reduces disease risk |
| Preventive measures | Natural substances that help prevent and manage diseases |
Harvesting Tips
Harvesting okra at the right time is crucial for optimal flavor and tenderness. To ensure a successful harvest, follow these tips:
- Best Time to Harvest Okra: Harvest okra pods when they are young and tender, ideally between 2 to 4 inches long. This is when they are at their prime and offer the best flavor.
- Picking Okra Pods: Check your okra plants regularly, as the pods grow rapidly. Harvest the pods daily to prevent them from becoming too large and tough. Regular harvesting also promotes continuous pod production.
- Harvesting Okra Frequently: By harvesting okra frequently, you encourage the plants to produce more pods. This means you’ll have a steady supply of fresh okra throughout the growing season.
- Proper Harvesting Technique: When harvesting okra, use a pair of pruning shears or a sharp knife to cut the pods above the cap, leaving a short stub of stem attached. This helps maintain the freshness and quality of the pods.
- Removal of Oversized Pods: Remove any oversized pods from the plants. These larger pods can inhibit the growth of new pods, so it’s best to remove them to ensure the continuous production of tender and flavorful okra.
Following these harvesting tips will ensure that you pick okra at its peak, promoting a bountiful and delicious harvest.
Harvesting Tip:
“For the best flavor and tenderness, harvest okra pods when they are young and tender, ideally between 2 to 4 inches long.”
| Benefits of Harvesting Okra Frequently: | Tips for Harvesting Okra: |
|---|---|
|
|
Storage and Preservation
After harvesting fresh okra, it’s essential to store and preserve it properly to extend its shelf life and enjoy its flavors beyond the growing season. There are a few methods you can use to store and preserve okra: storing in the refrigerator, freezing, and canning.
Storing Okra:
For short-term storage, freshly harvested okra can be stored in the refrigerator. Place the okra pods in a perforated plastic bag or wrap them loosely in a damp cloth to maintain moisture. Stored this way, okra can stay fresh for a few days.
Freezing Okra:
Freezing is an excellent method for preserving okra. Before freezing, it’s recommended to blanch the okra pods first. Blanching involves briefly immersing the okra in boiling water, then immediately transferring it to an ice bath to stop the cooking process. Blanching helps retain the okra’s flavor, color, and texture.
Here’s how to freeze okra:
- Wash and trim the okra pods, removing any stems or tips.
- Bring a large pot of water to a boil.
- Place the okra pods in the boiling water and blanch them for 3 minutes.
- Using a slotted spoon, remove the blanched okra pods and immediately transfer them to an ice bath for 3 minutes.
- Once cooled, drain the okra pods and pat them dry.
- Place the dried okra pods in freezer-safe bags or containers, removing as much air as possible.
- Label the bags or containers with the date and freeze them.
Frozen okra can be used in various dishes like soups, stews, stir-fries, and gumbo. The blanched and frozen okra can retain its quality for around 8 to 12 months in the freezer.
Canning Okra:
Canning is another excellent method for preserving okra. Canned okra can be stored for an extended period, allowing you to enjoy it throughout the year.
Canning okra requires proper equipment and following an approved canning recipe. The process typically involves packing the okra pods into jars, adding a brine or liquid, then processing the jars in a canner according to the recommended time and pressure. Following safe canning practices is crucial to prevent the growth of harmful bacteria and ensure the longevity of the canned okra.
Table:
| Preservation Method | Pros | Cons |
|---|---|---|
| Refrigeration | – Easy and convenient | – Short shelf life |
| Freezing | – Retains flavor, color, and texture – Can be used in various dishes – Extended shelf life |
– Requires blanching – Takes up freezer space |
| Canning | – Long shelf life – Allows year-round enjoyment |
– Requires proper equipment – Follows safety guidelines strictly |
Properly storing and preserving okra is an excellent way to make the most of your harvest and continue savoring the delicious flavors of this versatile vegetable.
Tips for Successful Okra Growth
To ensure healthy and abundant okra plants, it is important to follow a few key tips and practices. By providing the right conditions and implementing organic farming methods, you can maximize your okra yield in a sustainable manner.
Adequate Sunlight and Warm Temperatures
Okra plants thrive in warm weather, so make sure to plant them in an area that receives full sunlight. Aim for at least 6 to 8 hours of direct sunlight per day. This will help stimulate robust growth and ensure optimal fruit development. Additionally, okra requires temperatures of at least 60 degrees Fahrenheit to grow successfully, so be sure to plant them after the last spring frost when the soil and air have warmed up.
Well-drained Soil and Proper Spacing
Okra plants prefer well-drained soil with a neutral pH level of 6.5 to 7.0. Before planting, amend the soil with organic matter, such as compost or aged manure, to improve its fertility and drainage. Proper spacing is also crucial for healthy okra plants. Give each plant enough room to grow by spacing them about 10 inches apart. This allows for proper airflow and prevents overcrowding, reducing the risk of diseases.
Regular Watering and Organic Fertilizers
Watering is essential for the development and productivity of okra plants. While okra is somewhat drought-tolerant, it still requires consistent moisture. Aim to provide about 1 inch of water per week, either through rainfall or irrigation. It’s best to water at ground level to prevent wetting the leaves and pods, which can lead to fungal diseases. Consider using a soaker hose or drip irrigation system to deliver water directly to the plants’ roots.
To promote healthy growth and maximize yield, feed your okra plants with organic fertilizers. Organic options, such as compost, well-rotted manure, or slow-release granular fertilizers, provide a balanced and sustainable source of nutrients. Apply the fertilizer according to package instructions or based on the specific needs of your soil and plants. Regular feeding will help ensure your okra plants have the necessary nutrients for optimal growth and fruit production.
Implementing Organic Farming Practices
For those interested in organic okra farming, there are several practices you can incorporate into your cultivation methods. Use organic compost to improve soil fertility and structure. This helps supply essential nutrients to the plants and encourages beneficial soil microbes. Implement natural pest control methods, such as companion planting, handpicking pests, or using organic insecticides derived from plant extracts. These practices foster a healthy ecosystem and minimize the need for synthetic chemicals, ensuring sustainable okra cultivation.
By following these tips for successful okra growth, you can grow healthy and productive okra plants in an organic and sustainable manner. Providing adequate sunlight, warm temperatures, and well-drained soil, along with regular watering and organic fertilizers, will help maximize your okra yield. Incorporating organic farming practices further enhances the sustainability of your okra cultivation. Enjoy the bountiful harvest of delicious okra pods while knowing you are tending to your garden and the environment.
Conclusion
Growing okra can be a truly rewarding experience, whether you are an experienced gardener or just starting out. By following the tips and best practices shared in this article, you can ensure a successful okra cultivation journey and enjoy a bountiful harvest in your own garden. Remember to choose the right okra varieties for your climate, provide adequate water and nutrients, and effectively manage pests and diseases.
Start by selecting reputable okra starter plants like those offered by Bonnie Plants to kickstart your garden. Prepare the soil by incorporating aged compost or organic matter, ensuring good drainage and a neutral pH. Proper spacing and regular watering, about an inch per week, will contribute to the healthy growth of your okra plants. Feed them with a continuous-release fertilizer to optimize the yield.
Be vigilant in monitoring for pests and diseases that may affect your okra, such as root knot nematode, fire ants, and Japanese beetles. Control measures can include crop rotation, using organic insecticides, and seeking guidance from your local Extension agency. Regular harvesting, when the pods are 2-4 inches long, will promote continuous production. Remember to store or preserve any excess okra to enjoy its flavors even after the growing season ends.
With proper care and attention, your okra plants will thrive, providing you with delicious and nutritious pods to savor. So, get ready to experience the joy of growing your own okra and delight in the satisfaction of a successful okra cultivation journey!


Leave a Reply