Did you know that Roma tomatoes, also known as paste tomatoes, have a lower moisture content and denser flesh compared to other tomato varieties? This makes them the perfect choice for creating flavorful sauces and canning. With their distinct elongated shape and rich flavor, Roma tomatoes are a favorite among home gardeners.
Key Takeaways:
- Choose Roma tomatoes for their low moisture content and dense flesh, making them ideal for sauces and canning.
- Plant Roma tomatoes in full sun and well-drained, loamy soil after the danger of frost has passed.
- Provide support like trellises or cages to ensure proper growth and prevent the tomatoes from sprawling.
- Water regularly and consider organic fertilizers to boost the plants’ health.
- Harvest ripe Roma tomatoes when they are evenly colored red and slightly firm, and store them properly for prolonged use.
What Are Roma Tomatoes?
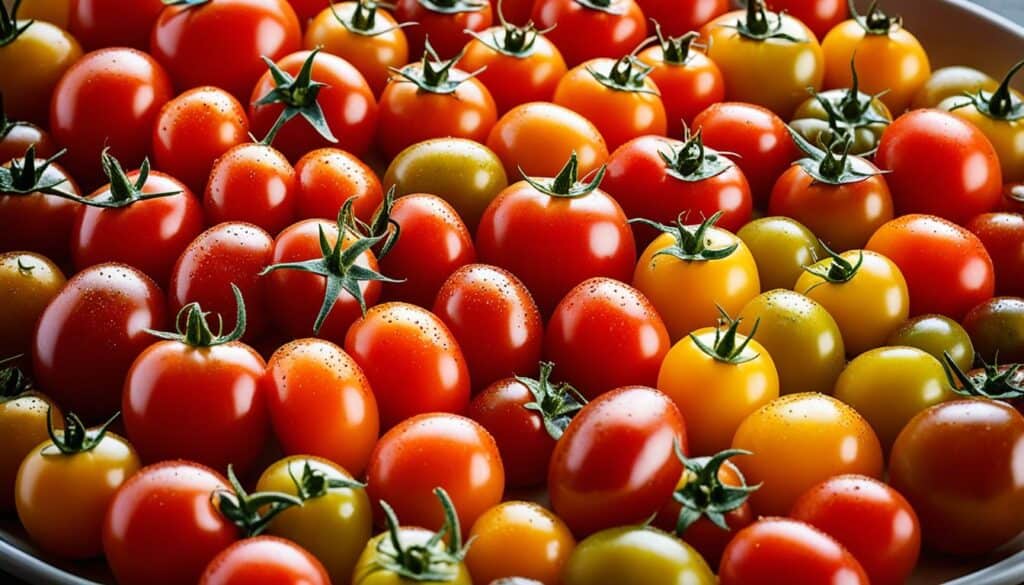
Roma tomatoes, also known as plum tomatoes or paste tomatoes, are a specific variety of tomatoes that are widely used for making sauces and pastes. They have a thick fruit wall, firm flesh, and fewer seeds compared to other tomato varieties. Roma tomatoes are characterized by their elongated, egg-like shape, typically measuring about 3 inches long. They come in a bright red color, although there are new hybrids available in various other colors. Roma tomatoes have a lower moisture content, making them perfect for cooking down into sauces and pastes, hence the name “paste tomatoes.” They are popular for their rich flavor and dense texture, which intensifies when cooked. Roma tomatoes are versatile and can be used for both cooking and eating fresh, especially in dishes like salsas, relishes, and salads.
Planting Roma Tomatoes
When it comes to planting Roma tomatoes, the process is quite similar to planting other tomato varieties. However, there are a few key considerations to keep in mind to ensure the success of your Roma tomato plants.
The first step is to determine the ideal planting time based on your local climate. It is generally recommended to wait until after the last spring frost to avoid any potential cold damage to your Roma tomato plants. These plants are frost-sensitive, so planting them too early can be risky.
Hardening off the seedlings is crucial for their success. This process involves gradually acclimating the seedlings to outdoor conditions before transplanting them into the garden. Start by placing the seedlings outside for a few hours each day, gradually increasing the exposure over a week or two. This helps the plants adjust to the fluctuating temperatures and outdoor elements.
When selecting a spot in your garden for planting Roma tomatoes, look for an area that receives full sun and has well-drained, loamy soil. Roma tomatoes thrive in these conditions and will reward you with a bountiful harvest of juicy tomatoes.
Crop rotation is an important practice in tomato gardening. Avoid planting tomatoes, including Roma tomatoes, in the same location where tomatoes or other nightshade family members were grown in the previous year. This helps prevent the buildup of pests and diseases in the soil.
Spacing is another critical aspect of planting Roma tomatoes. Make sure to provide enough space for the plants to grow and receive adequate sunlight. The specific spacing requirements may vary depending on the variety, but generally, determinate Roma tomatoes should be spaced about 12-24 inches apart, while indeterminate varieties require 2-3 feet of space. Rows should be spaced 4-6 feet apart to allow proper airflow.
| Variety | Spacing (inches) | Rows Spacing (feet) |
|---|---|---|
| Determinate Roma | 12-24 | 4-6 |
| Indeterminate Roma | 2-3 feet | 4-6 |
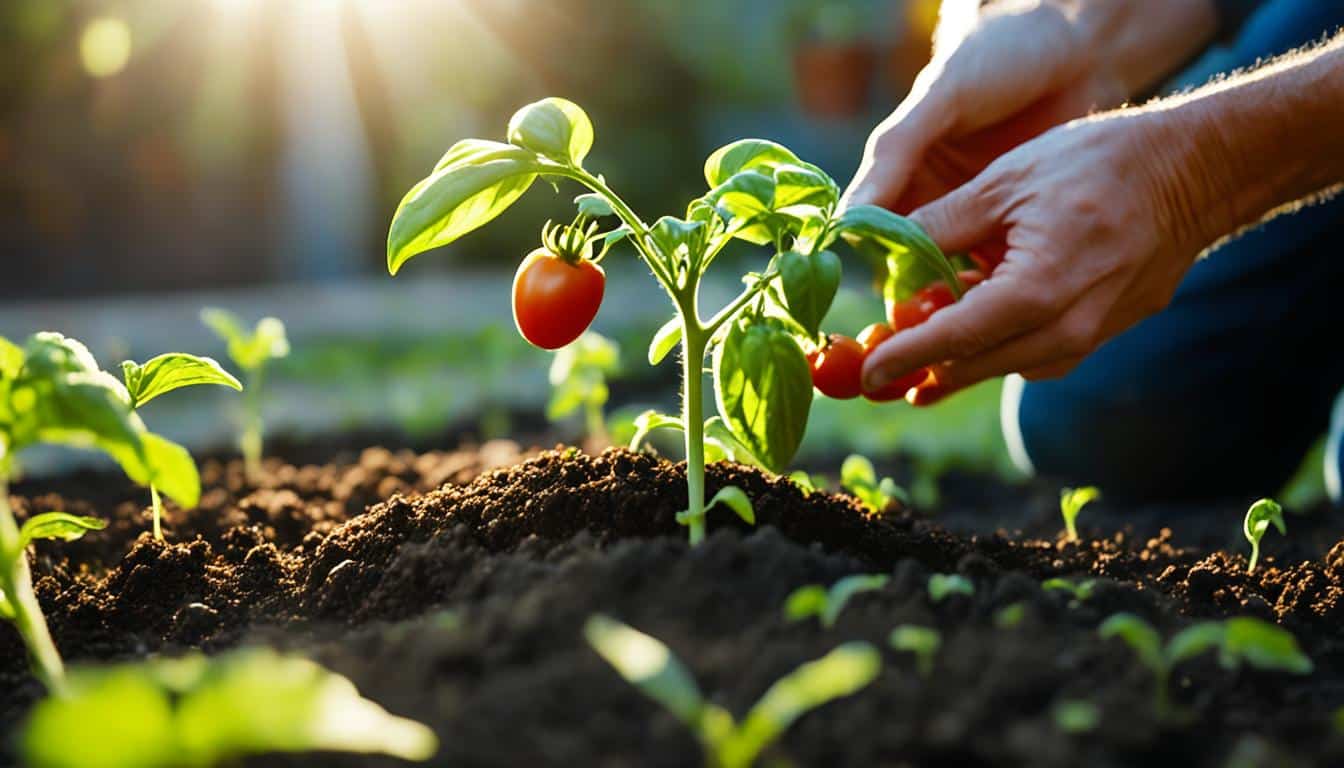
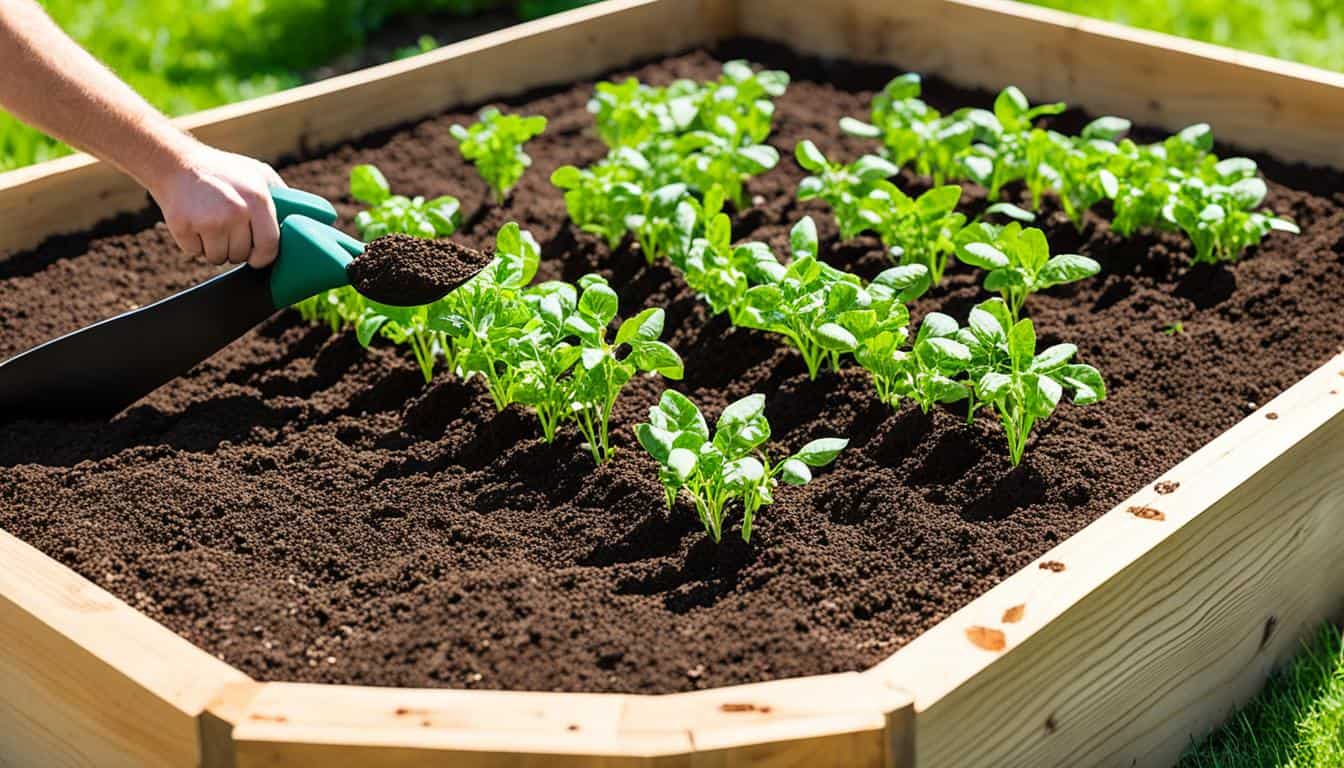
After finding the perfect spot and spacing, plant your Roma tomatoes deeply. Bury as much of the stem as possible to encourage strong root development. The buried stem will sprout additional roots, providing the plant with increased stability and access to nutrients.
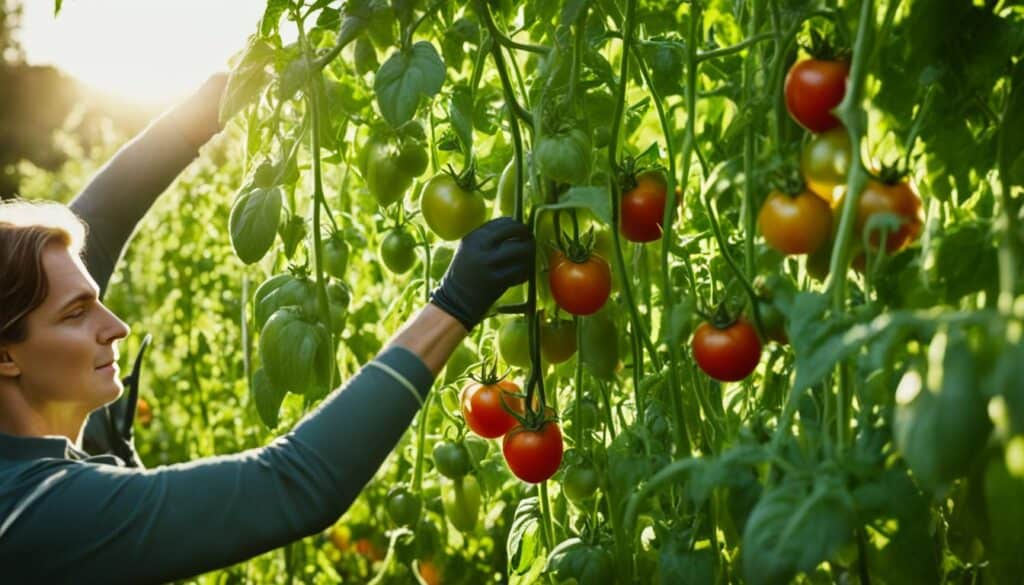
Staking or providing support such as trellises or cages is essential for Roma tomatoes. As the plants grow, they will require additional support to prevent sprawling and keep the fruit off the ground, minimizing the risk of diseases and pests.
With these planting tips, you’ll be well on your way to a successful Roma tomato harvest. In the next section, we’ll discuss how to care for your plants to ensure healthy growth and maximize fruit production.
Caring for Roma Tomatoes
Proper care is essential to ensure the successful growth and abundant harvest of Roma tomatoes. Here are some important factors to consider:
Light Requirements
Roma tomatoes thrive in full sunlight. They require a minimum of 6-8 hours of direct sunlight each day. When starting from seedlings, ensure they are placed in a sunny spot in your garden or provide sufficient lighting if growing indoors.
Soil and Drainage
Choose a well-drained, loamy soil for your Roma tomatoes. The soil should be deep to allow proper root development. Consider amending the soil with organic matter, such as compost or aged manure, before planting. Aim for a slightly acidic pH level of around 6.2-6.8.
Watering
Roma tomatoes need regular watering to ensure they receive adequate moisture for healthy growth. Provide at least 1-1.5 inches of water per week, especially during dry periods or when there is a lack of rainfall. Avoid overwatering or letting the soil dry out completely between waterings.
Fertilizing
Proper fertilization is key to supplying Roma tomatoes with essential nutrients for optimal growth and fruit production. When planting, consider adding a high-phosphorus granular fertilizer, such as a 5-10-5 blend, to the soil. This promotes strong root development. For midseason fertilization, opt for a low-nitrogen fertilizer to encourage fruiting rather than excessive foliage growth.
Pest Control
Regularly monitor your Roma tomatoes for any signs of pests or diseases. While Roma tomatoes are generally less susceptible to these issues, it is important to address any problems early on. Attracting beneficial insects, such as ladybugs and lacewings, can aid in pest control. Remove any suckers, the small branches that appear in the “V” between the main branches and the stem, to maintain control and airflow in the plant.
By providing proper light, well-drained soil, adequate watering, suitable fertilization, and careful pest control, you can ensure your Roma tomatoes thrive and provide you with delicious fruits to enjoy in your favorite recipes.
Roma Tomato Varieties
When it comes to Roma tomatoes, there is a wide range of varieties to choose from, including heirlooms and hybrids, determinate and indeterminate types. Each variety has its own unique characteristics, flavors, and disease resistance. Let’s explore some popular Roma tomato varieties:
Heirloom Indeterminate Varieties
- ‘Amish Paste’: This heirloom variety is known for its exceptional taste and meaty texture. It produces large, red fruits that are perfect for slicing, canning, and making sauces.
- ‘San Marzano’: Originating from Italy, ‘San Marzano’ is a favorite among chefs for its rich flavor and dense flesh. Its elongated fruits are ideal for cooking, making it a popular choice for tomato sauces and pastes.
Indeterminate Hybrid Varieties
- ‘Granadero’: This indeterminate hybrid offers excellent disease resistance, including resistance to fusarium wilt and tomato mosaic virus. Its medium-sized fruits are firm and have a deliciously sweet flavor.
Determinate Hybrid Varieties
- ‘Plum Regal’: With resistance to fusarium wilt and tomato spotted wilt virus, this determinate hybrid is a reliable choice for gardeners. It produces abundant crops of medium-sized, meaty fruits with a tangy flavor.
- ‘Sunrise Sauce’: This determinate hybrid stands out with its orange-colored fruits and resistance to fusarium and verticillium wilt. Its sweet, tropical flavor makes it a popular choice for sauces and canning.
These examples represent just a fraction of the available Roma tomato varieties. Whether you prefer heirlooms or hybrids, determinate or indeterminate types, there is a Roma tomato variety that will suit your needs and preferences. Consider factors such as flavor, days to maturity, and disease resistance when choosing the variety that best fits your garden.
| Variety | Type | Characteristics | Disease Resistance |
|---|---|---|---|
| Amish Paste | Heirloom (Indeterminate) | Large, meaty fruits | N/A |
| San Marzano | Heirloom (Indeterminate) | Rich flavor, dense flesh | N/A |
| Granadero | Hybrid (Indeterminate) | Excellent disease resistance, medium-sized fruits | Fusarium wilt, Tomato mosaic virus |
| Plum Regal | Hybrid (Determinate) | Tangy flavor, medium-sized, meaty fruits | Fusarium wilt, Tomato spotted wilt virus |
| Sunrise Sauce | Hybrid (Determinate) | Orange-colored fruits, sweet flavor | Fusarium wilt, Verticillium wilt |
Take your time to explore the different Roma tomato varieties available and choose the ones that best suit your gardening goals and taste preferences. Whether you’re looking for traditional heirlooms or disease-resistant hybrids, growing Roma tomatoes in your garden will provide you with flavorful fruits for a variety of culinary creations.
Harvesting and Storing Roma Tomatoes
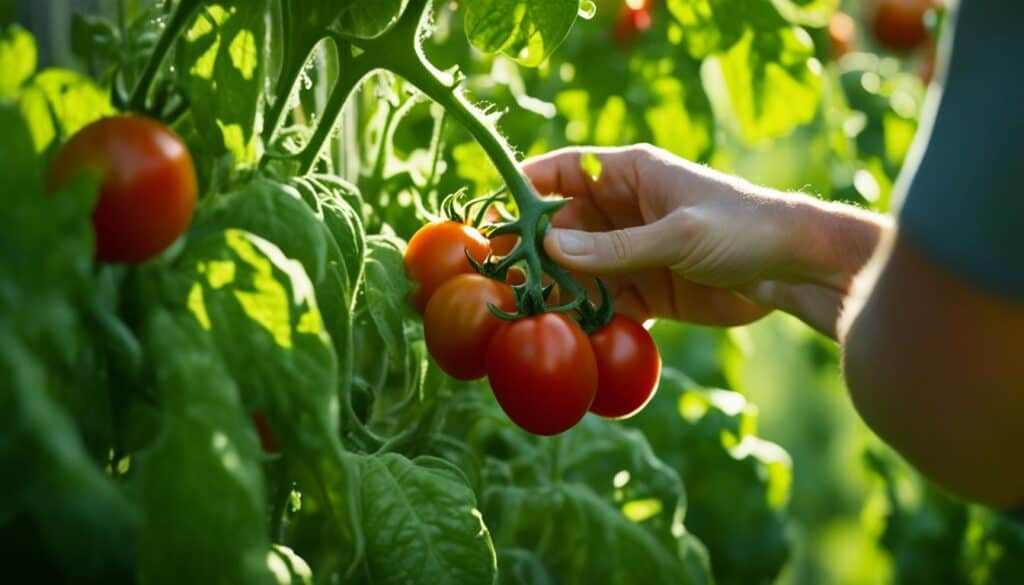
When it comes to harvesting Roma tomatoes, timing is key. These delicious tomatoes are ready to be picked when they are evenly colored red and slightly firm. Avoid allowing them to become overripe on the vine, as this can result in a mushy texture and loss of flavor.
If you find yourself facing cold weather and there are still green tomatoes on the plant, don’t worry! You can pick them and ripen them indoors. Place the green tomatoes in a paper bag or wrap them in newspaper, and store them in a cool, dark place. They will gradually ripen over time.
Storing Roma tomatoes is a great way to enjoy their goodness throughout the year. One popular method is freezing. Here’s how to do it:
- Blanch the tomatoes: Bring a pot of water to a boil and carefully drop the tomatoes in. Let them boil for about a minute, then transfer them to an ice bath to cool.
- Remove the skin: Once the tomatoes are cool, the skin should easily peel off. Discard the skin and set the tomatoes aside.
- Pack in airtight containers or freezer bags: Place the peeled Roma tomatoes in airtight containers or freezer bags. Make sure to remove as much air as possible to prevent freezer burn.
- Freeze: Put the containers or bags in the freezer and allow the tomatoes to freeze completely. They can be stored for up to 12 months.
When you’re ready to use the frozen Roma tomatoes, simply thaw them in the refrigerator overnight. They are perfect for adding to sauces, soups, stews, and other recipes that call for the rich and tangy flavor of Roma tomatoes.
In addition to freezing, you can also store Roma tomatoes at room temperature or in the refrigerator. However, keep in mind that refrigeration can sometimes affect the texture and flavor of tomatoes. If you choose to store them in the refrigerator, place them in a paper bag or an open container to help maintain their ripeness and prevent them from becoming too soft.
Remember: When storing Roma tomatoes, it’s important to avoid storing them near fruits like bananas or apples, as they release ethylene gas, which can cause tomatoes to ripen and spoil more quickly.
Summary
| Harvesting Roma Tomatoes | Storing Roma Tomatoes |
|---|---|
| Pick when evenly colored red and slightly firm | Freeze whole or in puree form |
| Avoid overripe tomatoes on the vine | Store in airtight containers or freezer bags |
| Ripen green tomatoes indoors if necessary | Thaw in the refrigerator before use |
| Store at room temperature or in the refrigerator |
Growing Roma Tomatoes in Containers
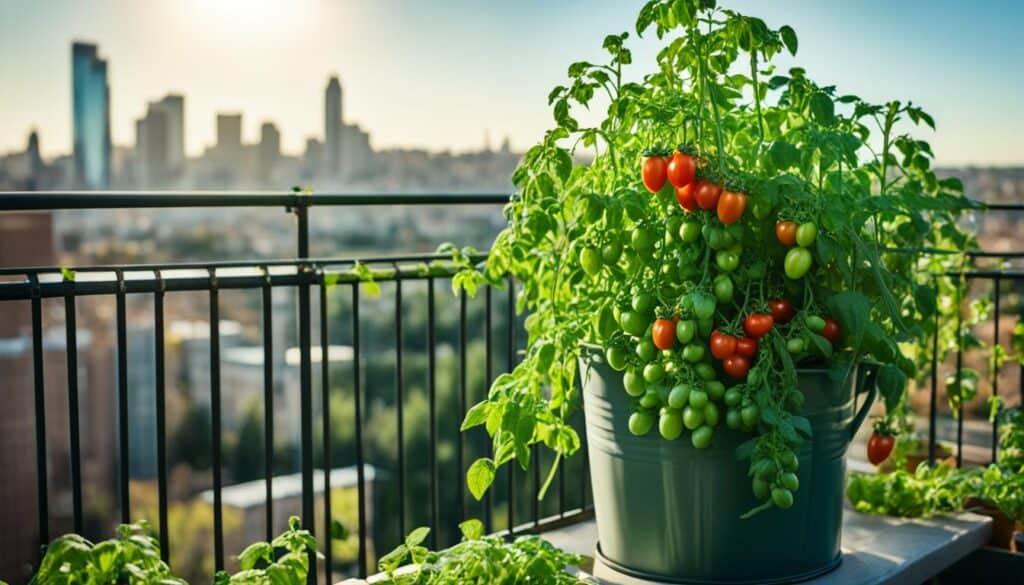
Roma tomatoes, known for their rich flavor and dense texture, are an excellent choice for container gardening. Whether you have limited space or simply want the convenience of growing tomatoes on your patio or balcony, this method allows you to enjoy juicy tomatoes without a traditional garden. Here are some tips for successfully growing Roma tomatoes in containers.
Choosing the Right Variety
When selecting a Roma tomato variety for container gardening, opt for compact, determinate types. These varieties are more suitable for growing in limited spaces as they have a more bushy growth habit and do not require extensive staking or trellising.
Container Size and Potting Mix
Choose a container with a minimum capacity of 5 gallons to provide ample space for the tomato plant to grow and develop a healthy root system. Ensure that the container has proper drainage holes to prevent waterlogging, which can lead to root rot. Use a loose, well-draining potting mix enriched with organic materials like compost or aged manure to provide adequate nutrition and moisture retention.
Placement and Sunlight
Place your containers in a sunny location where your Roma tomatoes can receive at least 6-8 hours of direct sunlight daily. Tomatoes need plenty of sunlight to thrive and produce a bountiful harvest.
Watering and Fertilizing
Container-grown tomatoes may dry out more quickly than those planted in the ground. Therefore, it’s crucial to regularly check the moisture level of the soil and provide deep watering whenever it becomes dry. Avoid overwatering, as it can lead to root rot. Fertilize the plants with a balanced fertilizer once a month during the summer to ensure they receive essential nutrients for healthy growth and fruit production.
Providing Support
Even compact Roma tomato varieties benefit from some form of support to prevent the plants from toppling over under the weight of the fruit. Consider using stakes or cages to provide stability and keep your plants upright.
Tip: Place your containers on a wheeled plant caddy to easily move them around and maximize exposure to sunlight.
By following these tips, you can enjoy a fruitful harvest of Roma tomatoes right from the convenience of your own container garden.
Pruning and Propagating Roma Tomatoes
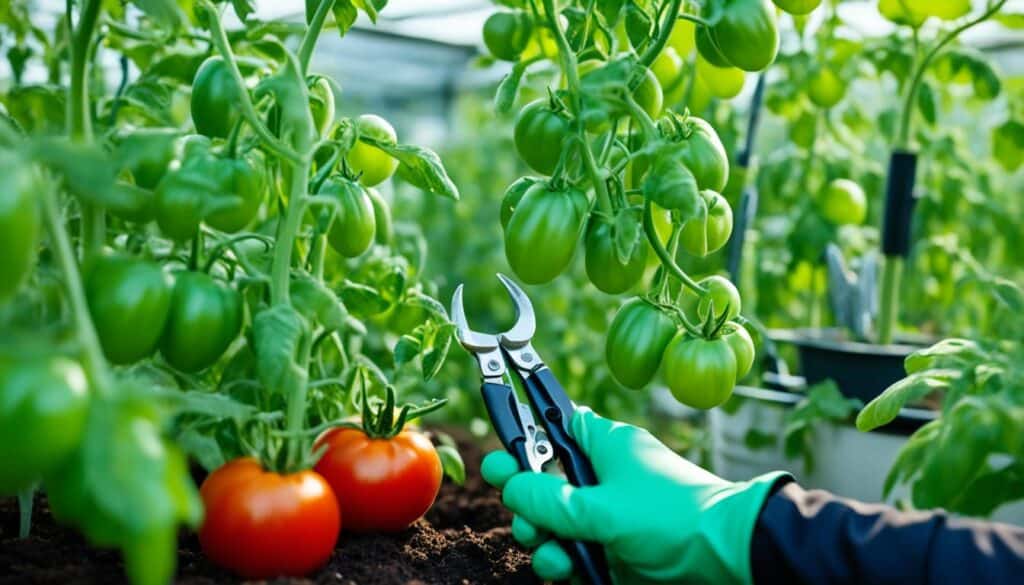
When it comes to pruning Roma tomatoes, minimal intervention is key. However, removing suckers and damaged parts can greatly contribute to maintaining control and ensuring proper airflow in your plants. This promotes healthier growth and higher yields.
“Pruning helps maintain control and airflow in Roma tomato plants.”
There are two methods for propagating Roma tomatoes: seed propagation and purchasing seedlings.
Seed propagation allows you to have full control over the growth of your Roma tomatoes. Start by planting the seeds indoors about 6-8 weeks before the last frost date. This gives them a head start and ensures that they are strong and healthy when it’s time to transplant them outdoors. Remember to follow the instructions on the seed packet for optimal germination.
“Seed propagation gives you control over the growth of Roma tomatoes.”
When your seedlings are ready for transplant, it’s important to harden them off before planting them outdoors. This involves gradually exposing them to outdoor conditions, such as sunlight and fluctuations in temperature, to help them adjust. Begin by placing them in a sheltered location for a few hours each day, gradually increasing their exposure to the elements over the course of a week. This process prepares them for the challenges they will face outside.
“Hardening off seedlings prepares them for outdoor conditions.”
Pruning and propagating Roma tomatoes also play a crucial role in pest and disease prevention. By removing excess foliage and damaged parts, you create an environment that is less hospitable to pests and diseases. This allows you to closely monitor your plants and take action at the first sign of trouble.
“Pruning and propagating Roma tomatoes help prevent pest and disease issues.”
By incorporating these pruning and propagating techniques into your Roma tomato-growing routine, you can maintain healthy plants, maximize yields, and enjoy a bountiful harvest.
Roma Tomato Pruning Step-by-Step Guide
- Inspect your Roma tomato plants regularly, looking for suckers and damaged parts.
- Using clean and sharp pruning shears, carefully remove suckers and any damaged or diseased branches. Cut them off close to the main stem.
- Keep the main stem intact, as it is the source of nutrients and energy for the plant.
- Dispose of the pruned parts away from your garden to prevent the spread of diseases.
- Monitor your plants regularly and repeat the pruning process as needed throughout the growing season.
Roma Tomato Propagation Step-by-Step Guide
- If propagating from seeds, start by filling seed trays or pots with a high-quality seed starting mix.
- Plant one to two seeds per pot, covering them with a thin layer of soil.
- Place the trays or pots in a warm and well-lit location, maintaining a consistent temperature of around 70-75°F (21-24°C).
- Keep the soil evenly moist, but not waterlogged, to promote germination.
- Once the seedlings have grown their first true leaves, thin them out, keeping only the strongest and healthiest ones.
- After hardening off the seedlings, transplant them into the garden, ensuring they are properly spaced and supported.
Conclusion
Growing juicy Roma tomatoes at home is a fulfilling and satisfying experience. By following these tips, you can successfully cultivate delicious and nutritious Roma tomatoes right in your own backyard. From selecting the right varieties to providing the necessary care and support, each step plays a crucial role in ensuring a bountiful harvest.
Roma tomatoes are a versatile addition to any kitchen. Their dense flesh and low moisture content make them ideal for sauces, canning, and fresh eating. The rich flavor and firm texture of Roma tomatoes add depth and complexity to a wide range of dishes, including salsas, relishes, and salads.
Remember to choose a suitable spot in your garden with full sun and well-drained, loamy soil. Proper spacing, regular watering, and organic fertilizers will promote healthy growth. Supporting the tomato plants with trellises or cages will prevent them from toppling over. In addition, attracting beneficial insects can aid in pollination and pest control.
So, grab your gardening tools, follow these tips, and get ready to savor the incredible taste of homegrown Roma tomatoes. Happy gardening!



Leave a Reply