The Ingredients You’ll Need
Before we dive into the recipe, let’s take a look at the three key ingredients you’ll need to make your homemade ice cream dreams come true. These ingredients are simple and readily available, making it easy to whip up a batch of delicious ice cream whenever cravings strike.
The first ingredient is sweetened condensed milk. This thick and creamy milk adds a touch of sweetness to the ice cream base and helps create a smooth texture. You can find sweetened condensed milk in most grocery stores, typically in the baking aisle.
The second ingredient is heavy whipping cream. This rich and decadent cream is what gives homemade ice cream its luxurious texture and creamy flavor. It’s important to use heavy whipping cream as it has a higher fat content, which is essential for creating that perfect scoopable ice cream.
The final ingredient is vanilla extract. This aromatic and flavorful extract adds a hint of warmth and depth to the ice cream. Be sure to use pure vanilla extract for the best results, as it has a more intense flavor compared to artificial vanilla extracts.
| Ingredients: | Quantity: |
|---|---|
| Sweetened condensed milk | 1 can (14 ounces) |
| Heavy whipping cream | 2 cups |
| Vanilla extract | 1 teaspoon |
Now that you have your ingredients ready, it’s time to start making your very own homemade ice cream. Follow the next section to learn how to blend these ingredients together and create a delectable no-churn vanilla ice cream.
Now that you have your ingredients ready, it’s time to blend them together and create the base for your delicious homemade ice cream. This no-churn vanilla ice cream recipe is incredibly simple and requires just three ingredients: sweetened condensed milk, heavy whipping cream, and vanilla extract.
To begin, pour the sweetened condensed milk into a large mixing bowl. This creamy and sweet ingredient will serve as the base for your ice cream. Next, add the heavy whipping cream to the bowl. This rich and luxurious ingredient will give your ice cream its smooth and velvety texture.
Once the sweetened condensed milk and heavy whipping cream are in the bowl, it’s time to add the final touch: vanilla extract. This fragrant ingredient will infuse your ice cream with its classic and enticing flavor. Use a spatula or whisk to thoroughly mix all three ingredients together until they are well combined.
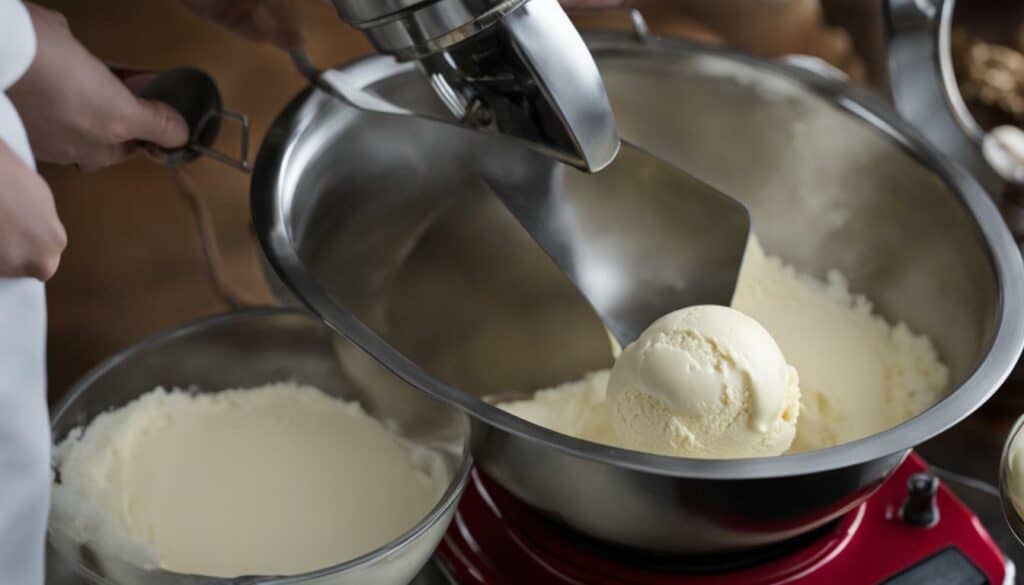
As you blend the ingredients together, you’ll notice the mixture becoming thick and creamy. The sweetened condensed milk and heavy whipping cream will combine to create a luscious and decadent base for your homemade ice cream. Make sure to scrape down the sides of the bowl with a spatula to ensure all ingredients are fully incorporated.
Once your mixture is well blended, you can get creative and add any desired mix-ins or toppings. Whether you prefer chunks of chocolate, swirls of caramel, or a sprinkle of nuts, the choice is yours. Gently fold in your chosen mix-ins to distribute them evenly throughout the ice cream base.
With your ingredients perfectly blended and any desired mix-ins added, you’re now ready to move on to the next step: freezing and waiting for the magic to happen. In the following section, we’ll guide you through the process of freezing the ice cream mixture and ensuring it sets to perfection.
Freezing and Waiting for the Magic
Once your ice cream base is blended to perfection, it’s time to freeze the mixture and let the magic happen. This step is crucial for achieving the creamy texture and delightful flavor of homemade ice cream. Here’s what you need to do:
- Transfer the mixture: Pour your blended ice cream base into a lidded container. A loaf pan or an airtight freezer-safe container will work well. Make sure to leave some space at the top to allow room for expansion during freezing.
- Freeze the mixture: Place the container in the freezer and let it chill for at least 4 to 6 hours. For the best results, it’s recommended to freeze it overnight. The longer you freeze it, the firmer the ice cream will become.
- Wait for it to set: Patience is key at this stage. Let the ice cream mixture sit undisturbed in the freezer until it fully sets. Depending on the temperature of your freezer, this can take anywhere from 6 to 12 hours. It’s worth the wait, though!
While you’re waiting for the magic to happen, resist the temptation to open the freezer and check on your ice cream too often. Doing so can cause temperature fluctuations and hinder the freezing process. Trust that the freezer is doing its job and creating a delicious frozen treat for you.
Pro tip:
For an extra touch of indulgence, consider adding mix-ins or toppings to your frozen creation. Whether it’s chocolate chips, crushed cookies, or fresh fruit, these additions can take your homemade ice cream to another level of flavor and texture. Simply sprinkle them over the top before the ice cream fully sets, gently swirl them into the partially frozen mixture, and continue freezing until fully set.
Now that you’ve successfully frozen and patiently waited for your homemade ice cream to set, it’s time to enjoy the delightful fruits of your labor. Serve it in bowls, cones, or even sandwiched between cookies for a homemade ice cream sandwich. The possibilities are endless, and the taste is undeniably satisfying. Enjoy every creamy, sweet spoonful!
| Key Points: | Homemade Ice Cream |
|---|---|
| Ingredients: | Sweetened condensed milk, Heavy whipping cream, Vanilla extract |
| Process: | Blend the ingredients, freeze the mixture, wait for it to set |
| Additional: | Add your favorite mix-ins or toppings for customized flavors |
| Storage: | Homemade ice cream will keep in the freezer for up to 3 months |
Adding Your Favorite Mix-Ins or Toppings
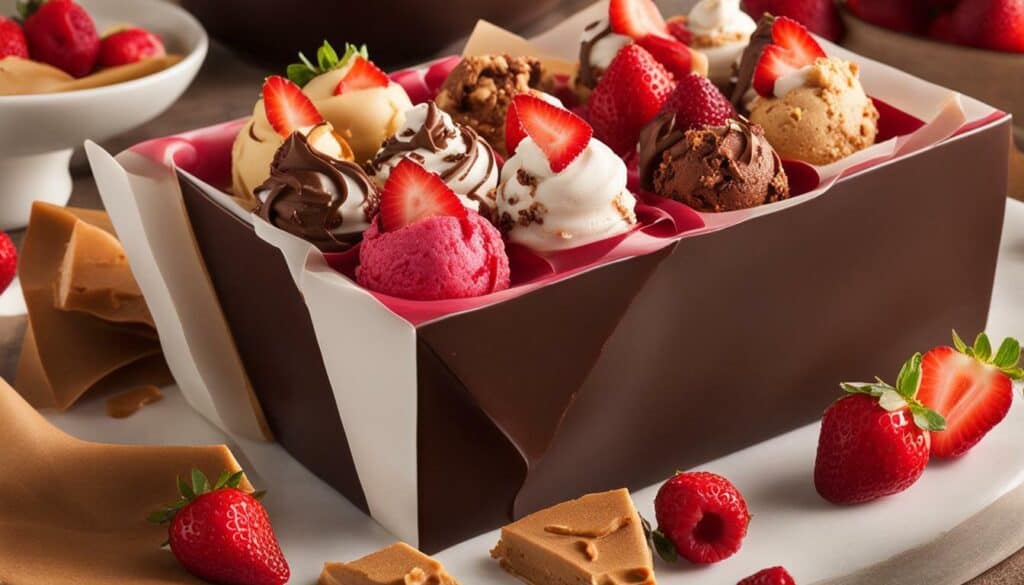
Don’t be afraid to get creative and make your homemade ice cream truly unique by adding your favorite mix-ins or toppings. Whether you’re a fan of classic flavors or prefer something more adventurous, the possibilities are endless when it comes to customizing your frozen treat. From fresh fruit and crunchy nuts to decadent chocolate chunks and swirls of caramel, there’s no limit to the indulgence you can create.
One popular option is to incorporate fruit into your homemade ice cream. From juicy strawberries and tangy raspberries to tropical favorites like mango and pineapple, adding fruit not only enhances the flavor but also brings a refreshing burst of natural sweetness. You can chop the fruit into small pieces and fold it into the ice cream base before freezing. For a smoother texture, blend the fruit into a puree and mix it in.
If you’re a chocolate lover, consider adding chocolate chips, chunks, or shavings to your ice cream. The rich and velvety taste of chocolate pairs perfectly with the creamy base. You can also experiment with different varieties of chocolate, such as dark, milk, or white, to create unique flavor combinations. For an extra indulgent twist, drizzle some hot fudge sauce over your homemade ice cream.
For those who enjoy a bit of crunch, consider adding nuts or cookies to your ice cream. Chopped almonds, pecans, or walnuts provide a satisfying crunch and add a touch of sophistication. Crushed cookies, such as chocolate chip cookies or Oreo cookies, bring a delightful texture and a burst of flavor. Simply sprinkle the desired amount over your ice cream and gently fold them in.
| Favorite Mix-Ins | Popular Toppings |
|---|---|
| Strawberries | Hot Fudge Sauce |
| Raspberries | Caramel Sauce |
| Mango | Chopped Nuts |
| Pineapple | Crushed Cookies |
| Chocolate Chips | Whipped Cream |
| Almonds | Sprinkles |
“Adding your favorite mix-ins or toppings is what makes homemade ice cream so special. It allows you to explore different flavors and textures, and truly make your creation one-of-a-kind.”
Storing Your Homemade Ice Cream
Once your homemade ice cream is ready, you’ll want to store it properly to maintain its creamy texture and delicious taste. Although this recipe doesn’t require an ice cream maker or eggs, proper storage is still key to preserve the quality of your frozen treat.
To store your homemade ice cream, transfer it into an airtight container. This will help prevent the formation of ice crystals and keep it from absorbing any odors or flavors from the freezer. You can use a plastic container with a tight-fitting lid or a freezer-safe glass container.
When filling the container, leave about half an inch of space at the top to allow for expansion as the ice cream freezes. Seal the container tightly to ensure there are no air pockets. This will help maintain the creaminess of the ice cream and prevent it from developing freezer burn.
| Tips for Storing Homemade Ice Cream: |
|---|
| Avoid storing your homemade ice cream in the door of the freezer, as the temperature fluctuates more in this area. |
| If you’re storing multiple flavors, consider using individual containers to prevent the flavors from blending together. |
| Label your containers with the flavor and date of preparation to easily identify them later. |
By following these simple storage tips, you can enjoy your homemade ice cream for up to three months. Remember to always check for any signs of freezer burn or off flavors before consuming. Now, it’s time to savor the fruits of your labor and indulge in a scoop of your very own homemade ice cream!
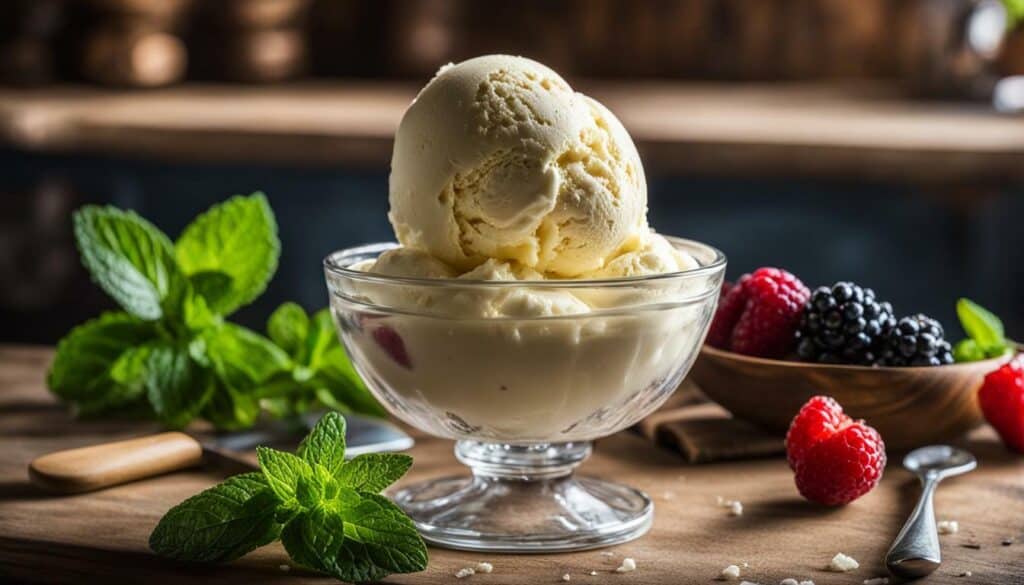
Wondering how long your homemade ice cream will last? Good news! With the right storage techniques, it can stay delicious for up to three months in the freezer. Whether you want to savor your homemade treat over time or make a big batch for future enjoyment, knowing how to store it properly is key.
To ensure the longevity of your homemade ice cream, it’s important to store it in an airtight container. This will prevent any unwanted odors or flavors from seeping into the ice cream and compromising its taste. A freezer-safe container with a tight-fitting lid is ideal for preserving the freshness and texture.
It’s also crucial to keep your homemade ice cream in the coldest part of the freezer, such as the back or the bottom shelf. Fluctuations in temperature can cause the ice cream to thaw and refreeze, leading to a loss of quality. By keeping it in a consistently cold environment, you’ll maintain its creamy texture and delicious taste.
Remember to label the container with the date you made the ice cream. This will help you keep track of its freshness and ensure you consume it within the recommended timeframe. Although homemade ice cream can last up to three months, it’s best enjoyed within the first month for optimal flavor and texture.

| Storage Tips for Homemade Ice Cream |
|---|
| Use an airtight container with a tight-fitting lid. |
| Keep the ice cream in the coldest part of the freezer. |
| Label the container with the date it was made. |
| Consume within the first month for optimal flavor and texture. |
“Proper storage is key to maintaining the quality of homemade ice cream. By following these tips, you can enjoy your favorite flavors for months to come.”
Experimenting with Different Flavors
Now that you’ve mastered the basic homemade ice cream recipe, it’s time to let your creativity shine and try out different flavors that will tantalize your taste buds. One of the best things about making your own ice cream is the endless possibilities for customization. Whether you’re a fan of fruity flavors, decadent chocolates, or unique mix-ins, there’s a homemade ice cream flavor out there for everyone.
Let’s start by exploring some popular homemade ice cream flavors. If you love refreshing and fruity options, why not try adding fresh berries like strawberries, blueberries, or raspberries to your ice cream base? These natural sweeteners will not only enhance the flavor but also add vibrant colors to your frozen treat. For a tropical twist, consider mixing in diced mango, pineapple chunks, or even coconut flakes. The possibilities are truly endless.
If you’re more of a chocolate lover, don’t worry – homemade ice cream has got you covered. You can add cocoa powder to the base for a rich chocolate flavor, or mix in chocolate chips, crushed cookies, or brownie chunks for added texture. And if you’re feeling adventurous, why not experiment with flavors like mint chocolate chip, peanut butter cup, or even rocky road? The choice is yours.
Remember, the beauty of homemade ice cream is that you can customize it to suit your preferences. Don’t be afraid to try out new combinations, mix-ins, and toppings. Who knows, you might stumble upon your very own signature flavor. So grab your favorite ingredients, put on your creative hat, and let’s get churning!

| Flavor | Ingredients |
|---|---|
| Strawberry | Fresh strawberries |
| Mint Chocolate Chip | Peppermint extract, chocolate chips |
| Cookie Dough | Cookie dough chunks, mini chocolate chips |
| Salted Caramel | Caramel sauce, sea salt |
Conclusion
Making homemade ice cream with just three ingredients is not only simple and convenient but also a great way to satisfy your sweet tooth with a personalized touch. So why wait? Dive into the world of homemade ice cream today and create a dessert that will delight everyone around you.
This no-churn vanilla ice cream recipe is easy to prepare and doesn’t require an ice cream maker. The ingredients needed are sweetened condensed milk, heavy whipping cream, and vanilla extract. Simply blend the ingredients together, freeze the mixture in a container, and wait for it to set.
Get creative and add your favorite mix-ins or toppings to customize the flavor of your homemade ice cream. Whether it’s fresh fruit, chocolate chunks, or a sprinkle of your favorite nuts, the possibilities are endless. Experiment with different flavors and variations to create unique and exciting taste combinations.
Once your homemade ice cream is ready, you can store it in the freezer for up to 3 months. It’s the perfect treat to have on hand whenever a craving strikes. Enjoy your homemade ice cream without the need for a machine or eggs, and savor the satisfaction of creating something delicious from scratch.
FAQ
Q: What ingredients do I need to make homemade ice cream?
A: You will need sweetened condensed milk, heavy whipping cream, and vanilla extract.
Q: How do I blend the ingredients together?
A: Simply mix the sweetened condensed milk, heavy whipping cream, and vanilla extract together until well combined.
Q: How long do I need to freeze the ice cream mixture?
A: Freeze the mixture in a container for at least 6 hours or until it is firm.
Q: Can I add my own mix-ins or toppings?
A: Yes, feel free to customize your ice cream by adding your favorite mix-ins or toppings.
Q: How do I store homemade ice cream?
A: Transfer the ice cream to an airtight container and keep it stored in the freezer.
Q: How long will homemade ice cream last in the freezer?
A: Homemade ice cream can be kept in the freezer for up to 3 months.
Q: Can I experiment with different flavors?
A: Absolutely! Try adding fruit, chocolate, or other flavorings to create your own unique ice cream creations.
What Are the 3 Main Ingredients in Homemade Ice Cream?
When it comes to homemade ice cream, the main ingredients in ice cream are cream, sugar, and flavorings. Cream gives ice cream its rich and creamy texture, while sugar adds sweetness. Finally, flavorings like vanilla extract or fruits enhance the taste and create variety. These three key ingredients form the base of delicious homemade ice cream.




Leave a Reply