Welcome to my personal Bake Starters Guide, your ultimate resource for mastering the art of baking from scratch with ease and confidence. Whether you’re a beginner or have some baking experience, this guide will provide you with all the essential tools, techniques, and recipes you need to become a baking pro.
Baking from scratch can be a rewarding and delicious experience, but it can also feel overwhelming. That’s why I’ve created this guide to simplify the process and help you get started on your baking journey. With my easy-to-follow steps and homemade bake starters, you’ll be whipping up delectable treats in no time.
Key Takeaways:
- Mastering the art of baking is achievable with the right tools, techniques, and practice.
- Essential baking tools include measuring cups and spoons, mixing bowls, a whisk or electric mixer, a spatula, baking pans, an oven thermometer, and a cooling rack.
- Understanding baking ingredients, such as flour, sugar, leavening agents, fats, dairy, and eggs, is crucial for achieving the desired texture and taste in your baked goods.
- Learning important baking techniques and terminologies, like creaming, folding, and beating, will elevate your baking skills.
- Building confidence with basic baking recipes like chocolate chip cookies and vanilla cupcakes is a great way to start your baking journey.
Essential Baking Tools for Success
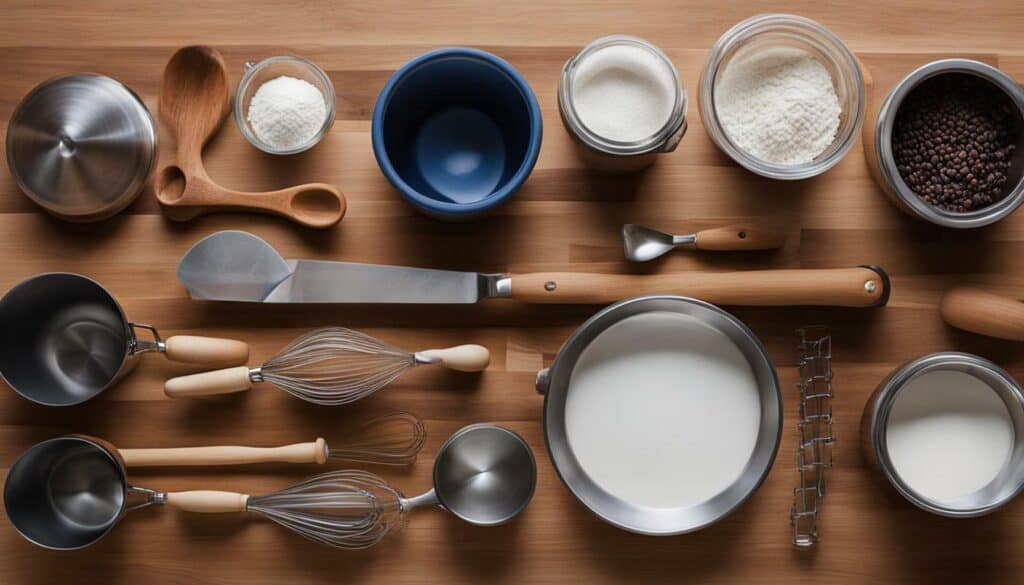
To embark on your baking journey, it’s important to have the right tools at your disposal. Here are the essential baking tools that every beginner needs:
| Tools | Description |
|---|---|
| Measuring cups and spoons | Accurate measurements are crucial in baking, and these tools ensure precise quantities of ingredients. |
| Mixing bowls | Various sizes of mixing bowls are necessary for combining ingredients and providing ample space for thorough mixing. |
| Whisk or electric mixer | These tools help achieve smooth batters and incorporate air into mixtures for light and fluffy baked goods. |
| Spatula | A spatula is essential for scraping down the sides of bowls and folding in delicate ingredients. |
| Baking pans | Investing in a variety of baking pans, such as cake pans, cookie sheets, and loaf pans, allows for versatility in baking different recipes. |
| Oven thermometer | Ensuring the correct oven temperature is crucial for successful baking, and an oven thermometer helps guarantee accuracy. |
| Cooling rack | A cooling rack allows baked goods to cool evenly and prevents them from becoming soggy. |
These essential baking tools will set you up for success in the kitchen. Whether you’re a novice baker or looking to enhance your skills, having the right equipment is the first step towards mastering the art of baking.
Baking is a delicate balance of ingredients, and understanding how each one works is the key to creating delicious and mouthwatering treats. Whether you’re making a decadent chocolate cake, flaky croissants, or chewy chocolate chip cookies, the ingredients you use play a vital role in the final outcome.
Let’s take a closer look at some of the essential baking ingredients and how they contribute to the flavor, texture, and overall success of your baked goods:
| Ingredient | Function |
|---|---|
| Flour | Provides structure and determines the texture of your baked goods. Different types of flour, such as all-purpose, cake flour, and bread flour, have varying protein contents, which affect the final result. |
| Sugar | Aside from adding sweetness, sugar plays several roles in baking. It contributes to browning, enhances flavor, and helps retain moisture in baked goods. |
| Leavening Agents | Leavening agents, such as baking powder, baking soda, and yeast, help your baked goods rise. They release carbon dioxide gas, creating air pockets and giving your treats a light and airy texture. |
| Fats | Fats, such as butter, oil, or shortening, add richness and moisture to your baked goods. They also contribute to the overall flavor and assist in creating a tender texture. |
| Dairy | Ingredients like milk, cream, or yogurt add moisture, richness, and tenderness to your baked goods. They also contribute to the flavor and help activate leavening agents. |
| Eggs | Eggs provide structure, flavor, and moisture to your baked goods. They act as binders and emulsifiers, helping to create a cohesive batter or dough. |
By understanding the function and characteristics of these key ingredients, you can make informed decisions and adjustments in your recipes to achieve the best results. Experimenting with different ingredient ratios, substitutions, or additions can also lead to exciting flavor combinations and unique creations.
Now that we’ve explored the importance of baking ingredients, let’s move on to mastering baking techniques and terminologies, which will further enhance your baking skills.
Mastering Baking Techniques and Terminologies
Just like any art form, baking requires mastering a set of techniques and understanding the language of the kitchen. Whether you’re a beginner or an experienced baker, it’s important to familiarize yourself with key baking techniques and terminologies to ensure your creations turn out beautifully every time.
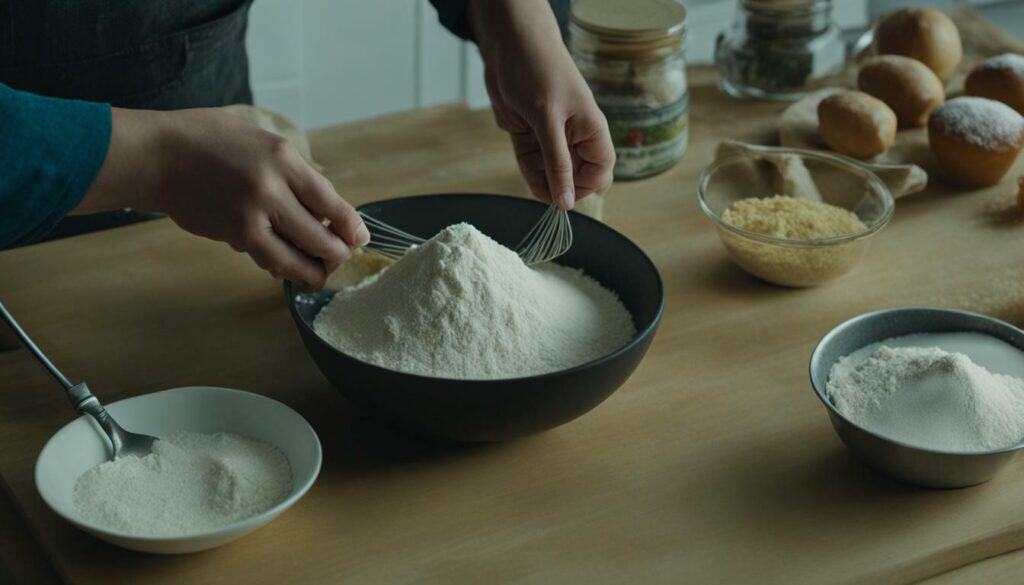
One essential technique is creaming, which involves mixing sugar and fat together until light and fluffy. This creates a smooth texture and helps incorporate air into the batter for a lighter, tender baked good. Another technique is folding, which is gently combining two mixtures with contrasting textures, such as adding whipped egg whites to a heavier batter. This maintains the airiness of the whipped whites, resulting in a delicate and airy final product.
Baking terminology is also important to understand. For example, preheating refers to heating the oven to the specified temperature before placing the batter or dough inside. This ensures even baking and proper rise. Baking times should be followed closely, as underbaking can result in a gooey or undercooked center, while overbaking can lead to a dry and tough texture. By mastering these techniques and terminologies, you’ll have the foundation to create exquisite and delicious baked goods.
Baking Techniques and Terminologies Summary:
- Creaming: Mixing sugar and fat until light and fluffy for a smooth texture and added airiness.
- Folding: Gently combining two mixtures with contrasting textures to maintain airiness.
- Preheating: Heating the oven before baking to ensure even heat distribution.
- Baking times: Following recommended baking times for optimal texture and doneness.
| Technique/Terminology | Description |
|---|---|
| Creaming | Mixing sugar and fat until light and fluffy to create a smooth texture and incorporate air. |
| Folding | Gently combining two mixtures with different textures to maintain airiness in the final product. |
| Preheating | Heating the oven before baking to ensure even heat distribution and proper rise. |
| Baking times | Following recommended baking times to achieve the desired texture and doneness. |
“Baking is a beautiful balance of science and creativity, and mastering the techniques and terminologies is the key to achieving delicious results.” – Professional Baker
By becoming familiar with these essential techniques and terminologies, you’ll be well on your way to becoming a baking pro. With practice and a love for the craft, you’ll be able to create gourmet baked goods that impress friends and family alike. So don your apron, grab your whisk, and let the art of baking ignite your passion for delicious and beautiful creations.
Building Confidence with Basic Baking Recipes
Ready to put your skills to the test? These basic baking recipes are a great starting point for beginners looking to create flavorful and impressive treats. Whether you’re craving classic chocolate chip cookies or a simple yet delicious vanilla cupcake, these recipes are easy to follow and guaranteed to satisfy your sweet tooth.
First up, we have the timeless favorite – chocolate chip cookies. With their chewy center and crispy edges, these cookies are sure to be a hit. The key to achieving the perfect texture is using butter, which adds richness, and a combination of white and brown sugar for a depth of flavor. Don’t forget to fold in plenty of chocolate chips for that irresistible gooeyness. For the full recipe, check out the table below:
| Ingredients | Instructions |
|---|---|
| 1 cup (226g) unsalted butter, softened | In a mixing bowl, cream the butter and sugars together until light and fluffy. |
| 1 cup (200g) granulated sugar | Add the eggs, one at a time, mixing well after each addition. Stir in the vanilla extract. |
| 1 cup (200g) packed brown sugar | In a separate bowl, whisk together the flour, baking soda, and salt. Gradually add the dry ingredients to the wet ingredients, mixing until just combined. |
| 2 large eggs | Stir in the chocolate chips. |
| 2 teaspoons (10ml) vanilla extract | Drop rounded tablespoons of dough onto a baking sheet lined with parchment paper. Bake at 350°F (175°C) for 10-12 minutes, or until golden brown around the edges. |
| 3 cups (360g) all-purpose flour | Cool on the baking sheet for 5 minutes, then transfer to a wire rack to cool completely. |
| 1 teaspoon (5g) baking soda | Enjoy! |
| 1/2 teaspoon (2.5g) salt | |
| 2 cups (340g) semisweet chocolate chips |
Next on our list is the classic vanilla cupcake. These tender and moist cupcakes are versatile and can be enjoyed plain, or frosted with your favorite buttercream icing. The secret to achieving a delicate crumb is using cake flour instead of all-purpose flour. Get started with the recipe below:
| Ingredients | Instructions |
|---|---|
| 1 3/4 cups (210g) cake flour | In a mixing bowl, cream together the butter and sugar until light and fluffy. |
| 1 1/4 cups (250g) granulated sugar | Add the eggs, one at a time, mixing well after each addition. Stir in the vanilla extract. |
| 1 1/2 teaspoons (7.5ml) baking powder | In a separate bowl, whisk together the cake flour, baking powder, and salt. Gradually add the dry ingredients to the wet ingredients, alternating with the milk, beginning and ending with the dry ingredients. |
| 1/2 teaspoon (2.5g) salt | Divide the batter evenly among lined cupcake pans. Bake at 350°F (175°C) for 15-18 minutes, or until a toothpick inserted into the center comes out clean. |
| 1/2 cup (120ml) unsalted butter, softened | Cool in the pan for 5 minutes, then transfer to a wire rack to cool completely. |
| 2 large eggs | Frost with your favorite buttercream icing, if desired. |
| 1 teaspoon (5ml) vanilla extract | Enjoy! |
| 3/4 cup (180ml) milk |
There you have it, two simple yet delicious recipes to help you gain confidence in your baking skills. These basic baking recipes are just the beginning of your culinary journey. So roll up your sleeves, gather your ingredients, and let your creativity shine in the kitchen!
Troubleshooting Common Baking Problems
Baking isn’t always a smooth process, but with a little know-how, you can troubleshoot common problems and achieve baking success. Whether it’s dealing with burnt bottoms, dense or soggy texture, or other mishaps, understanding the causes and solutions for these issues will help you overcome any baking challenge.
Problem: Burnt bottoms
If you find that the bottoms of your baked goods are consistently burning, it’s likely due to uneven heat distribution in your oven. To solve this problem, try placing a baking sheet or parchment paper underneath your baking pan to provide insulation. You can also reduce the oven temperature slightly and increase the baking time to prevent excessive browning.
Problem: Dense or soggy texture
A dense or soggy texture in your baked goods can be caused by a variety of factors. Too much moisture, undermixing, or using expired leavening agents are common culprits. To fix this, make sure you accurately measure your ingredients, mix the batter thoroughly, and check the expiration dates on your leavening agents. Adjusting the oven temperature and baking time may also help achieve a lighter texture.
Problem: Sunken or collapsed cakes
If your cakes consistently come out sunken or collapsed in the center, it’s usually a sign of underbaking or overmixing. To avoid this, ensure that your cakes are fully baked by testing with a toothpick before removing them from the oven. Avoid overmixing the batter, as it can create excess air and cause the cake to collapse. Additionally, using the correct pan size and proper oven temperatures can help prevent this issue.
Table: Troubleshooting Baking Problems
| Problem | Cause | Solution |
|---|---|---|
| Burnt bottoms | Uneven heat distribution | Use insulation, reduce oven temperature, increase baking time |
| Dense or soggy texture | Too much moisture, undermixing, expired leavening agents | Accurately measure ingredients, mix thoroughly, check expiration dates, adjust temperature and baking time |
| Sunken or collapsed cakes | Underbaking, overmixing | Ensure full baking, avoid overmixing, use correct pan size and oven temperatures |

Remember, baking is a skill that improves with practice. Don’t be discouraged by occasional setbacks, as they provide valuable learning opportunities. By troubleshooting common baking problems and applying the right techniques, you’ll soon be creating delicious baked goods with confidence.
Exploring the Benefits of Baking Bread at Home
Baking bread at home goes beyond just a delicious loaf – it offers a world of benefits for your health, creativity, and overall connection to food. When you bake your own bread, you have complete control over the ingredients, ensuring that you can create a healthier and more wholesome product. Store-bought bread often contains additives and preservatives that can be detrimental to your health. By baking at home, you can choose high-quality ingredients, like whole grains and natural sweeteners, to make a bread that fits your dietary needs.
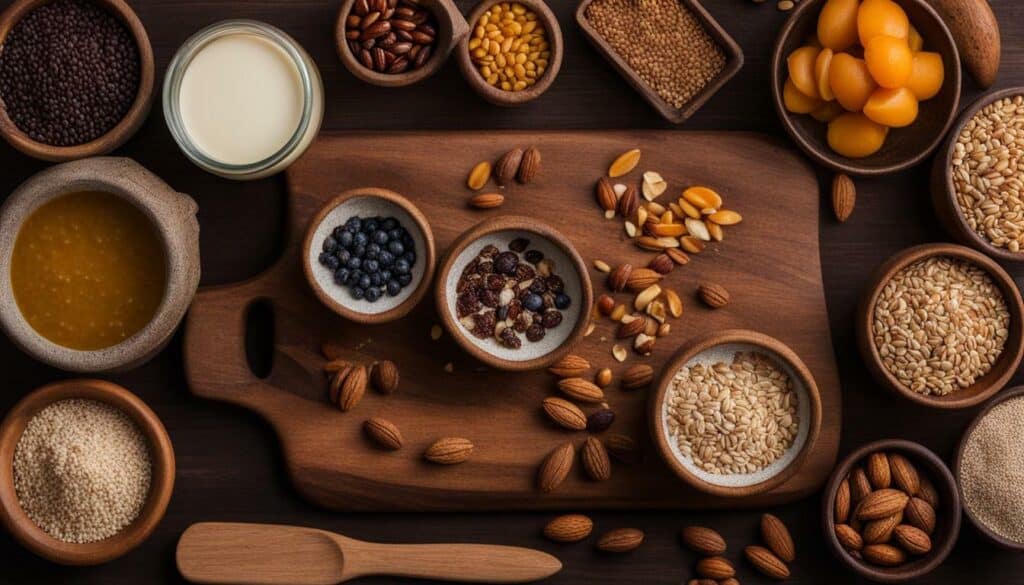
In addition to health benefits, baking bread at home allows you to unleash your creativity in the kitchen. You can experiment with different types of flour, seeds, herbs, and spices to create unique and flavorful loaves. Whether you prefer a classic artisan bread or want to try your hand at creating a gluten-free or vegan version, the possibilities are endless.
Aside from the satisfaction of creating something from scratch, baking bread at home also fosters a deeper connection to your food. The process of kneading the dough, waiting for it to rise, and savoring the aroma as it bakes creates a sensory experience that is both therapeutic and rewarding. Sharing homemade bread with loved ones and seeing the joy on their faces can be a truly heartwarming experience.
The Health Benefits of Baking Bread at Home
Baking your own bread at home allows you to prioritize your health and well-being. By choosing wholesome ingredients and avoiding preservatives, you can create bread that is not only delicious but also nourishing. Whole grains, such as whole wheat, rye, and spelt, provide more fiber, vitamins, and minerals compared to refined flours. Additionally, you have control over the amount of salt and sugar used, making it easier to reduce your intake of these potentially harmful ingredients.
| Ingredient | Health Benefits |
|---|---|
| Whole Grains | High in fiber, vitamins, and minerals |
| Natural Sweeteners | Lower glycemic index and less processed than refined sugar |
| Seeds and Nuts | Provide healthy fats and additional nutrients |
| Herbs and Spices | Antioxidant and anti-inflammatory properties |
By baking your own bread at home, you can take charge of your health and enjoy the process of creating something nourishing and delicious. The benefits extend far beyond a tasty loaf – they contribute to a healthier lifestyle, a stronger connection to your food, and the satisfaction of knowing exactly what you’re putting into your body.
The Basic Ingredients for Baking Bread
Are you ready to embark on a bread-baking adventure? Here are the essential ingredients you’ll need to get started.
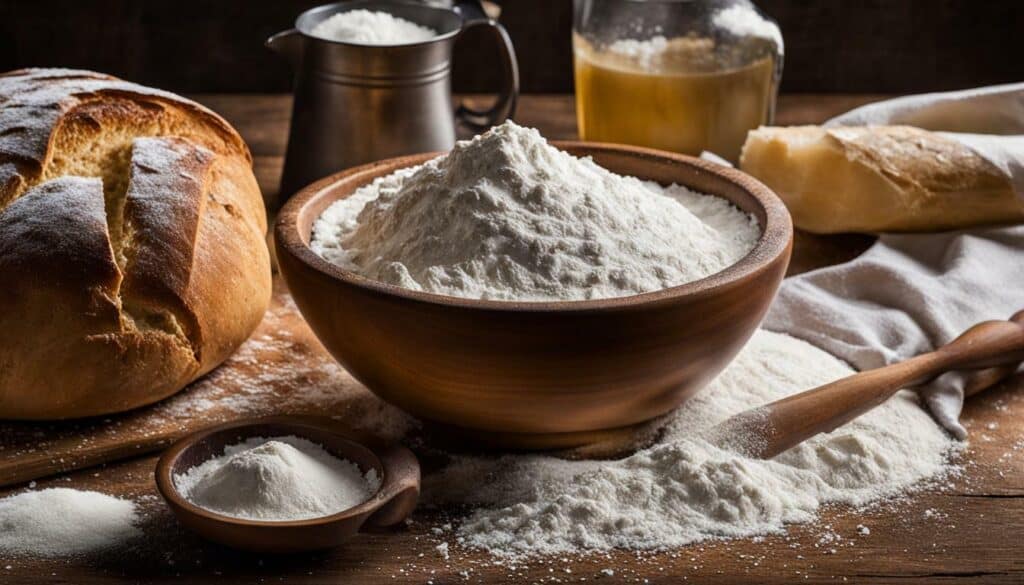
Baking bread from scratch requires just a handful of basic ingredients that you probably already have in your pantry. These ingredients are the building blocks for creating delicious homemade bread that will impress friends and family alike.
First and foremost, you’ll need yeast. Yeast is what gives bread its fluffy texture by producing carbon dioxide during the fermentation process. There are different types of yeast available, but for beginners, active dry yeast or instant yeast are the easiest to work with. They both provide reliable results and can be easily found in most grocery stores.
The next essential ingredient is flour. Flour provides structure and stability to bread dough. All-purpose flour is a great option for beginners, as it has a moderate protein content and is versatile for various types of bread. You can also experiment with different types of flour, such as whole wheat or bread flour, to achieve different flavors and textures.
| Ingredients | Measurement |
|---|---|
| Yeast | 2 1/4 teaspoons |
| Flour | 3 cups |
| Salt | 1 1/2 teaspoons |
| Water | 1 1/2 cups |
To enhance the flavor and add depth to your bread, don’t forget to include a pinch of salt. Salt not only adds taste but also helps control yeast activity and strengthens the gluten structure.
Lastly, water is crucial for hydrating the dough and activating the yeast. The temperature of the water is important too; it should be warm, around 105°F to 110°F (40°C to 43°C), to activate the yeast but not too hot to kill it.
With these basic ingredients in your arsenal, you’re ready to dive into the world of bread baking. Don’t be afraid to experiment with different recipes and techniques to create your signature loaf of bread.
Ready to knead your way to homemade bread perfection? These beginner-friendly recipes will have you baking artisan loaves in no time.
1. Sandwich Loaf:
This classic sandwich loaf recipe is perfect for beginners looking to create a versatile bread that’s great for sandwiches, toast, or just enjoying on its own. Here’s what you’ll need:
| Ingredients | Instructions |
|---|---|
|
|
2. No-Knead Artisan Bread:
If you’re looking for a rustic and crusty loaf with minimal effort, this no-knead artisan bread recipe is perfect for you. Here’s what you’ll need:
| Ingredients | Instructions |
|---|---|
|
|
Remember, practice makes perfect when it comes to baking. Don’t be afraid to experiment with different flavors, shapes, and techniques as you gain confidence in your baking skills. So, roll up your sleeves, put on that apron, and get ready to create delicious homemade bread that will impress your family and friends!
Congratulations on completing my personal Bake Starters Guide!
Now, armed with knowledge and practice, it’s time to unleash your creativity and enjoy the world of baking. Mastering the art of baking can be a rewarding journey, and I hope this guide has provided you with the essential tools, techniques, and recipes to kickstart your baking adventures.
Remember, the key to becoming a baking pro is practice and patience. Don’t be discouraged by any initial setbacks or challenges you may face. Baking is both a science and an art, and it takes time to perfect your skills. Embrace the process and enjoy the delicious results along the way.
Whether you’re a beginner or have some experience in the kitchen, my Bake Starters Guide is designed to empower you with the knowledge and confidence to create homemade baked goods that are flavorful, delicious, and impressive. From understanding ingredients to mastering techniques, this guide covers it all.
So, gather your baking tools, stock up on ingredients, and get ready to embark on a delicious baking journey. With the foundation provided by this guide, you’re well-equipped to let your creativity soar and create mouthwatering creations that will delight your friends, family, and yourself. Happy baking!
FAQ
Q: How can the Bake Starters Guide help beginners master the art of baking?
A: The Bake Starters Guide provides friendly and easy-to-follow steps that make homemade baking a breeze. It includes essential tools, ingredient knowledge, baking techniques, and delicious recipes to help beginners build confidence and skills in the kitchen.
Q: What are the essential baking tools for baking success?
A: Essential baking tools include measuring cups and spoons, mixing bowls, a whisk or electric mixer, a spatula, baking pans, an oven thermometer, and a cooling rack. These tools ensure accurate measurements, efficient mixing, and proper baking results.
Q: Why is it important to understand baking ingredients?
A: Understanding baking ingredients such as flour, sugar, leavening agents, fats, dairy, and eggs is crucial for achieving the desired texture and taste in baked goods. Each ingredient plays a specific role in the baking process and contributes to the overall success of the recipe.
Q: What baking techniques and terminologies should beginners learn?
A: Beginners should familiarize themselves with techniques like creaming, folding, and beating, as well as the importance of preheating and baking times. Learning these techniques and terminologies will help achieve professional-quality results in the kitchen.
Q: What are some basic baking recipes for beginners?
A: Basic baking recipes like chocolate chip cookies and vanilla cupcakes are perfect for beginners. These recipes are simple to follow and allow beginners to build confidence and skills in the kitchen while creating delicious treats.
Q: How can I troubleshoot common baking problems?
A: Troubleshooting common baking problems like burnt bottoms or dense, soggy texture is part of the learning process. Understanding the causes of these issues and following troubleshooting tips can help beginners overcome challenges and achieve better baking results.
Q: What are the benefits of baking bread at home?
A: Baking bread at home offers health benefits, allows for creativity and experimentation with flavors, and fosters a deeper connection to your food. It’s a rewarding and fulfilling experience that brings joy to the kitchen and the dinner table.
Q: What are the basic ingredients needed for baking bread?
A: The basic ingredients for baking bread include yeast, flour, salt, and water. Additional supplies such as a digital scale, mixing bowls, measuring cups and spoons, spatula or wooden spoon, and a Dutch oven may be necessary depending on the recipe.
Q: Can you provide some beginner-friendly bread recipes?
A: Absolutely! Two beginner-friendly bread recipes you can try are a sandwich loaf and a no-knead artisan bread. These recipes are simple to follow and produce impressive results, making them perfect for beginners looking to master the art of baking bread.
Can Baking Help Improve My Love Letter Writing Skills?
Can baking elevate the art of love letters? When we immerse ourselves in a creative process like baking, it can fuel our inspiration and allow our thoughts to flow freely. The act of measuring ingredients, mixing them together, and creating something delightful can spur our imagination and enhance our writing skills.


Leave a Reply